Introduction
For the IT Professionals it is OK to work with Microsoft SQL Server Management Studio (SSMS) or SQL Server Data Tools for Business Intelligence (SSDT), but what about the Business Analysts, or other end user who are not familiar with the database world? One of the best Microsoft applications for the people is the Microsoft Excel.
Most of the people have a very good knowledge of Microsoft Excel and the MS Office programs, but they do not feel comfortable (and sometimes they hate) with our IT tools to administer and query Data Mining Models. That is why Microsoft created a very simple and nice plugin to get Data Mining information using Microsoft Excel.
In this lesson, we will show the requisites to work with MS Excel and Microsoft Data Mining. We will create a Cluster Algorithm in Excel in the next chapter we will work with more algorithms and features.
Requirements
Here are the assumptions for this article.
- We are using SQL Server 2014 for this lesson, but SQL Server 2005/2008/2012 can be also be used. We are assuming that you already have the Data Mining Project used in the Data Mining Part 13. If you do not, you can install it or use any other Data Mining Project already installed.
- We are using Microsoft Office 2013, but earlier versions can also be used.
- The Data Mining plugin for Excel 2007 and SQL Server 2008 can be downloaded here.
- We are using the Data Mining plugin for Excel 2010, 2013 and SQL 2012 and 2014, which can be downloaded here.
- There is also an Excel File with sample data very useful to learn data mining with Excel. You can download the file here.
Getting Started
1. Once you have all the requirements installed, open the DMAddins_SampleData_EN.xlsx file, which is the sample of data mentioned in the prerequisites.

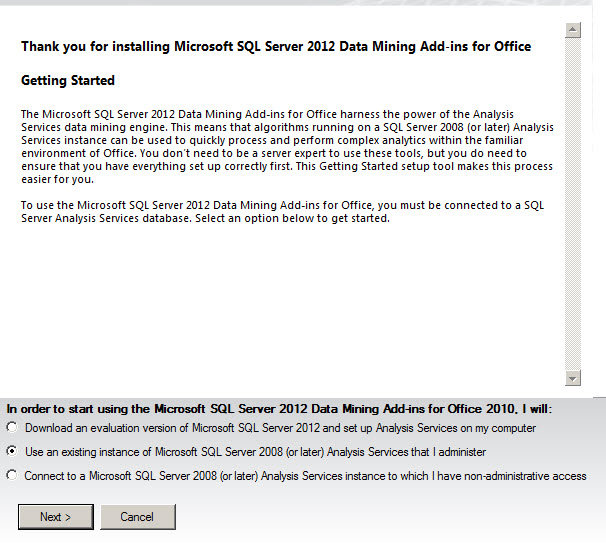
2. You will be prompt by an installation window to install SQL Server if you do not have it. The other option is to connect with administration privileges if you have them or connect without administration privileges. In this case, we have the administration privileges to connect to the Analysis Services Database. Once you choose the option, press next.
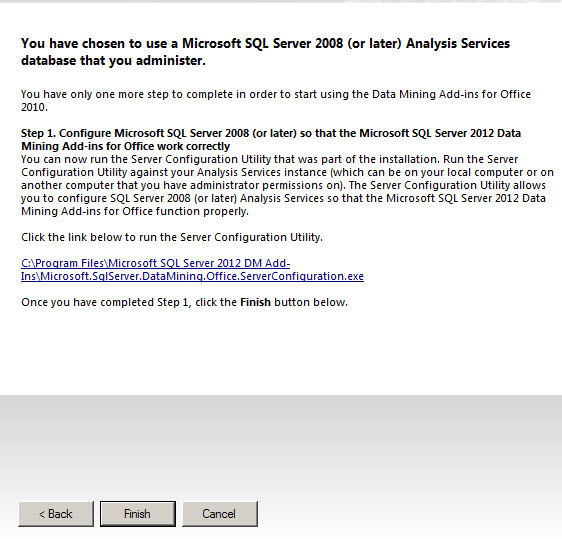
3. A second windows will be displayed and you only need to press Finish.
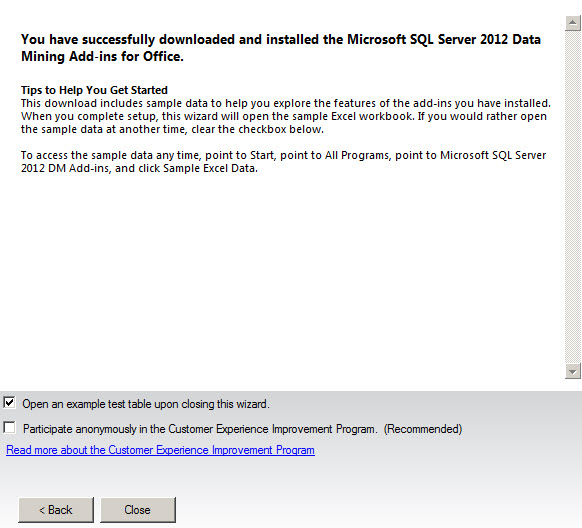
4. A success window will be displayed. Press Close.
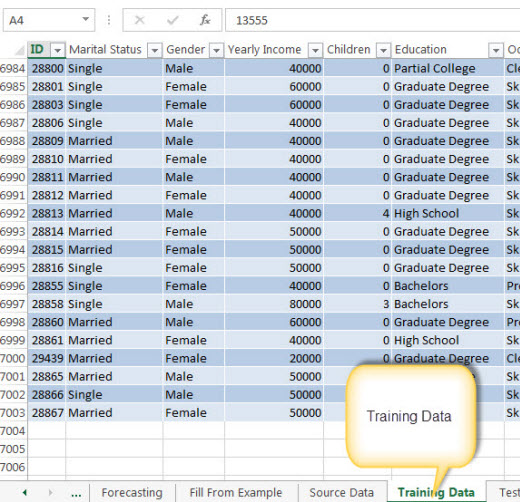
5. Once done, you have an Excel file with samples of data from which to learn Data Mining with Microsoft Excel.

6. Let's start creating a Cluster model. If you are not familiar with this algorithm, I invite you to review the lesson 3 of this series. Make sure you are in the sample Data Sheet in the Excel file.
7. Press the Data Mining Menu option to start working with Data Mining.

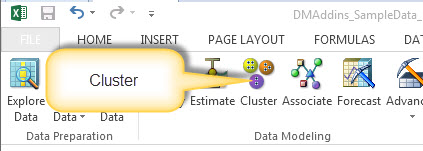
8. Press the Cluster option to analyze the Data with a Cluster algorithm.
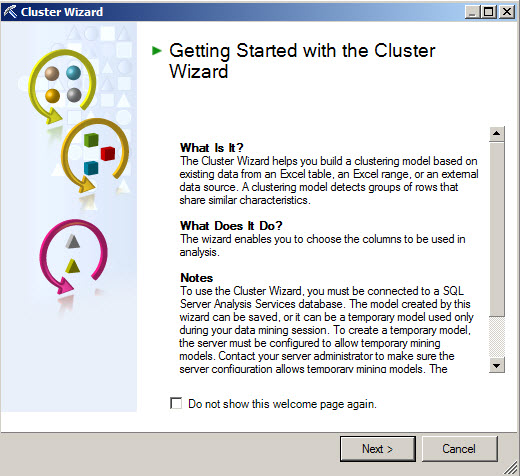
9. A wizard will be displayed with the explanation about the options to create a Cluster. Press Next.
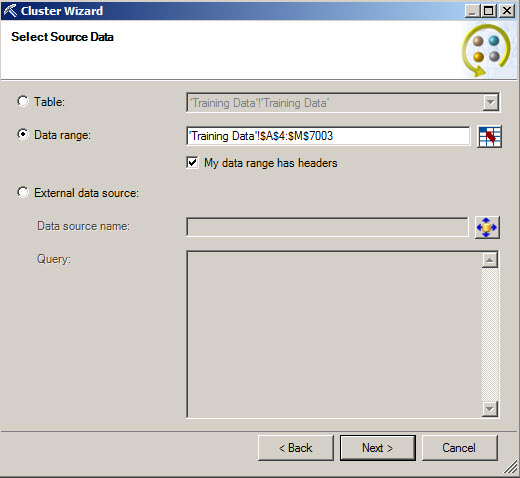
10. In this section you will need to select all the data from the Training Data Sheet that you want to use for the model. In this case, I selected all the Data from the Training Data Sheet.
11. In the next window, we will select the input columns. This information will feed the cluster algorithm to analyze the information and predict the behavior of the customers.
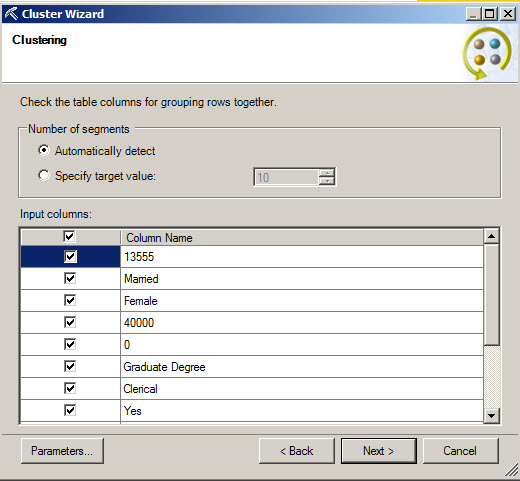
12. You will be asked about the percentage for training also. Leave the default values and press next.
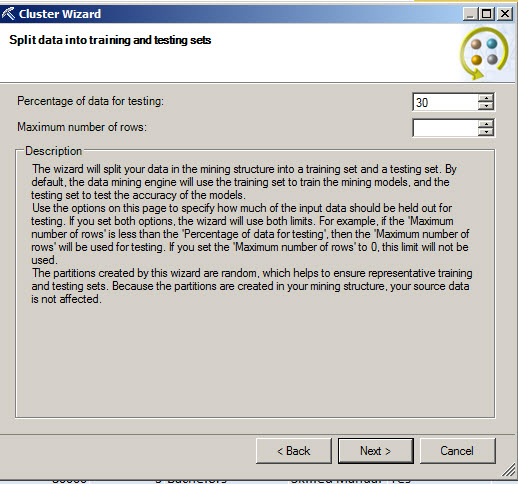
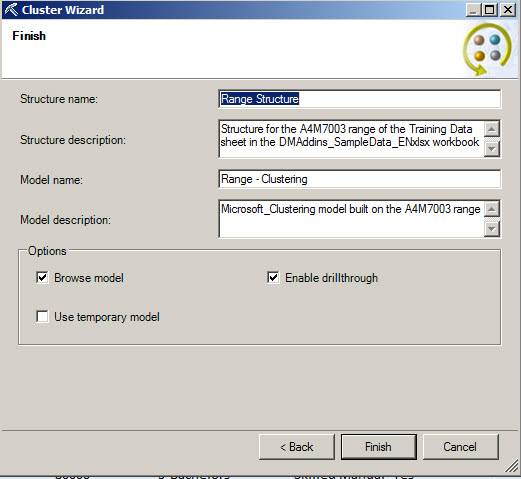
13. Specify the Structure name, a description and a name for the model. You will also have options to browse and drillthough the model.
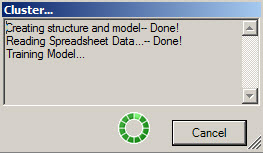
14. After you press finish, it will take a minute to create
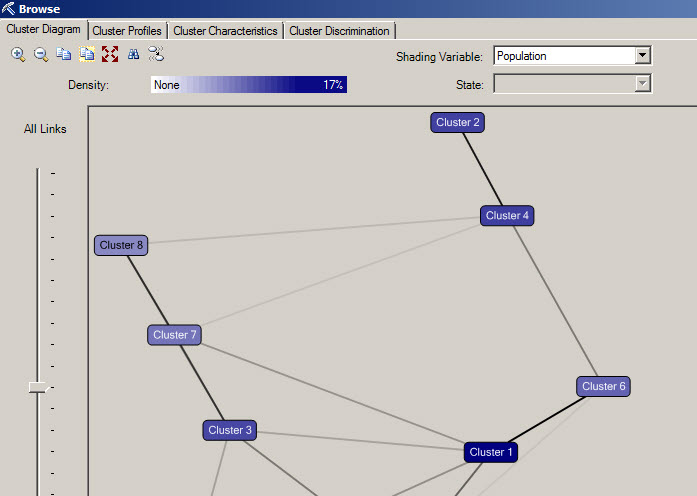
15. Once created you will have the Cluster Diagram, Profiles and Characteristics as we have in the SSDT.
CONCLUSION
In this chapter, we created a cluster model using MS Excel. Microsoft created a pluggin for MS Excel to work with Mining Models using MS Excel. In the next lesson, we will continue working with Excel creating queries and working with more algorithms and other features.
REFERENCES
http://www.sqlservercentral.com/blogs/bradleyschacht/2013/08/29/data-mining-with-excel-qa/

