This post follows on from Part Two in which we created a custom docker image. We’ll now look at pushing that custom image up to the Docker repository.
Let’s quickly check that we have our custom image, so run (in an admin powershell session):-
docker images
If you’ve followed Part One & Part Two you should see:-
If you don’t have testimage there, go back to Part Two and follow the instructions. Don’t worry, we’ll wait
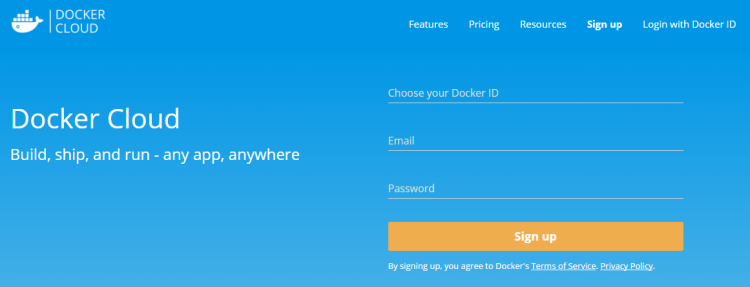
Ok, what we’re going to do now is push that image up to the Docker repository. You’ll need an account for this so go to https://cloud.docker.com/ and create an account (don’t worry, it’s free).
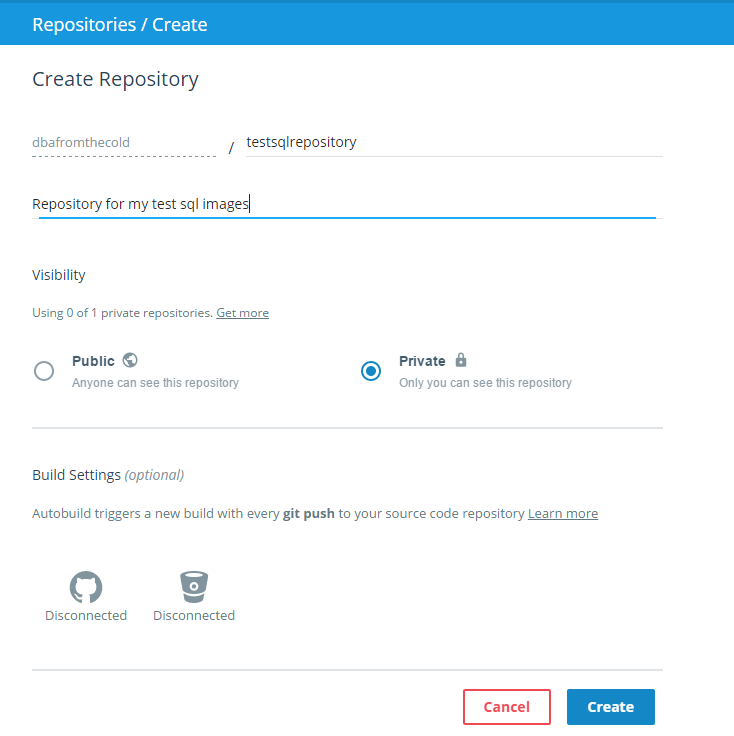
Once you’re signed up and logged in, click on the Repositories link on the left hand side and then click on the Create button (over on the right): –
Give your repository a name and then click the button to make it private (seriously, otherwise it’ll be available for everyone to download!) and hit Create.
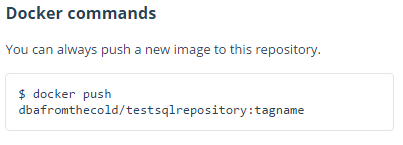
On the next screen you should see the following over on the right:-
This is the code to push your custom image into your repository! Pretty cool but there’s a couple of things that we need to do first.
Back on your server we need to connect to the repository that we just setup. Really simple to do, just run the following:-
docker login
And enter in the login details that you specified when you created your Docker account.
Ok, one more thing to do before we can push the image up to the repository. We need to “tag” the image. So run: –
docker tag testimage dbafromthecold/testsqlrepository:v1
N.B.- Replace my repository’s name with your own
What I’ve essentially done here is rebrand the custom image as a new image that belongs to my repository, tagged as v1. You can verify this by running:-
docker images
You can see that a new image is there with the name of my repository.
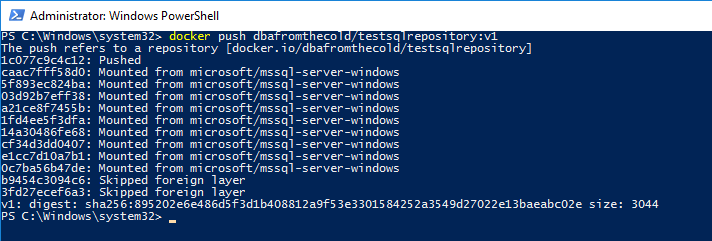
Now that that’s all done we can push the image to the repository using the command that was given to us when we created our repository online:-
docker push dbafromthecold/testsqlrepository:v1
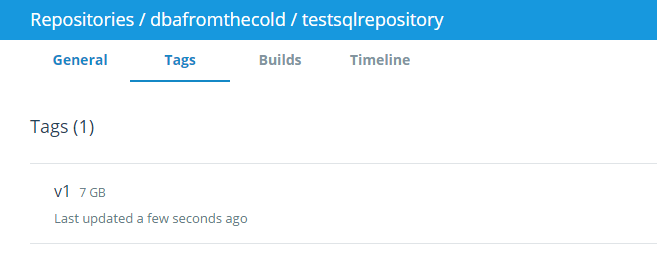
Good stuff, we’ve successfully pushed a custom Docker image into our own Docker repository! We can check this online in our repository by hitting the Tags tab:-
And there it is, our image in our repository tagged as v1! The reason that I’ve tagged it as v1 is that if I make any changes to my image, I can push the updated image to my repository as v2, v3, v4 etc…
Still with me? Awesome. Final thing to do then is pull that image down from the repository on a different server. If you don’t have a different server don’t worry. What we’ll do is clean-up our existing server so it looks like a fresh install. If you do have a different server to use (lucky you) you don’t need to do this bit!
So first we’ll logout of docker:-
docker logout
And then we’ll delete our custom images:-
docker rmi testimage dbafromthecold/testsqlrepository:v1
And now we have a clean docker daemon to test pulling images from the repository! If you have a new server to use, it’s time to jump back in!
So log into your repository:-
docker login
And now we can pull our image down from our repository: –
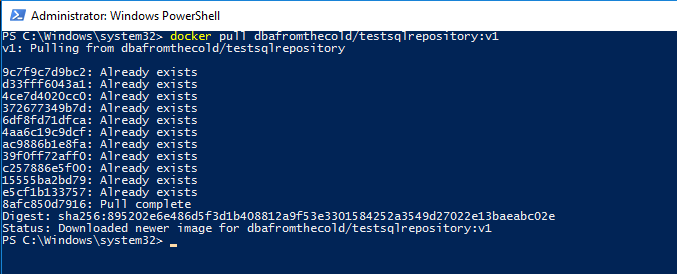
docker pull dbafromthecold/testsqlrepository:v1
N.B.- I’m seeing “Already Exists” as I’m running this on the same server as I created and then deleted the image.
Once that has completed, you can check that the image is there by running:-
docker images
And there’s the image that we’ve pulled from our repository! And we can use it to create containers!
So that’s how you can create a custom image that can be shared across multiple servers!
Hmmm, I can hear you saying (seriously??:-)). That’s all well and good but I’m not using SQL Server vNext in any of my test/dev/qa environment so this isn’t going to be of much use. Is there a way of getting earlier versions of SQL in containers?
Well, would you believe it? Yes there is! I’ll go over one such option in Part Four.


