Hello Friends,
I was getting lot of responses on blogs and mails. It will be difficult to cover all at once . So covering today the latest one “How to Configure Search in SharePoint 2013” and in Standalone server.
Microsoft is focusing more and more on Power Shell and this is what is done with Search in SharePoint 2013. Graphical interface in SharePoint Search application is not available. We cannot create and edit topology from Central administration. Only option is to use Power Shell.
Till SharePoint 2010 we have the option to configure and scale Search Service application using Central administration.
There is not much difference to configure Search in Standalone or farm mode. The thing in Farm mode is to scale out the all the component except (Search Admin Component) as it cannot be scaled out and the other is to create it in partitioned mode.
To Create Search in Farm and scale out mode. I will write the same after this article.
List of Components which need to be kept in mind while creating and Configuring Search Service Application are:
- To create a SharePoint Search Service Application( This is the only part which can also be done using Central Administration)
- To Create a SSA(Search Service Application) Proxy( It will be created automatically using GUI but need to create manually using Power Shell)
- Component of Search: Search administration component, Content processing Component, Crawl Component, Query component & web analytics(which is separate service application in SP 2010)
- Creating or scaling Index component and Index replica.
Below are series of steps to create and configure Search Service and its Topology using PowerShell.
Ex:
My SharePoint server name: servr2012-sql
To Create a Search application we need: An Application Pool, A service account for app pool.
Below Snippet will create a Search Service application or SSA in short:
Open SharePoint Management Shell with Administrator permission.
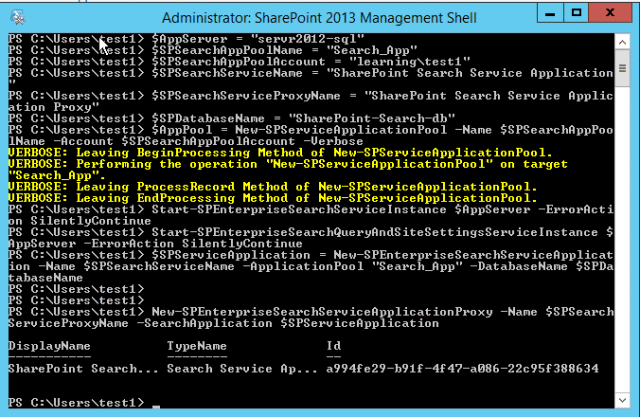
$AppServer = “servr2012-sql”
$SPSearchAppPoolName = “Search_App”
$SPSearchAppPoolAccount = “learning\test1”
$SPSearchServiceName = “SharePoint Search Service Application”
$SPSearchServiceProxyName = “SharePoint Search Service Application Proxy”
$SPDatabaseName = “SharePoint-Search-db”
To Create a Search Service Application Pool
$AppPool = New-SPServiceApplicationPool -Name $SPSearchAppPoolName -Account $SPSearchAppPoolAccount -Verbose
To start Search Service Instance on Application or Standalone Servers
Start-SPEnterpriseSearchServiceInstance $AppServer -ErrorAction SilentlyContinue
Start-SPEnterpriseSearchQueryAndSiteSettingsServiceInstance $AppServer -ErrorAction SilentlyContinue
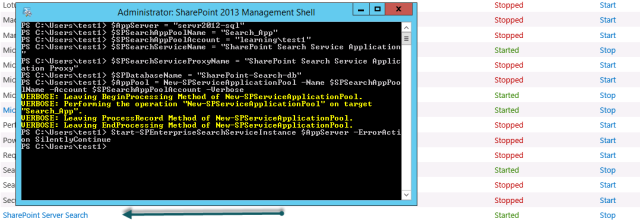
Below is screenshot, which service are started with above command:
SearchQueryAndSiteSettingsService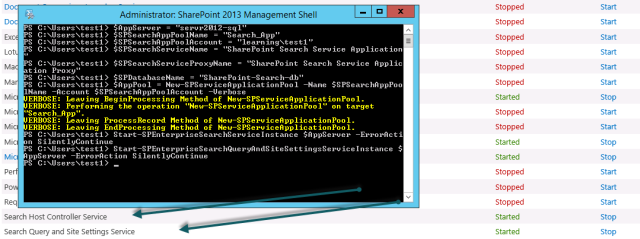
To Create Search Service Application
$SPServiceApplication = New-SPEnterpriseSearchServiceApplication -Name $SPSearchServiceName -ApplicationPool “Learning\Test1” -DatabaseName $SPDatabaseName
To Create Search Service Application Proxy
New-SPEnterpriseSearchServiceApplicationProxy -Name $SPSearchServiceProxyName -SearchApplication $SPServiceApplication
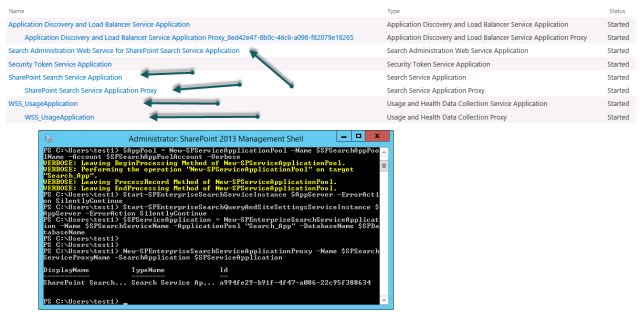
Till this part you can also do with GUI Central admin. You will find 3 Service application in the list, below is screenshot for the same.
Rest all configuration need to be done with power shell. With this a Search Topology is created and topology cannot be modified in active state. To create other component we need to create a clone of the current topology and work on it and once all things are finalized we can activate that topology.
Cloning the topology:
$Spclone = $SPServiceApplication.ActiveTopology.Clone()
$AppInstance = Get-SPEnterpriseSearchServiceInstance -Identity $AppServer
Now the clone is created and we can start creating other Search Components:
To create admin component
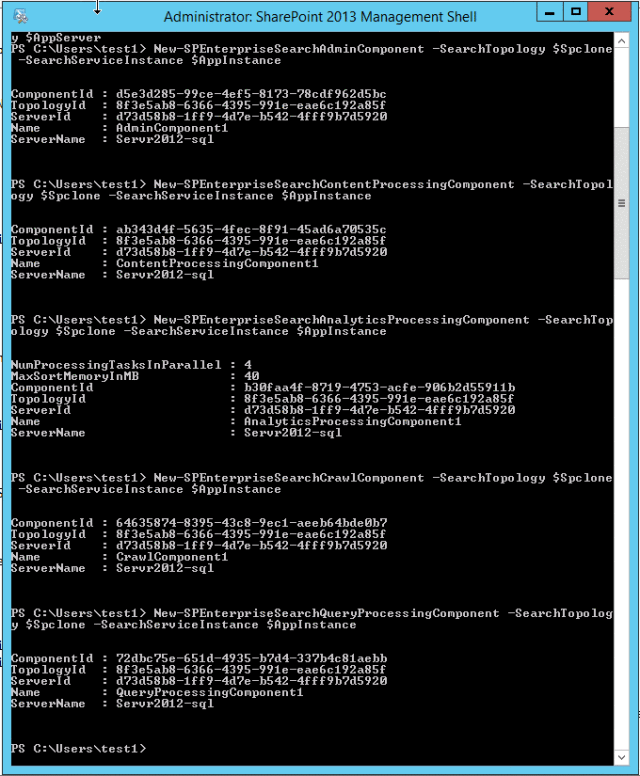
New-SPEnterpriseSearchAdminComponent –SearchTopology $Spclone -SearchServiceInstance $AppInstance
To Create content processing component
New-SPEnterpriseSearchContentProcessingComponent –SearchTopology $Spclone -SearchServiceInstance $AppInstance
To create Analytics processing component
New-SPEnterpriseSearchAnalyticsProcessingComponent –SearchTopology $Spclone -SearchServiceInstance $AppInstance
To Create crawl component
New-SPEnterpriseSearchCrawlComponent –SearchTopology $Spclone -SearchServiceInstance $AppInstance
To create Query processing component
New-SPEnterpriseSearchQueryProcessingComponent –SearchTopology $Spclone -SearchServiceInstance $AppInstance
As we are using Standalone environment there is no need for index partition and replica. We can directly create index component as others.
Note: For Scale out I will surely add a new article very soon.
$IndexprimaryLocation = “C:\Data”
New-SPEnterpriseSearchIndexComponent –SearchTopology $Spclone -SearchServiceInstance $AppInstance -RootDirectory $IndexprimaryLocation
Note: You have to create folder before using this command.
As told earlier we have to activate this clone to show effect or have in place:
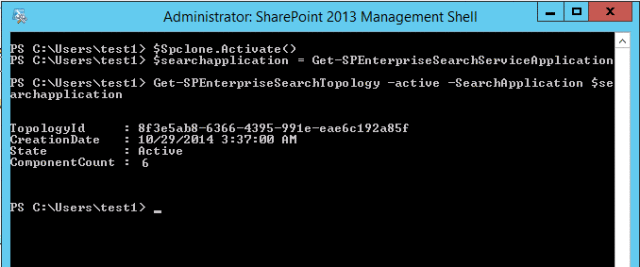
$Spclone.Activate()
It will take time to finalize the change, So you can enjoy for a while.
When all things are done we can verify our topology with below command.
$searchapplication = Get-SPEnterpriseSearchServiceApplication
Get-SPEnterpriseSearchTopology -Active -SearchApplication $searchapplication
Below is the screenshot of activated component in the topology.
Goto your central admin and go to search application you will find your topology as below:
I have created a topology on stand alone server but it is very easy to scale out your topology. In next section I will show to scale this same topology in N server farm.
If you liked this post, do like on Facebook at: https://www.facebook.com/Ashishsharepointblog
Feel free to Rate and provide feedback if you find post useful


