Hello Friends,
It’s been months I haven’t written anything as I was busy with lot of stuff. There are many things to write but starting with topic for which I got many mails from lot of friends through blogs and linked in.
As we all are aware with Claim based in SharePoint 2010 and different option/ways of Authentication( Ldap, Sql, Federation). Claim is the technology of today, In SharePoint 13 Microsoft even removed the Classic Mode and made it the days of past. Today we will discuss with the form based with LDAP Authentication.
I will try to provide and exact way to configure Form based authentication in Claim Based Authentication in SharePoint. To enable a form based , web application should be created in Claim based mode only.
Steps:
Creating a Claims based web application using GUI
- Go to Application Management in Central admin
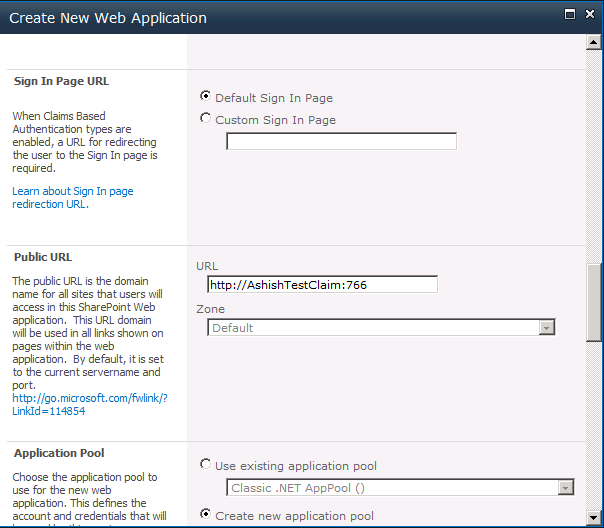
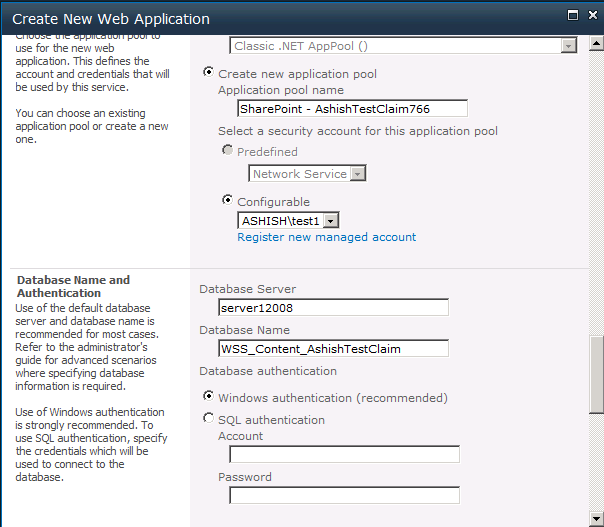
- Go to Manage Web Applications and create a new web application
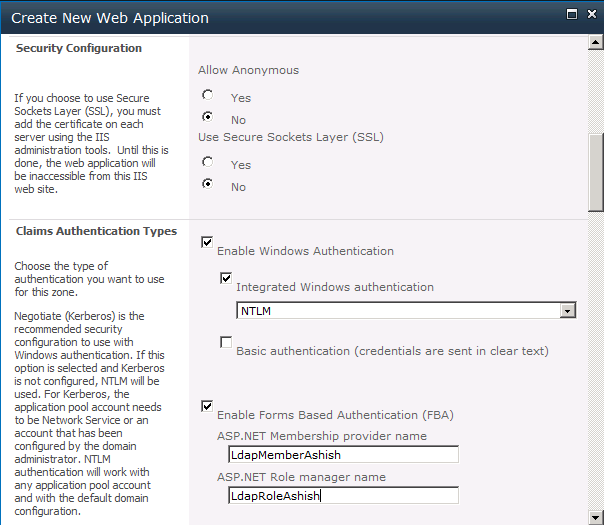
- In the option select Claims Based Authentication mode
- In claim authentication types select Enable Windows Authentication and select NTLM
- In authentication type section for form based configuring select Enable ASP.NET Membership provider name.
Note: Membership provider and Role manager name which you provide in this section will be used in everywhere for web config and enabling it. So give it properly and note it for reference.
- Click on “OK” button to create the web application.


- Now everybody knows web application is nothing until and unless there is at least a single site collection in it. So first create a site collection for it.
- Go to CA, Application Management, Create site collections
- Select the appropriate web application
- Create a site collection with adding appropriate entries .
- Now the task remain is to modify different web config files and adding user policy for the web application.
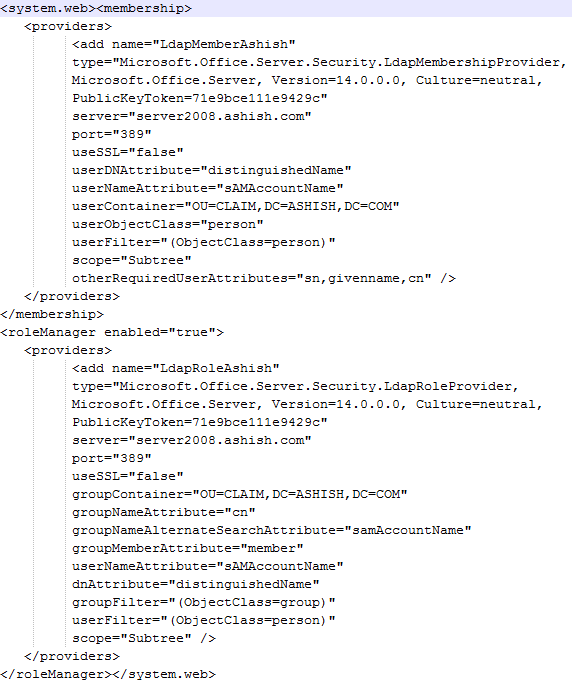
Modifying Web.Config files for the FBA web application , Central Administration and Secure Token Service
Note: All the web config entries for copying are provided at end of blog:
In the below web configs (for all ) 3 entries need to be added as per your entry:
1) one for Membership provider and Role manager name
2) Server name
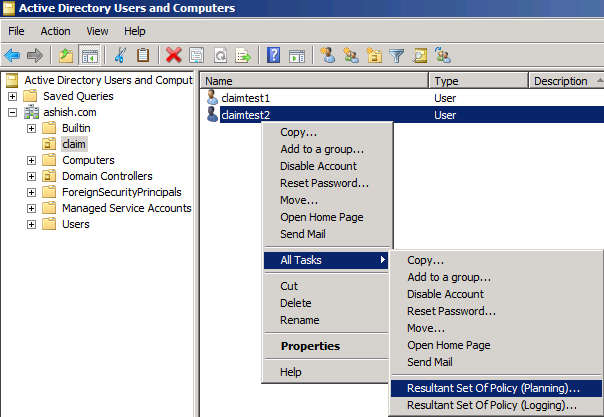
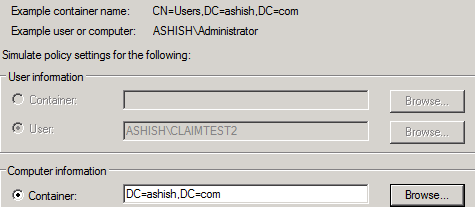
3) Group Container. If you have access to AD you can find the container easily. Go to the AD . Select a user or a group in the container
Modifying web.config of the web application
- Open the web.config file of claim based web application’s
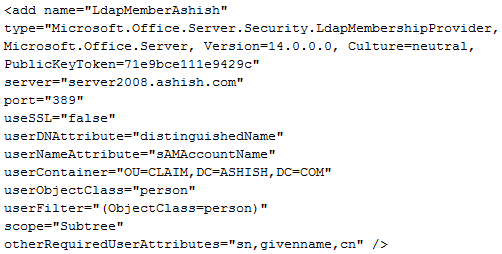
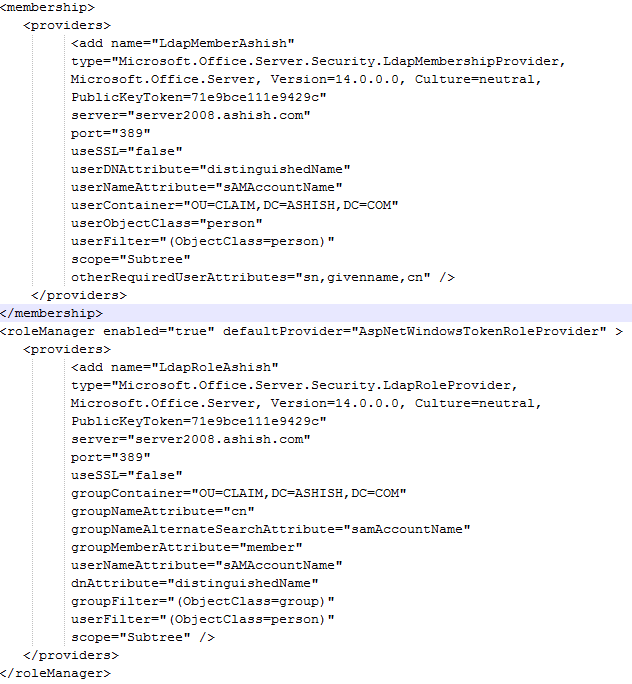
- Find the <membership> entry. There should be only one membership entry and modification should be done in that only. Duplicity will give error.
- Put the below XML directly under <Providers> entry

Modifying web.config of the Central Administration site
- Open web.config file of Central Administration site
- Find the <system.web> entry
- Put the following XML directly below it

Modifying web.config of the Security Token Service (STS) in 14 Hive
- Open the web.config file of Security Token Service (STS)
- Find the </system.net> entry
- Below full entry need to be added directly below </system.net> entry

Note: If you more than one SharePoint servers hosting Central Administration or the claims based web application then all web config entries need to be changed in all SharePoint servers.
Add a user policy to the web application
- Go to CA, Application Management, Manage Web Applications
- Highlight the claims based web application
- Click on User Policy and select Add Users link
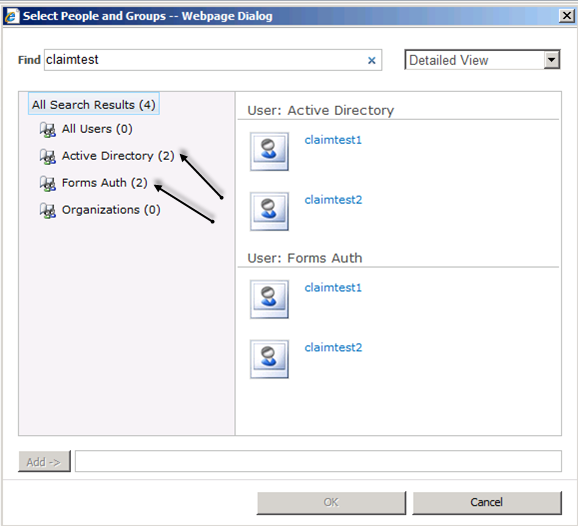
- Click the Address Book icon. Type the login name to search. There will be two entries for same name one of AD and other for LDAP
- Select the account from form authentication one in the User section and click the Add button
- Give the Full Control access by checking that box. then click the Finish button


Now is the time for testing:
Open your web application in the browser. If all things are done fine. It will open like this:
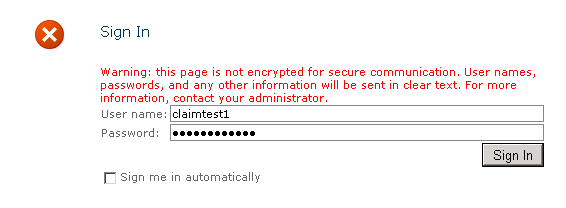
Now click on sign in:
Now Your form based authenticated site will open for you:
Web config entries
Membership entry:
<add name=”LdapMember” type=”Microsoft.Office.Server.Security.LdapMembershipProvider, Microsoft.Office.Server, Version=14.0.0.0, Culture=neutral, PublicKeyToken=71e9bce111e9429c” server=”server2008.ashish.com” port=”389″ useSSL=”false” userDNAttribute=”distinguishedName” userNameAttribute=”sAMAccountName” userContainer=”OU=CLAIM,DC=ASHISH,DC=COM” userObjectClass=”person” userFilter=”(ObjectClass=person)” scope=”Subtree” otherRequiredUserAttributes=”sn,givenname,cn” />
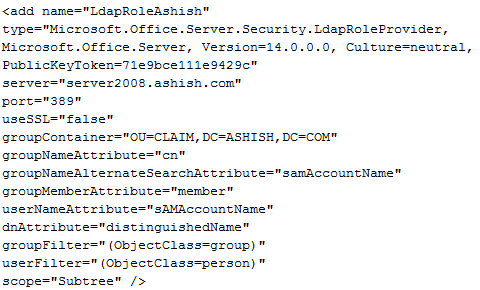
Role provider entry:
<add name=”LdapRole” type=”Microsoft.Office.Server.Security.LdapRoleProvider, Microsoft.Office.Server, Version=14.0.0.0, Culture=neutral, PublicKeyToken=71e9bce111e9429c” server=”server2008.ashish.com” port=”389″ useSSL=”false” groupContainer=”OU=CLAIM,DC=ASHISH,DC=COM” groupNameAttribute=”cn” groupNameAlternateSearchAttribute=”samAccountName” groupMemberAttribute=”member” userNameAttribute=”sAMAccountName” dnAttribute=”distinguishedName” groupFilter=”(ObjectClass=group)” userFilter=”(ObjectClass=person)” scope=”Subtree” />
People picker entry:
<PeoplePickerWildcards>
<clear />
<add key=”AspNetSqlMembershipProvider” value=”%” />
<add key=”LdapMember” value=”*”/>
<add key=”LdapRole” value=”*”/>
</PeoplePickerWildcards>
Role Manager key for CA:
<roleManager enabled=”true” defaultProvider=”AspNetWindowsTokenRoleProvider” >
Hope I was able to describe the content correctly based on my knowledge and learning.
If you liked this post, do like on Facebook at :https://www.facebook.com/Ashishsharepointblog
Feel free to Rate and provide feedback if you find post useful


