This is the seventh part in the series: SQL Server and Continuous Integration. This post demonstrates the use of GitLab to build SQL Server projects. I use ReadyRoll for my SQL Server projects but SSDT projects could also be built with GitLab. Topics covered so far in this series are:
I’ve installed the free community edition of GitLab on an Ubuntu VM running on Hyper-V. Instructions for most operating systems can be found here.
I’ll be using my ReadyRoll project, RR_Test, that I created earlier in this series. So far, I have only made commits to my local repository. I want to push my repo to GitLab so that other members of the team can pull my changes and push their own.
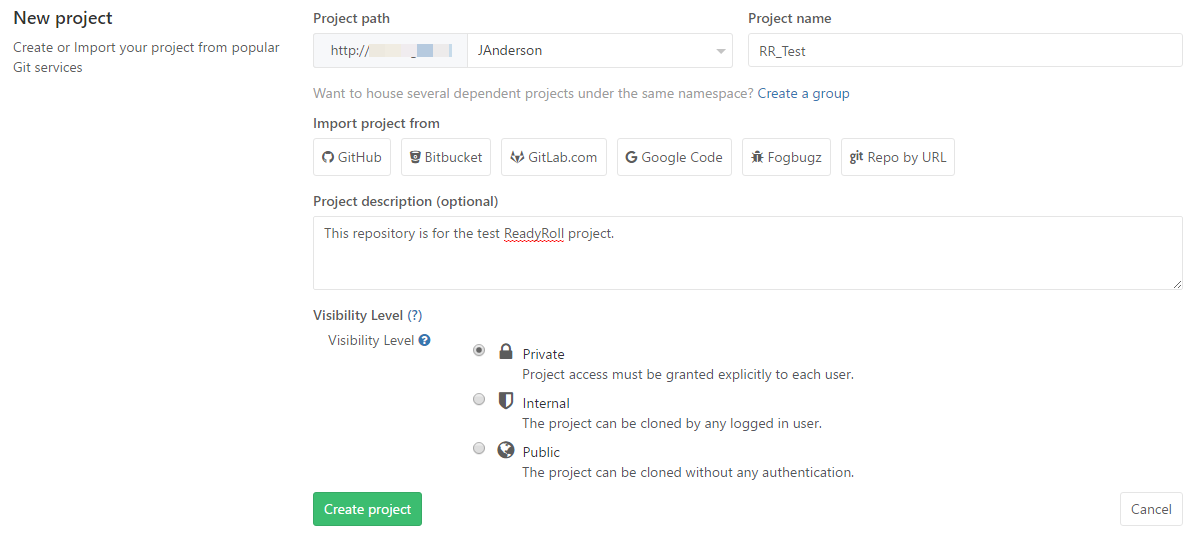
First, browse to the IP address of your new GitLab server and create a new project.
Copy the HTTP URL on the next screen.
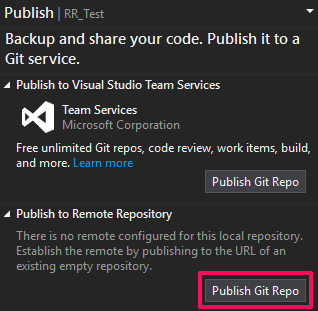
Open a solution in Visual Studio. Then use the Team Explorer panel to publish the local repository to the remote repository on GitLab.
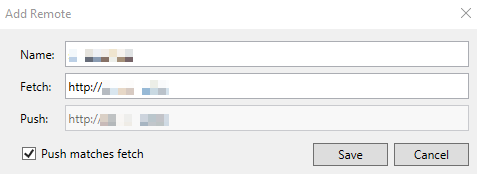
In the “Add Remote” dialogue box that appears, paste the URL (from the GitLab project screen) to add it as a remote repository.
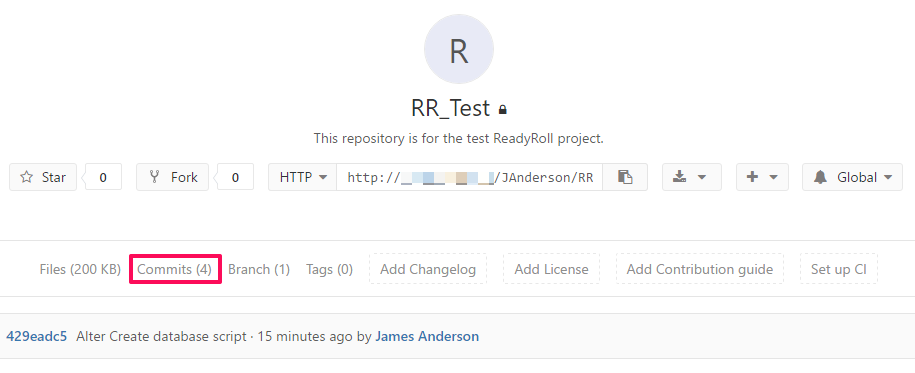
Refresh the project page to see that the repo has been received with all its files and commits.
A GitLab project is not just a remote repository for code; there is a wiki for documentation and an issue system for the new features and bugs to be implemented. The issue system has a board section that you will be familiar with if you have used tools like Trello.
The next step is to setup automatic builds, tests and deployments. This will require a runner, a pipeline and a YAML file, all of which I will cover in the next post Building SQL Server Projects with GitLab Runners.
The post GitLab for SQL Server Projects appeared first on The Database Avenger.


