In this article I’ll show you how to connect to SQL Azure database instance and create a simple database. First you have to own an Azure account. In the account you have to have a resource (your database server).
Some of the details from your resource can be used for filling up the data in the window below:
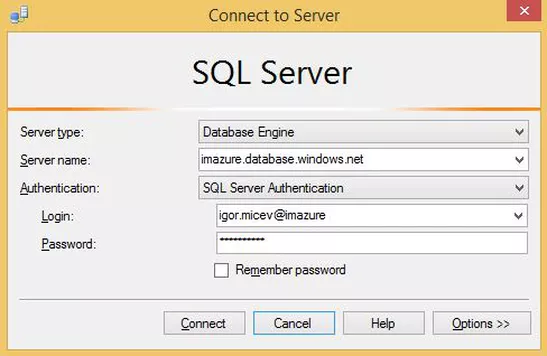
Figure 1. SQL Azure login window
My Azure resource is called imazure. The server name is imazure.database.windows.net (database server at the same time). I’m not going to tell you my password ;).
Hit Connect and you get the next window. This will be asked from you only for the first connection to your Azure database instance from your SSMS.
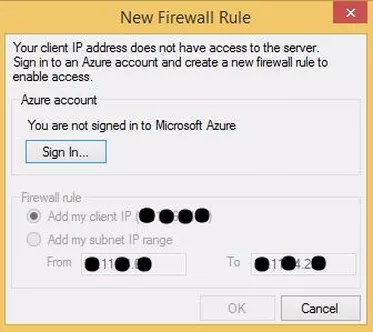
Figure 2. SQL Azure login window (first time you log on Azure)
It asks you to Sign In in you Azure account. You’re doing that with the next login (only the first time).
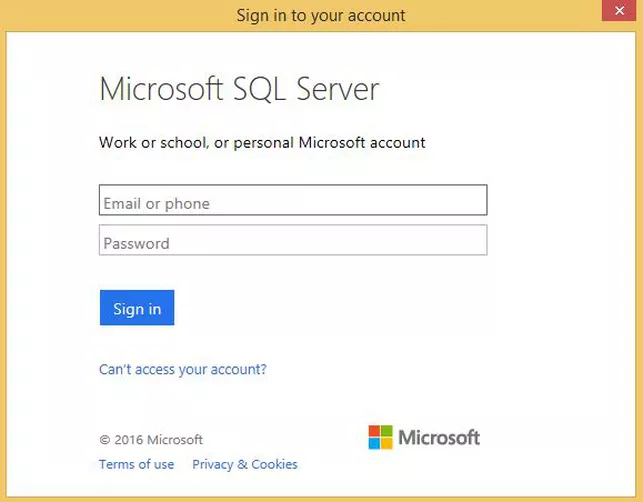
Figure 3. SQL Azure login to your Azure account
Next is the following window, that would, most likely, make you leave your try to SQL Azure.
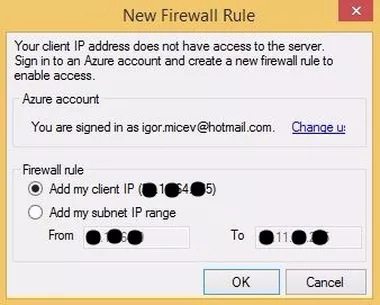
Figure 4. SQL Azure login to your Azure account (first time only)
Here is the little trick you have to do (I’ve masked the IP addresses I’m using to connect to my Azure resource).
For your resource in the Azure account, you have to define a firewall rule.
Step 1. Find the resource and navigate to Settings. Choose Firewall.
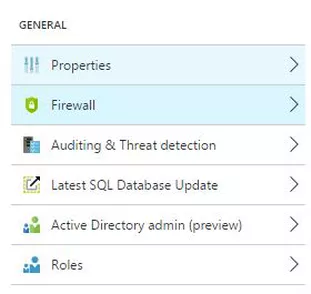
Figure 5. Azure resource settings
Step 2. Configure Firewall. You need to just add a rule name and a Start and End IPv4 addresses. You can add a range of IPs, or just one IP address.
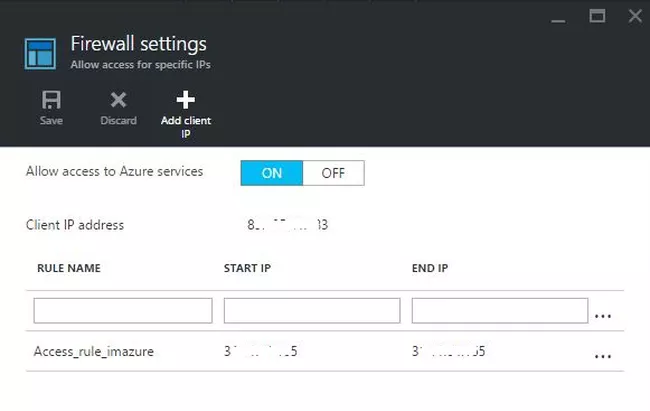
Figure 6. Azure resource Firewall settings (adding a rule for your sql server connection)
And you’re already there. Hit the OK button on Figure 4 or Figure 1, to connect to you sql azure database.
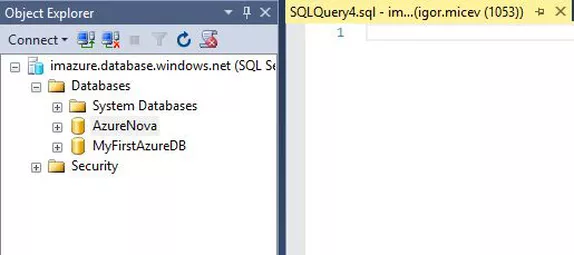
Congratulations! You’ve made a successful connection.
Run this command in your query editor and you have a database to work with.
CREATE DATABASE AzureNova
GO


