The new portal for managing Azure is pretty. I’m not sure I’m in love with it, but it’s pretty.
However, one thing that I have to access regularly is the firewall settings for my Azure SQL Database. I do demos from all over the place. I never know what my IP address is going to be. Rather than expose everything, I just set up whatever IP address I’m on and then remove it later. The old portal made this easy. The new one… not so much.
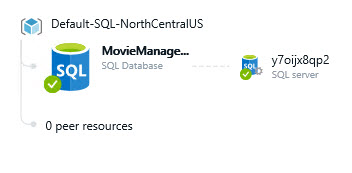
So, let’s get this down real quick. Assuming you connect to the new portal and go straight to your database, you’ll see this image showing you the database and the server it’s on:
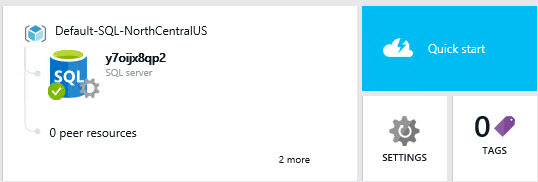
You won’t see anything else that suggests FIREWALL. But, you can click on the server. When you do, you’ll see another panel open up to the right of the one you’re on. It’ll have an image like this:
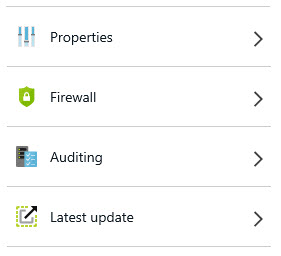
Still nothing that screams FIREWALL, but if you click on the little gear icon that says SETTINGS you’ll get yet another panel opening to the right that resembles this image:
There she blows, Firewall. Click on that and you’ll see the standard screen for editing your IP address access into the firewall:
Just remember that after adding a new IP address to your firewall you must hit the save icon at the top of the screen, or you still won’t be able to access your database.
The post Azure SQL Database Firewall Settings appeared first on Home Of The Scary DBA.


