Before the invention of shortcuts in Microsoft Fabric, big data engineers had to create pipelines to read data from external sources such as Google Cloud Platform (GCP) buckets and write into Azure Data Lake Storage. This duplication of data is at risk of becoming stale over time. Additionally, computing power might be wasted on bringing over data that is used one time. With today’s companies being comprised of mergers and acquisitions over time, your company’s data landscape might exist in multiple cloud vendors. How can we virtualize the data stored in GCP buckets in our Microsoft Fabric Lakehouse design?
Business Problem
Our manager has asked us to create a virtualized data lake using GCP buckets and Microsoft Fabric Lakehouse. The new shortcut feature will be used to link to both files and delta tables. Most of the article will be centered around setting up a GCP trial account, loading data into GCP buckets, and creating a service account to access those buckets. Once the data is linked, a little work will be needed to either create a managed delta table or test linked delta tables. At the end of this article, the big data engineer will be comfortable with Microsoft Fabric Shortcuts using GCP buckets as a source.
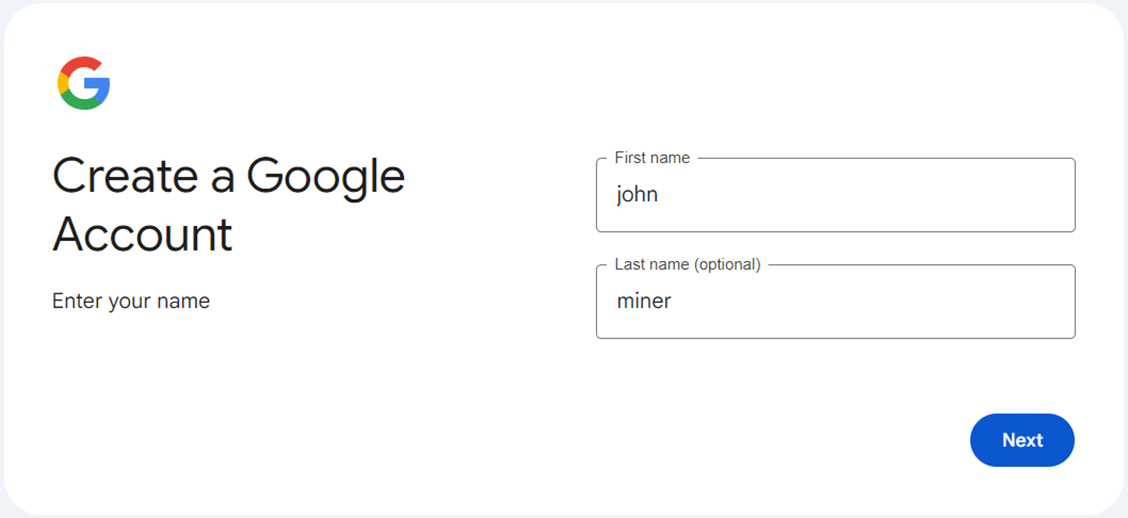
Create Google Account
We need an account within google first before we can start a trial subscription. Go to the following URL to start the process.
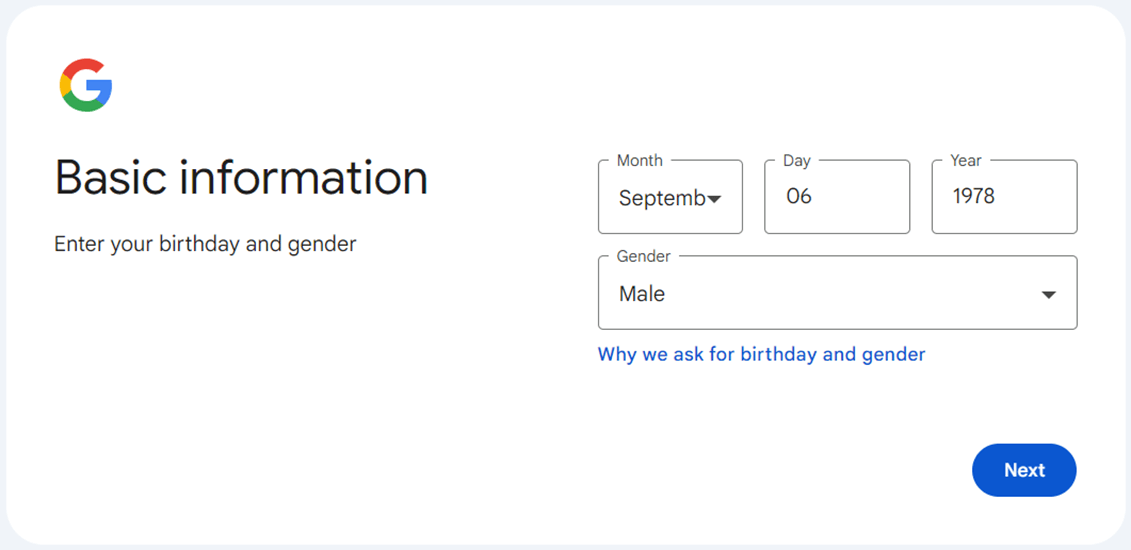
For some reason, you have to supply a birthdate and gender as part of the sign-up process.
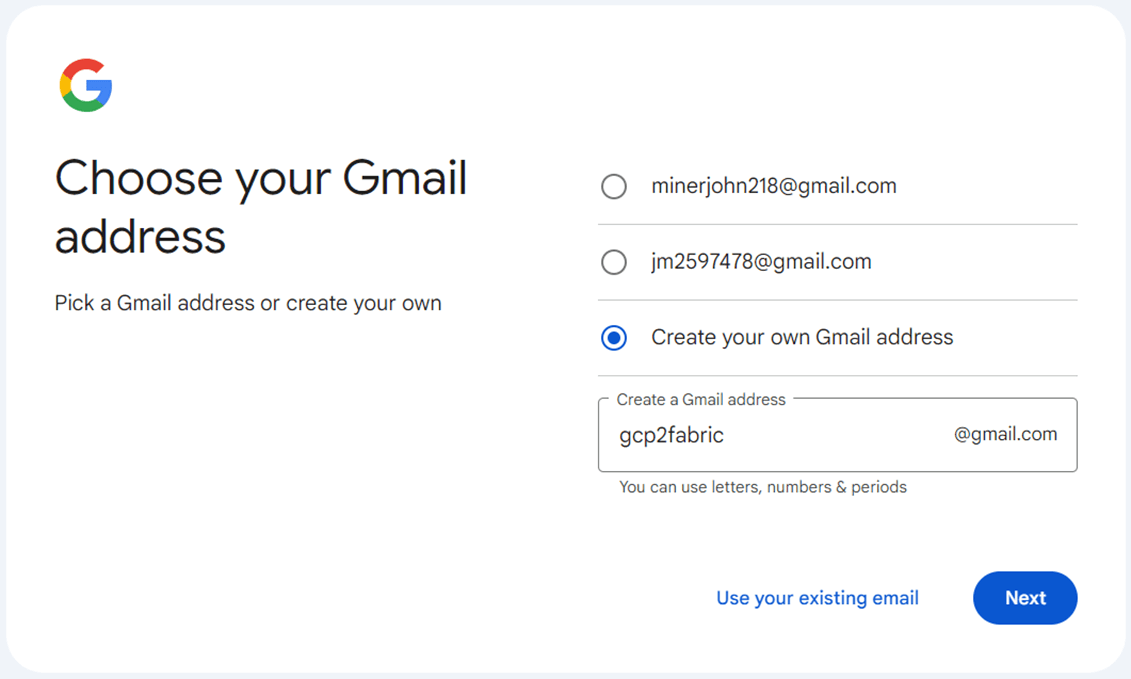
Google will suggest some account names that are not currently in use. The name I gave my user account is gcp2fabric. This describes how we want the data to flow from GCP to Fabric.
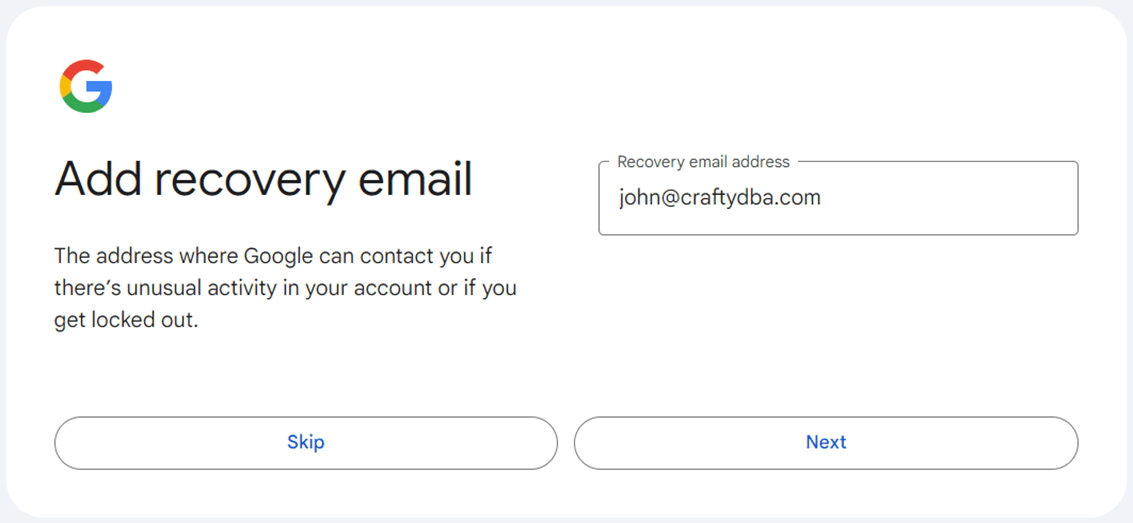
Most cloud systems want a recovery email. That way if the google account gets locked, a password reset email can be sent to my john@craftydba.com mailbox.
There is always a review or confirm page when using a graphical user interface. Hit the next button to see the details.
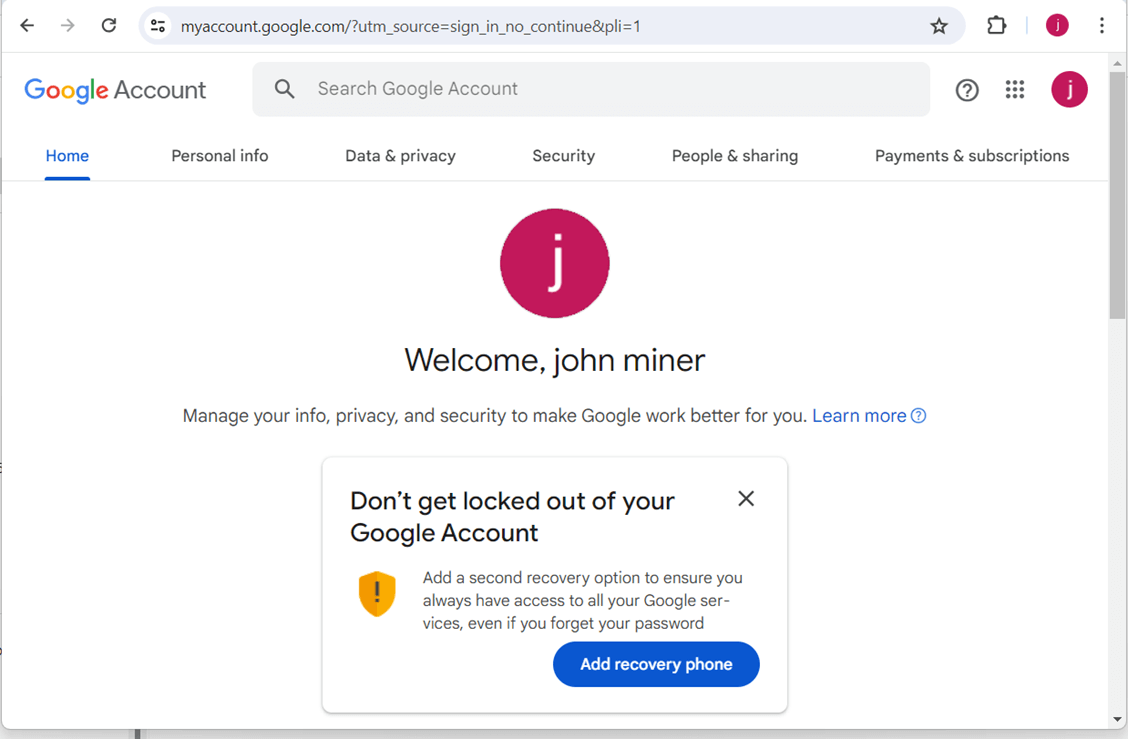
Make sure you add a recovery mobile phone. Both the email and phone are verified by receiving and verifying access codes.
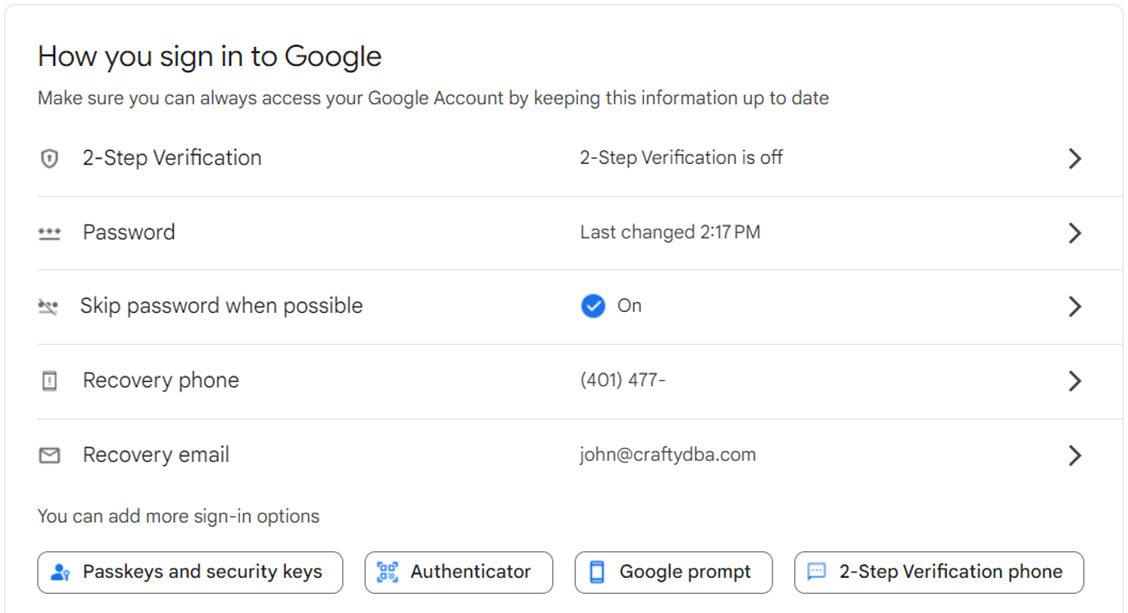
Go to the security screen to enable two factor authentication for a product system. Because this is a proof of concept, I am going to use a username and strong password.
Register For GCP Trial
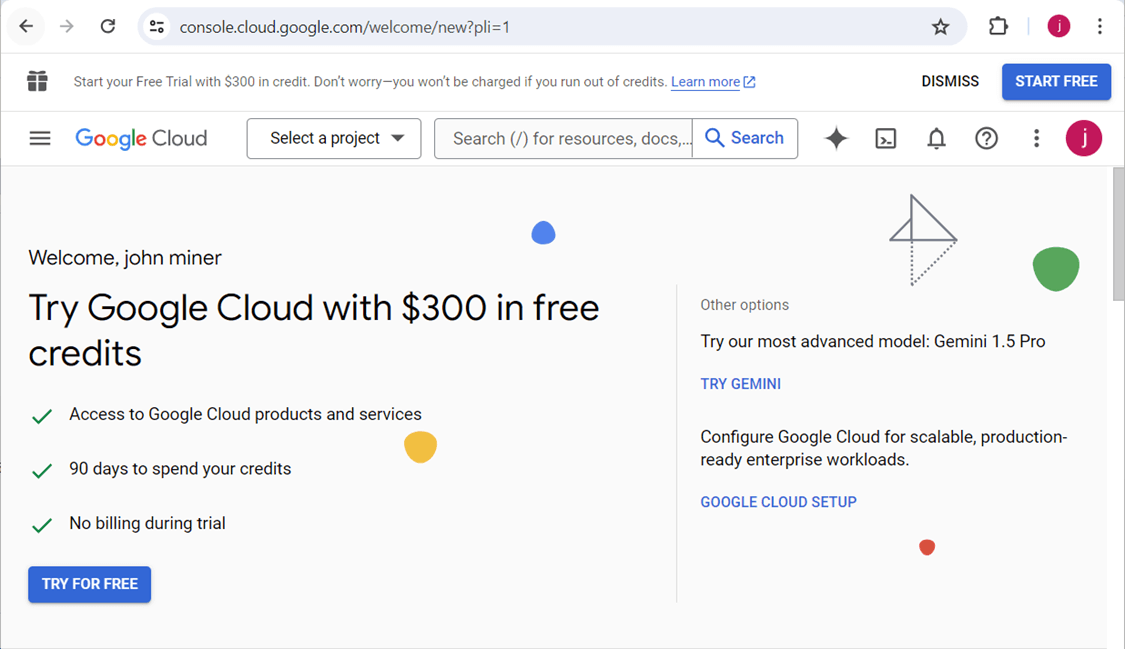
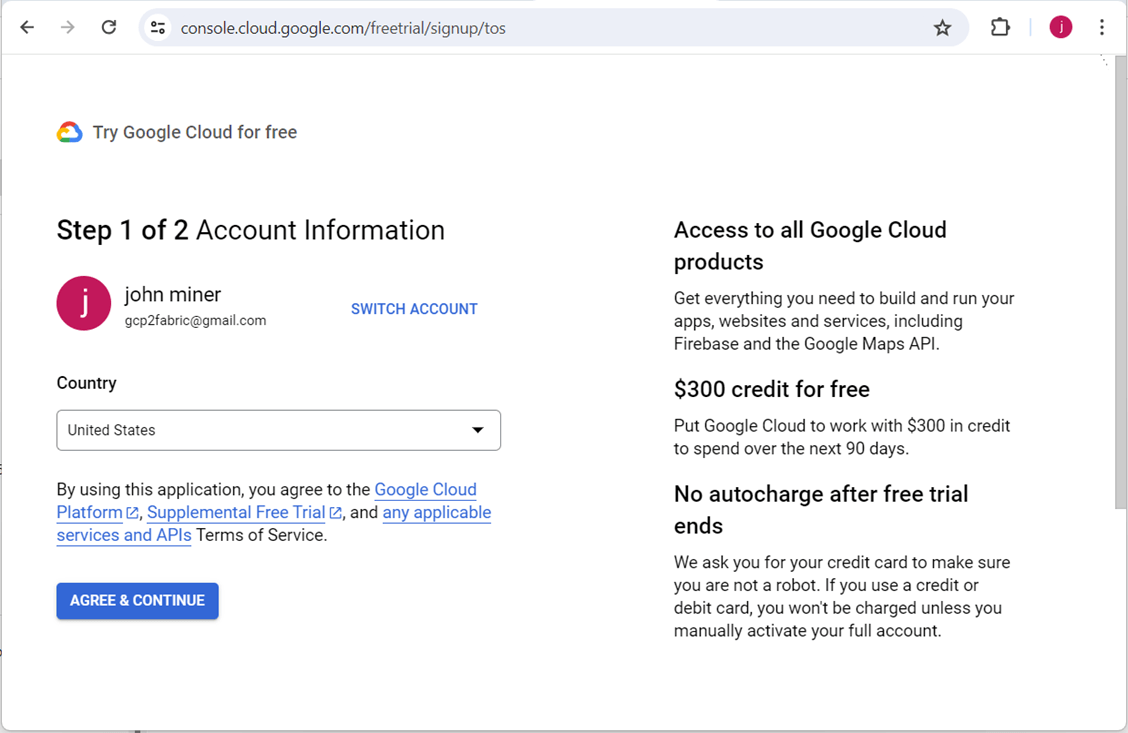
The free credits from Google Cloud Platform are quite nice. It is $300 dollars or 90 days. Whichever limit comes first ends the trial.
Make sure you are signed in with you google account and then start the trial process.
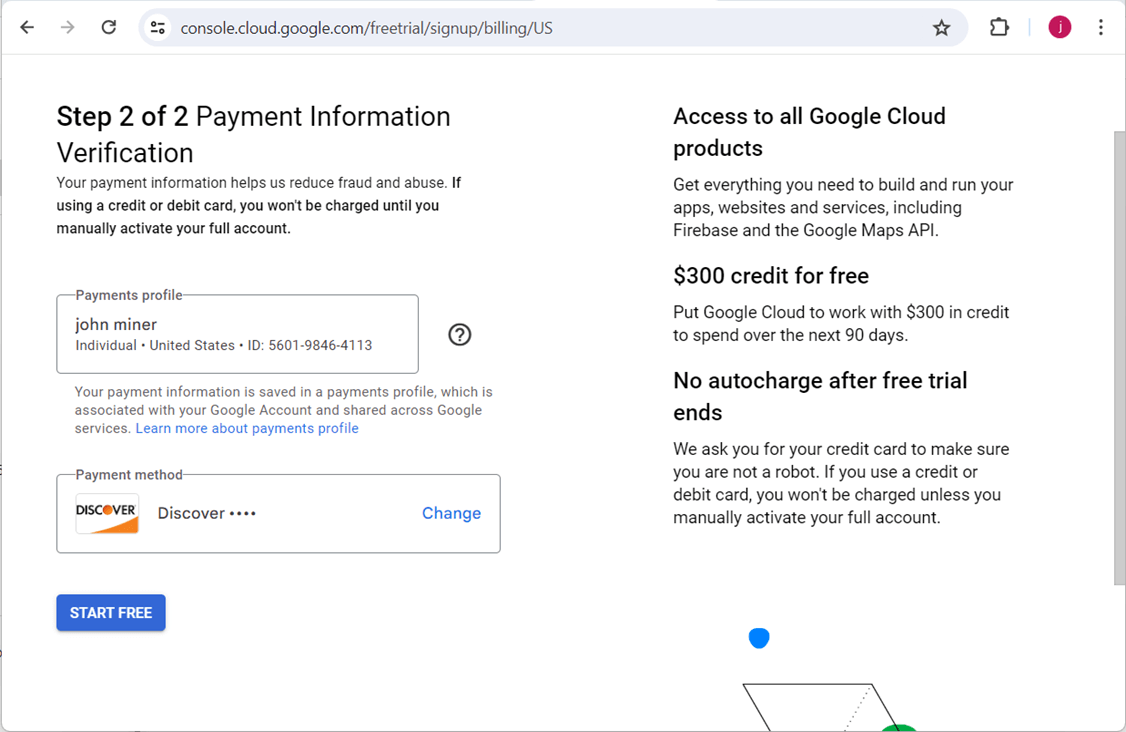
The payment verification screen is a two-part process. First, you must enter billing information. Second, you will need a credit card to back the account. The card is never charged. But watch out for those pesky popups that ask you to convert to a real account. That is when the billing starts!
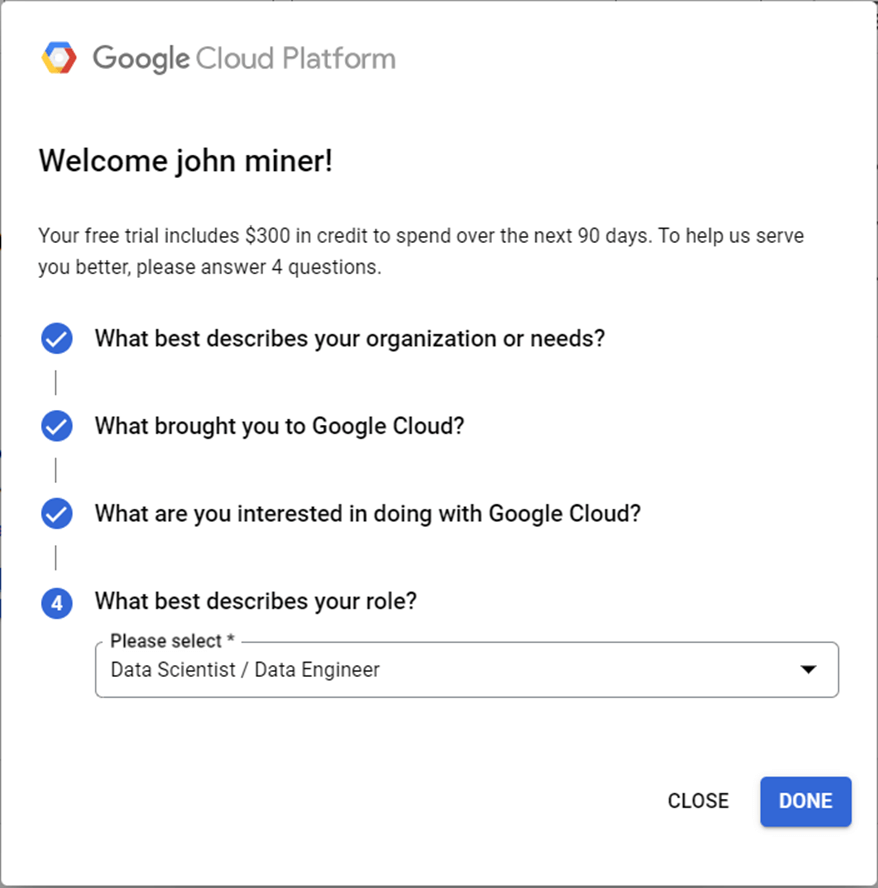
Here is yet another set of demographic screens in which Google wants my personal information.
To recap, creating both a Google Account and Google Cloud Platform trial are very easy tasks.
Cloud Storage
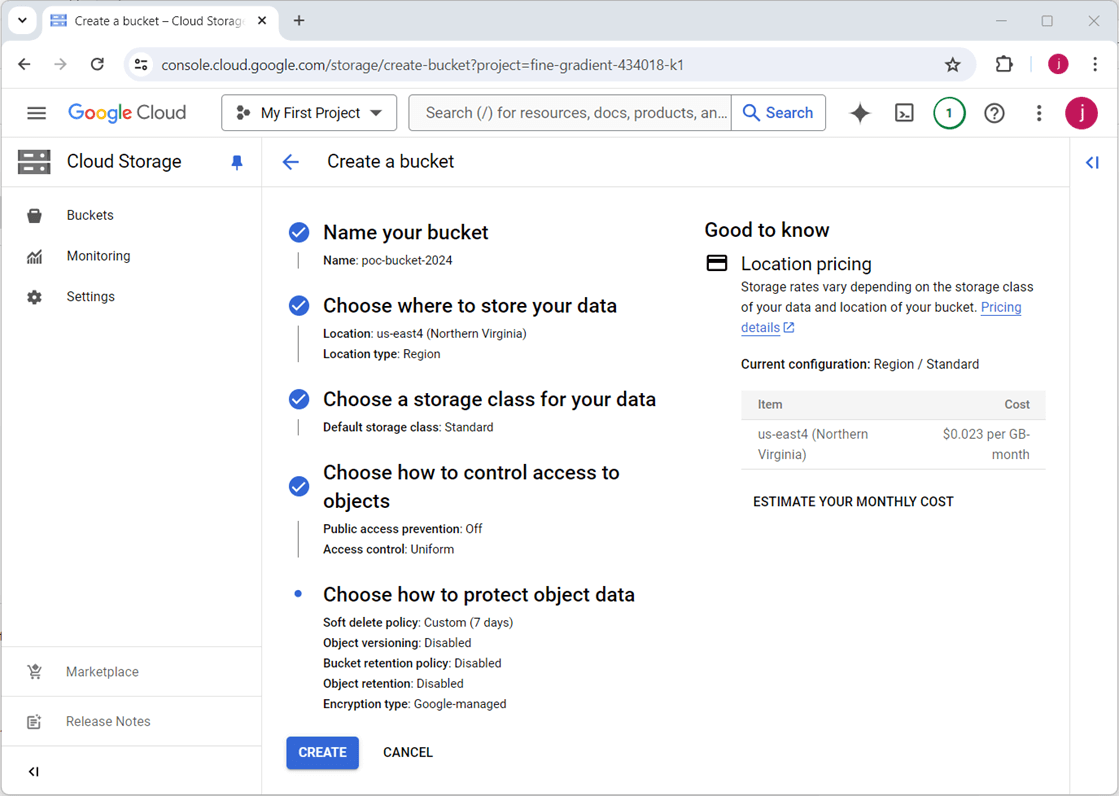
The main idea behind Fabric Shortcuts is the virtualization of data from GCP to Fabric using memory to cache the files. There are five steps to create a GCP bucket: supply a name, choose a region, pick a storage class, determine access controls, and select a data protection strategy.
Be careful when using the upload folder button. If you are impatient and do not wait, partial folder/file uploads might occur. If you are a patient person, then just wait for the start and end notifications.
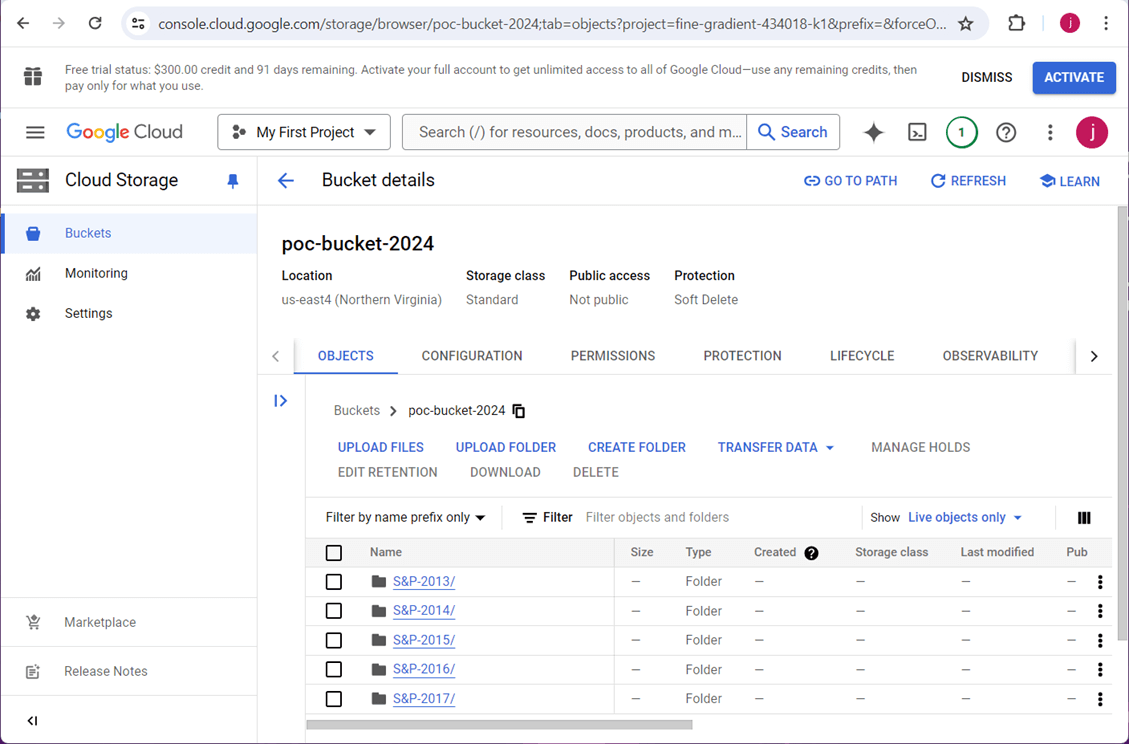
Right now, we have a storage account with five folders worth of stock data. However, we do not have any way to access the bucket.
Service Account
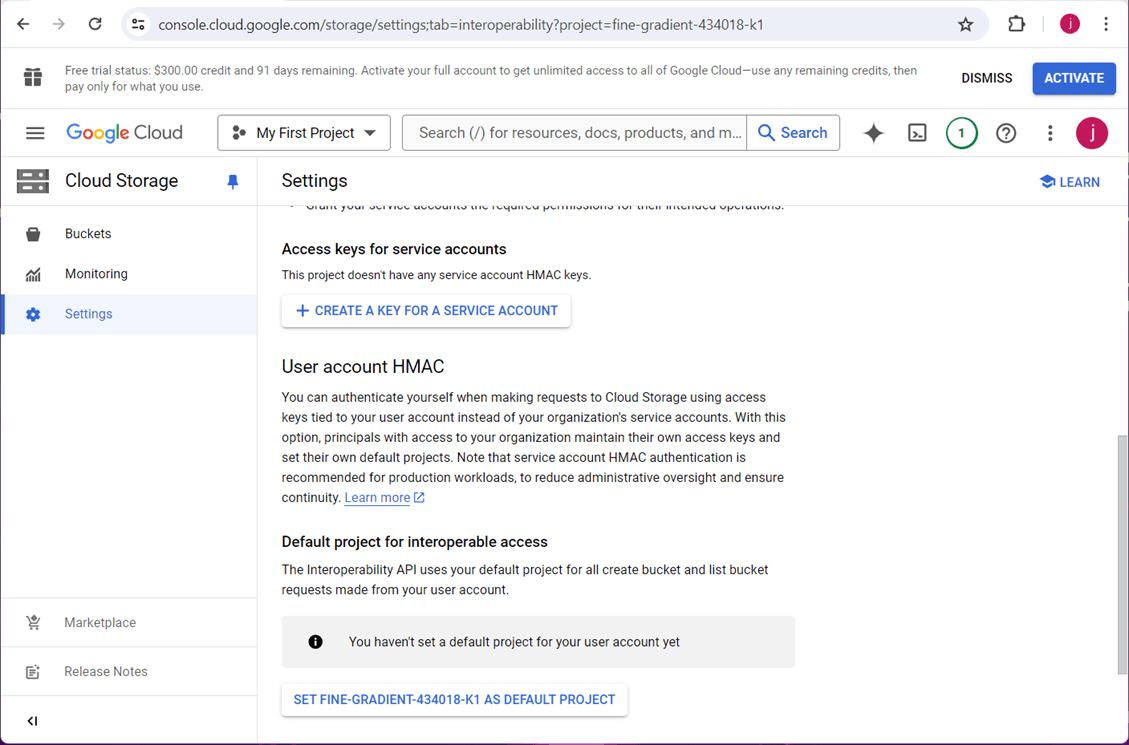
Most cloud vendors have the idea of a service account. Usually, this account does not have access to the cloud console. It is intended for use with programs to automate a task. Go to the settings section of the GCP bucket. Choose the create a key for a service account button.
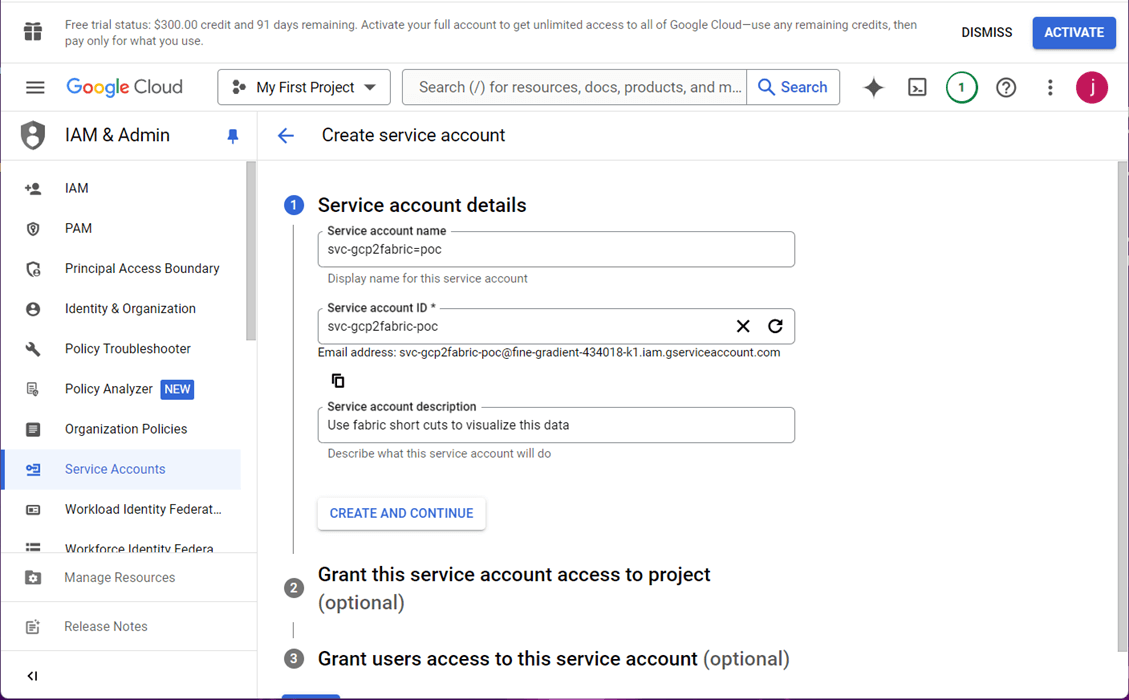
The name of the service account is not important since we just need the access key and access secret. I chose to name the service account as svc-gcp2fabric-poc.
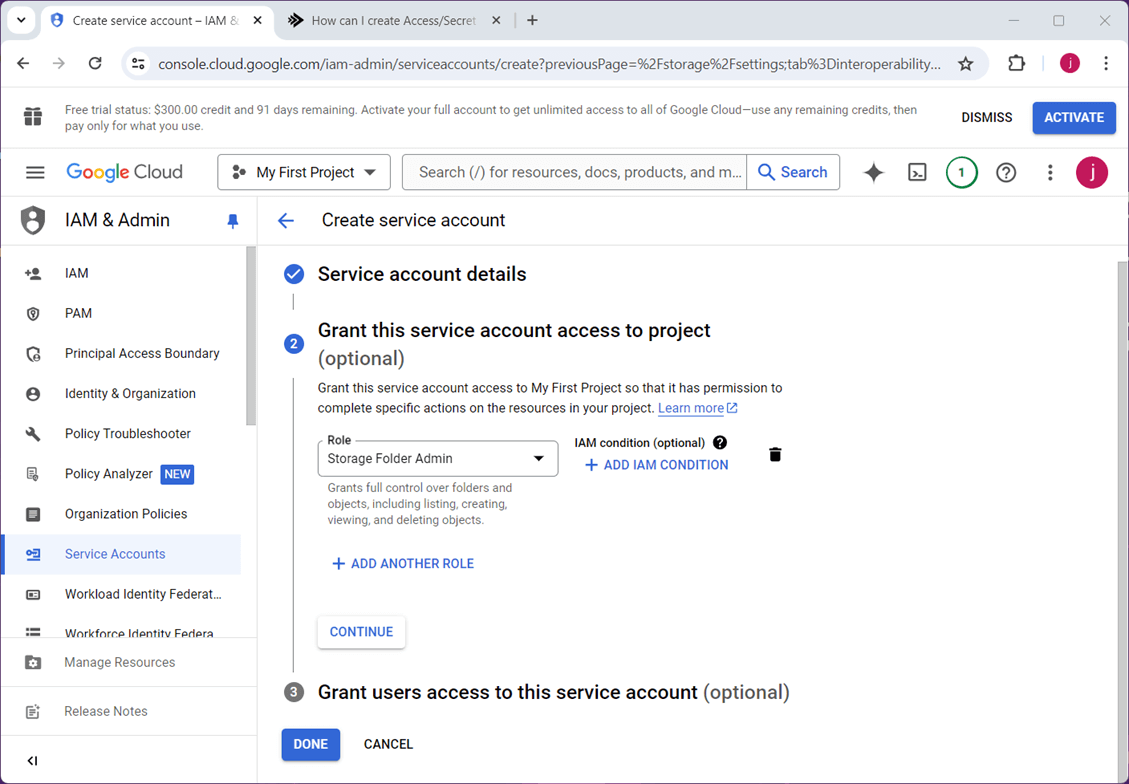
I chose to give the service account administrator access to the folders in this bucket.
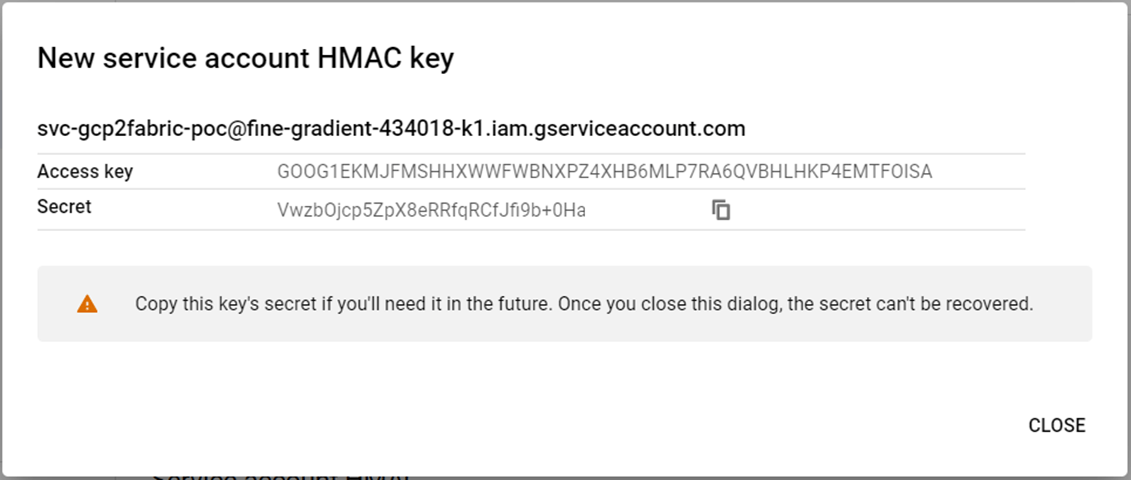
Click the create a key option under settings to generate the key for the service account. Please record both the key and the secret. The secret cannot be retrieved after you close this screen.
The next step is to test access to the storage account using a program.
Install Cloud Tools
The cloud tools for PowerShell is where you can learn about the cmdlets available to the PowerShell programmer. Run the code snippet below to get started. The first statement installs the cmdlets for PowerShell. The second command installs the command line interface (CLI). One must use the command line to authenticate to the cloud service before you can execute PowerShell cmdlets in your favorite tool. I am using VS code with the PowerShell extension.
# install library
Install-Module GoogleCloud

# install sdk / cli
Import-Module GoogleCloud
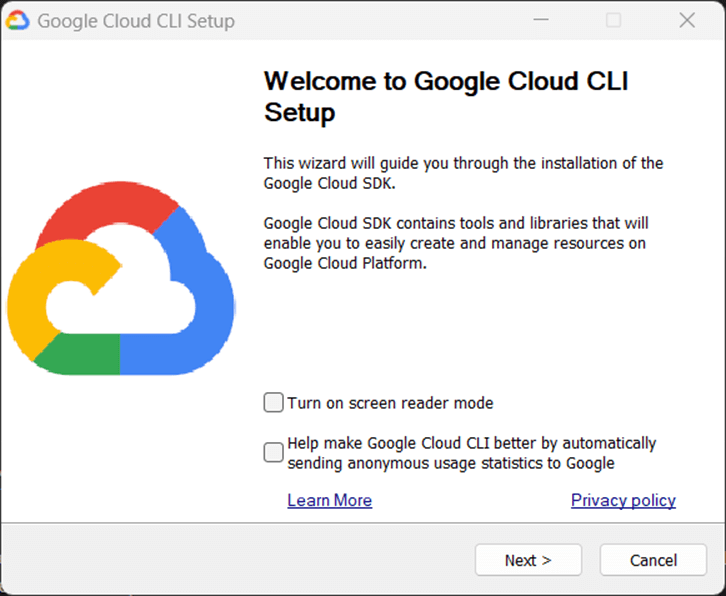
The next few screens go over the installation program for the Google CLI.
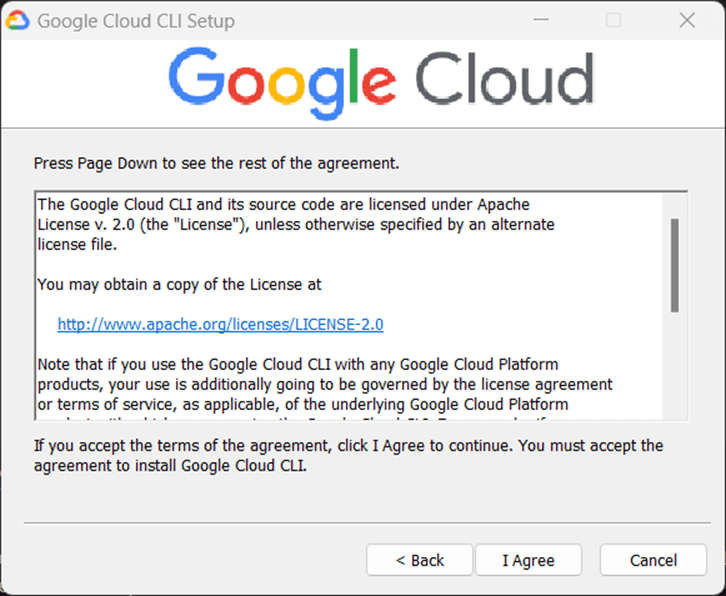
The above screen starts the installation process. The screen below shows the license agreement. Click I agree with the licensing to continue.
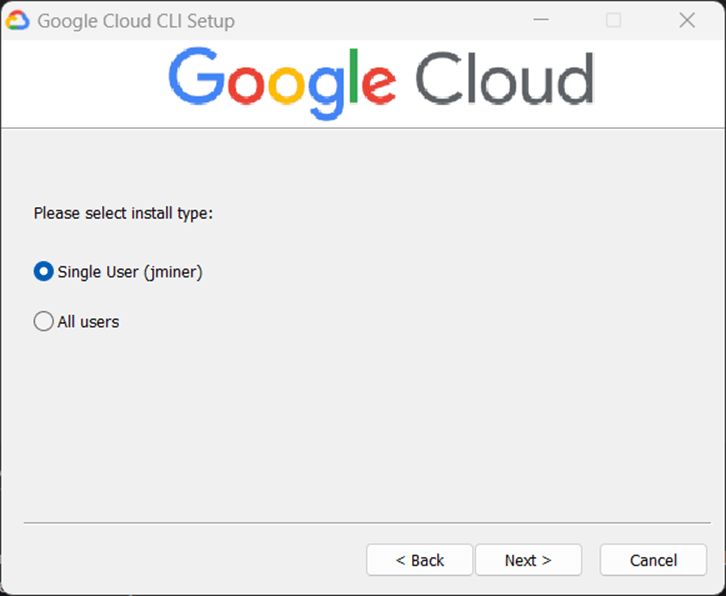
You can install the CLI interface for the current user or all users.
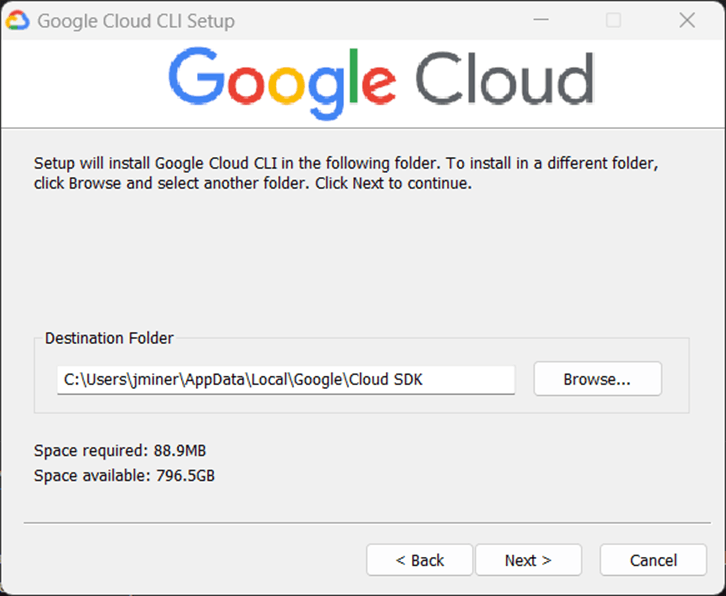
The destination directory is aptly named. If you want to change the location, do it now.
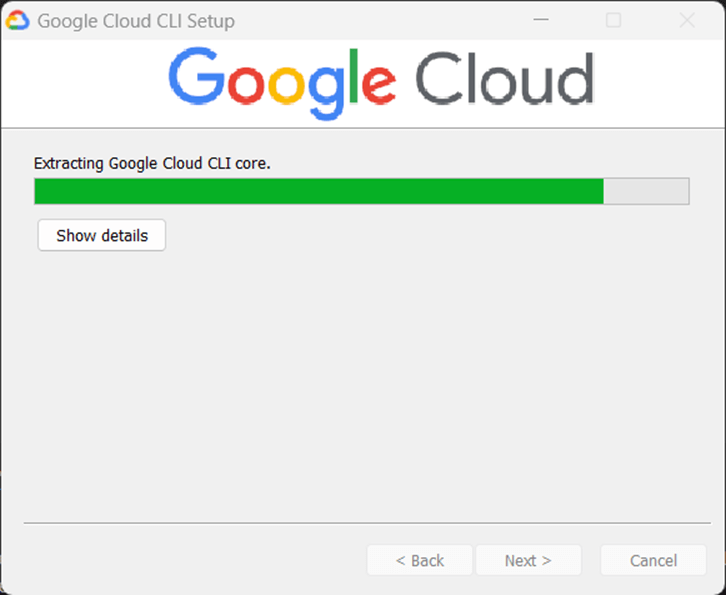
The process extracts the components from the downloaded bundle.
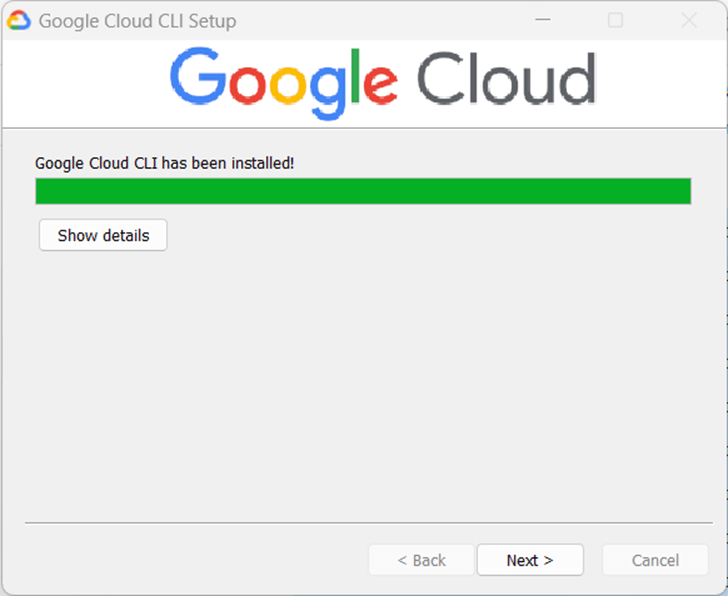
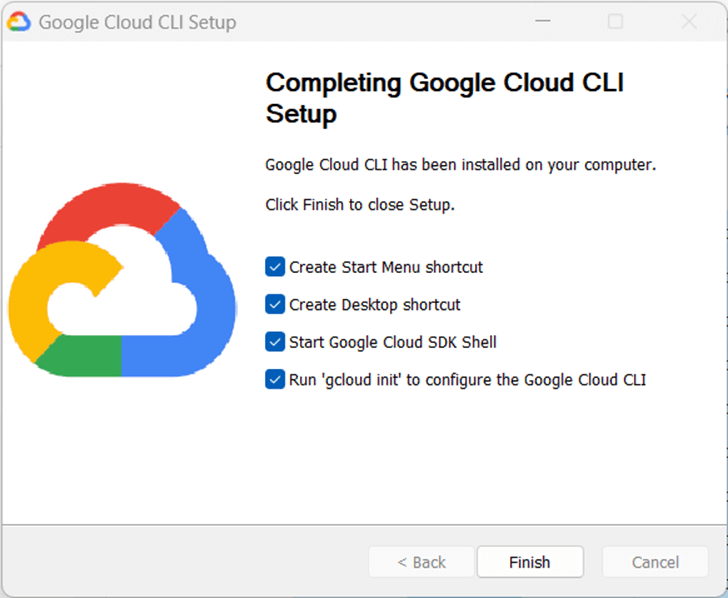
The tools are finally installed. Click next to continue.
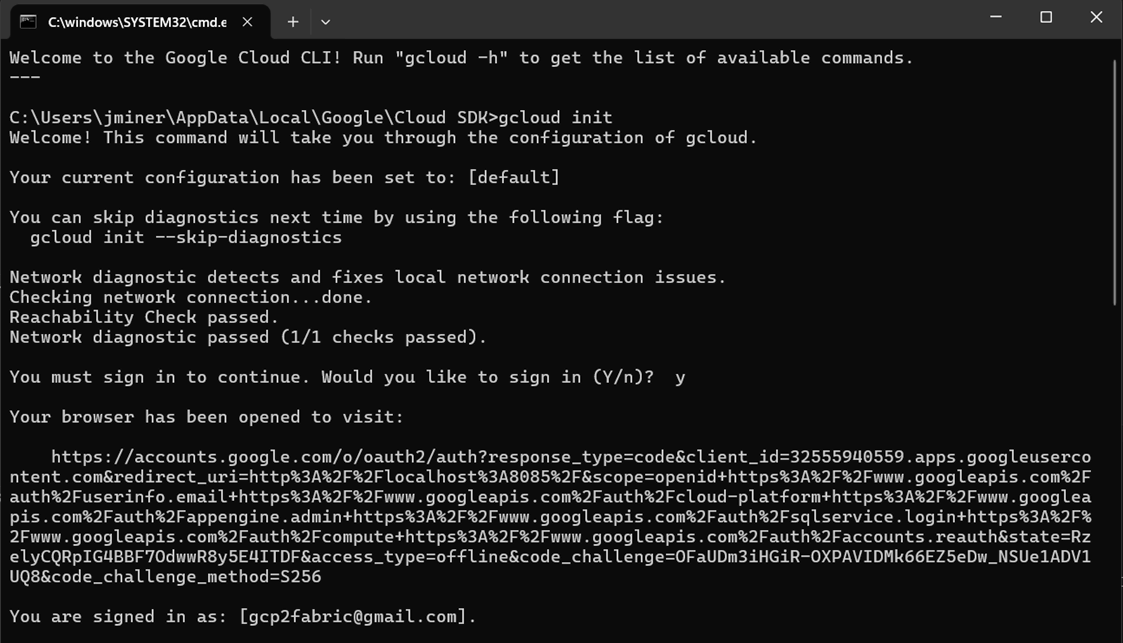
The gcloud init command from the CLI shell starts a local sign in process to GCP using the default web browser.
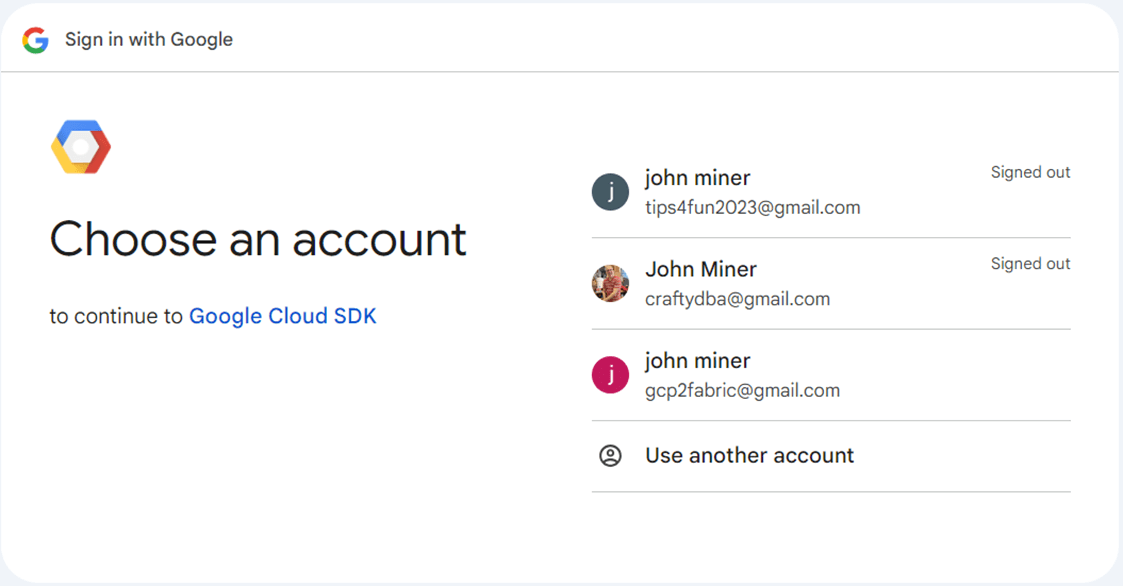
The SDK is smart enough to find three accounts assigned to my profile information. We want the last account which was created for this demonstration.
Now that the tools are installed, we can test downloading and uploading files to the GCP Bucket.
Use Cloud Tools
I used the Google Cloud cmdlets to create four separate tests. I am assuming you have logged into GCP using the CLI. The command shell output from the CLI command is shown below.
The complete PowerShell script is shown below. Please load the script into VS Code that has been set up with the latest PowerShell add-in. I created four separate tasks in the script. Use the $test variable to determine which test to run next.
# ******************************************************
# *
# * Name:         gcp-buckets.ps1
# *
# * Design Phase:
# *     Author:   John Miner
# *     Date:     08-25-2024
# *     Purpose:  Download / upload files from / to GCP bucket.
# *
# ******************************************************/
# clear output window
Clear-Host

# set level
$test = 4

# show buckets
if ($test -eq 1) {
    $buckets = Get-GcsBucket
    $buckets
}

# show msft files
if ($test -eq 2) {

    # all objects in a GCS bucket.
    $files = Get-GcsObject -Bucket $buckets

    # filter by msft
    $msft = $files | Where-Object { $_.Name -like "*MSFT*"}
    $msft
}

# download msft files
if ($test -eq 3) {

    $msft = Get-GcsObject -Bucket "poc-bucket-2024" | Where-Object { $_.Name -like "*MSFT*"}

    # use for loop
    $msft | ForEach-Object {

        # create destination path
        $file = $_.Name.Split("/")[1]
        $target = "c:\gcp-bucket-test\" + $file

        if (1 -eq 1) {
            Write-Host $_.Bucket
            Write-Host $_.Name
            Write-Host $target
            Write-Host ""
        }

        # remove file
        Remove-Item -Path $target -ErrorAction SilentlyContinue

        # download file
        Read-GcsObject -Bucket $_.Bucket -ObjectName $_.Name -OutFile $target
    }
}


# upload adv wrks delta folders
if ($test -eq 4) {

    # upload a folder
    New-GcsObject -Bucket "poc-bucket-2024" -Folder "C:\gcp-bucket-test\advwrks"

}
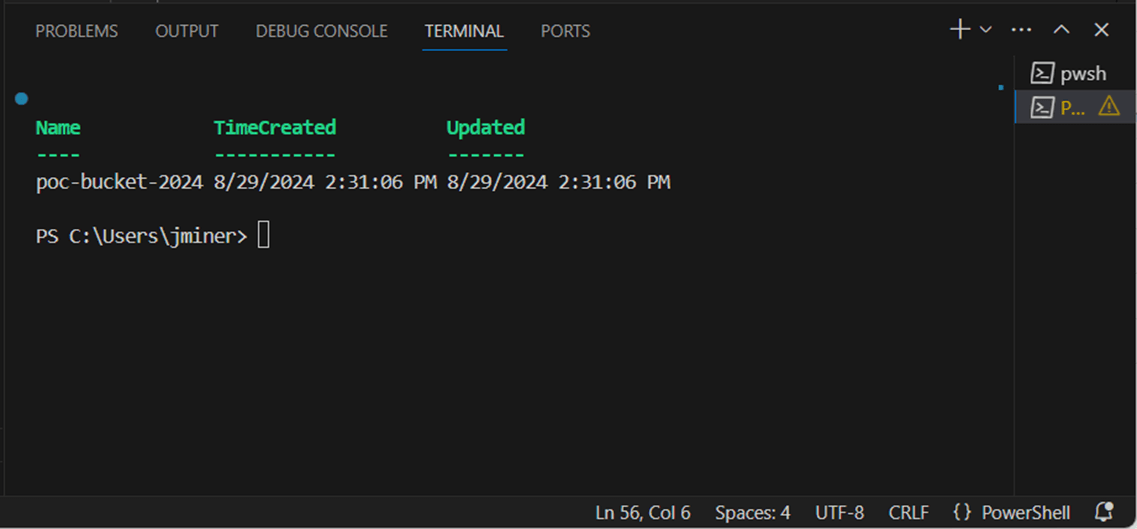
The first task is to show the buckets in my GCP project. I used the Get-GcsBucket cmdlet retrieve the output seen below.
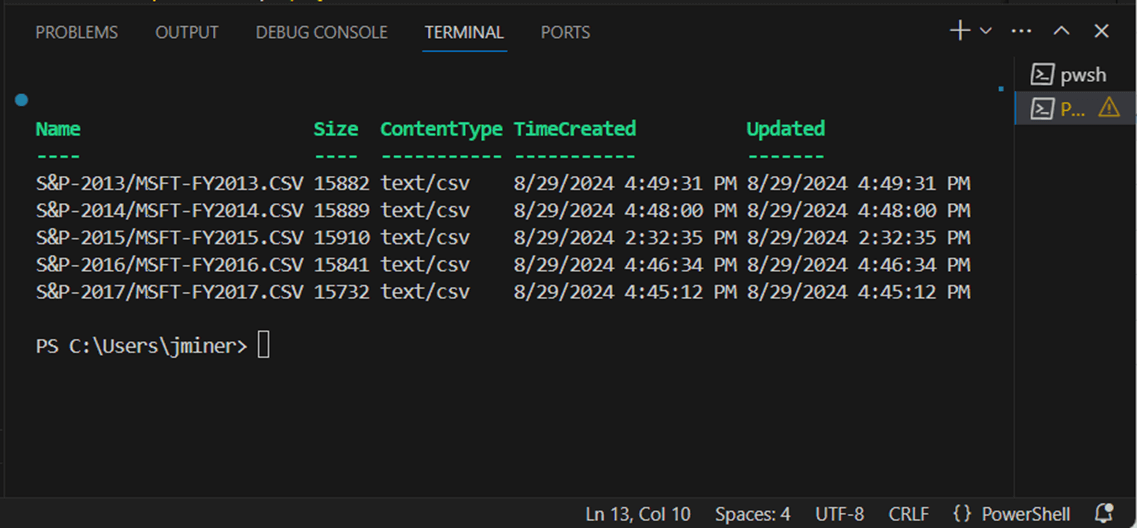
The second task is to get a list of all files into a variable named $files. The Get-GcsObject cmdlet returns detailed information of each file stored in the bucket. We want to filter just for Microsoft stock data. Since there is five years of data, we are expecting five files in the result set. Please see the image below for details.
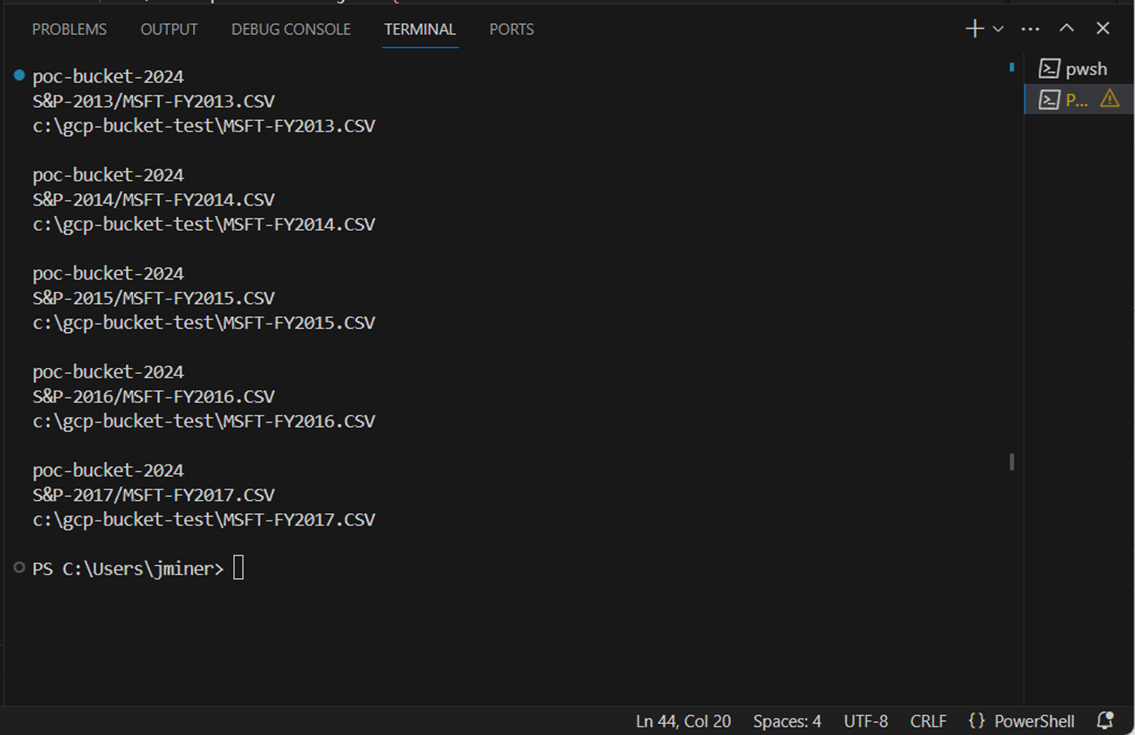
The third task is to download those files into a local directory named gcp-bucket-test. The Remove-Item cmdlet allows us to remove any existing files before downloading from the bucket. The error action is set to silently continue if there are no files. The Read-GcsObject cmdlet is used to download a single file. If you refer back to the script at the beginning of this section, the download is a culmination of the first two tests plus a for loop.
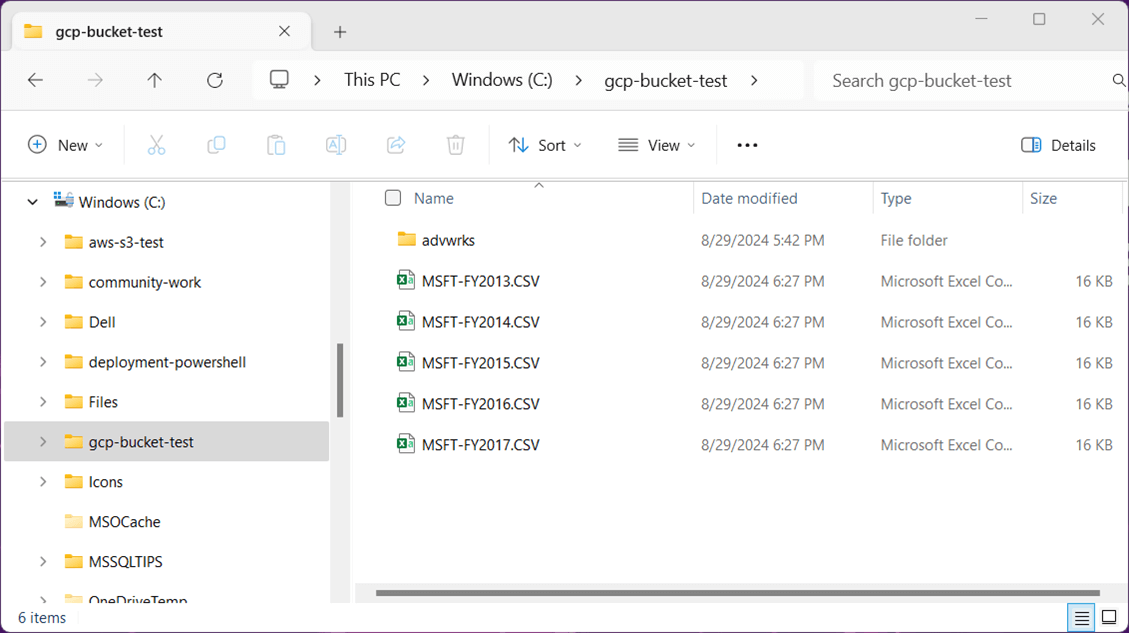
The very last test is to upload the advwrks folder to the cloud. This folder contains 11 delta tables. The image shows the working directory for our GCP bucket test.
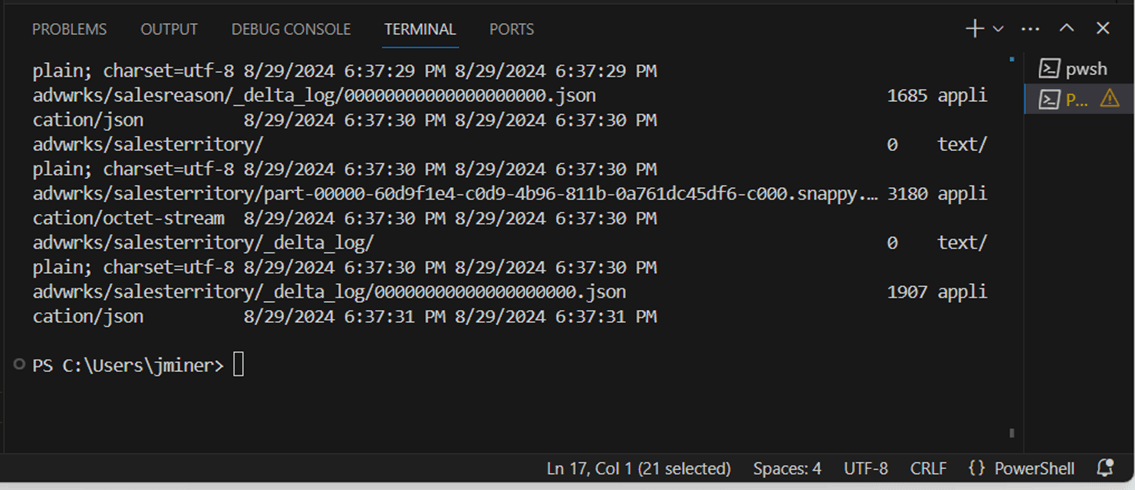
The New-GcsObject cmdlet uploads a folder from local storage to cloud storage. The output shows the parquet and json files being uploaded to the GCP cloud.
The exploration of the PowerShell cmdlets has given me more confidence that the shortcuts will work. However, we did not test the access key and secret with code yet.
Fabric Shortcuts
There are two types of shortcuts supported in the Fabric Lakehouse. The first shortcut allows the developer to virtualize files. The second shortcut virtualizes the Delta Tables in the Lakehouse Hive Catalog. Let’s first work with the File Shortcuts.
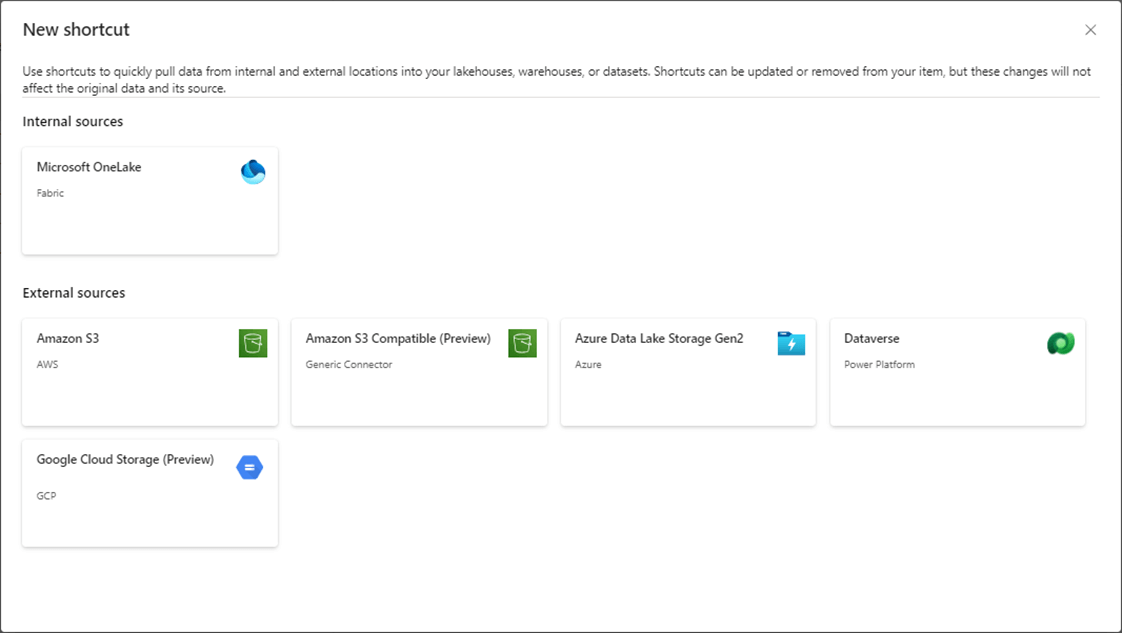
Today, we are going to work with the GCP shortcuts that are in preview.
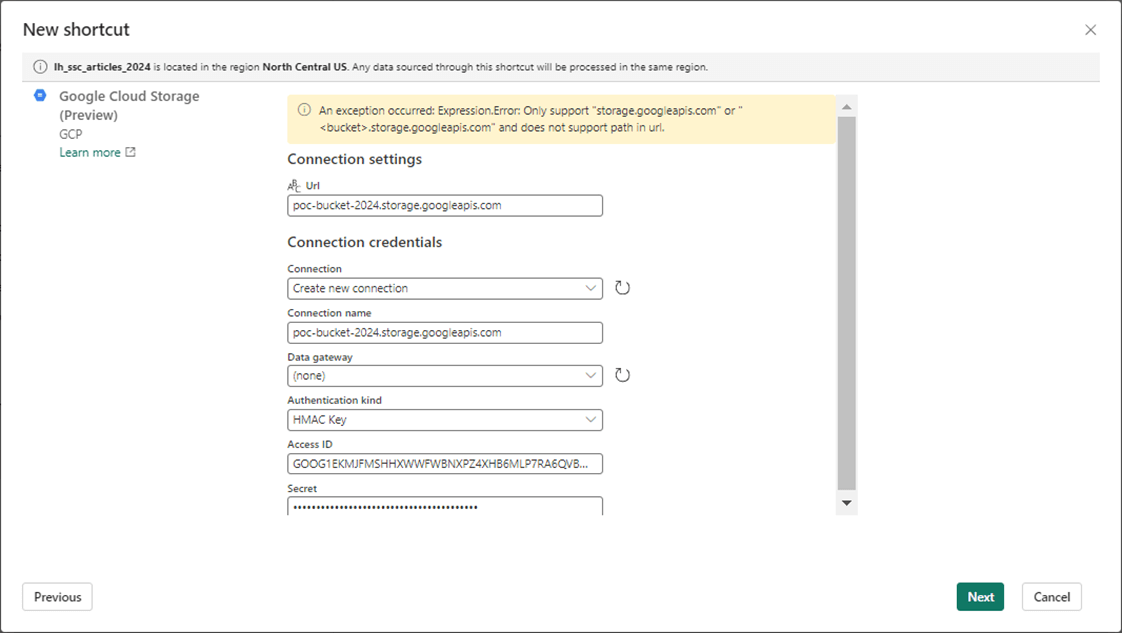
Please enter information about the bucket URL as well as the service account. That saved information for a HMAC key comes in handy right now.
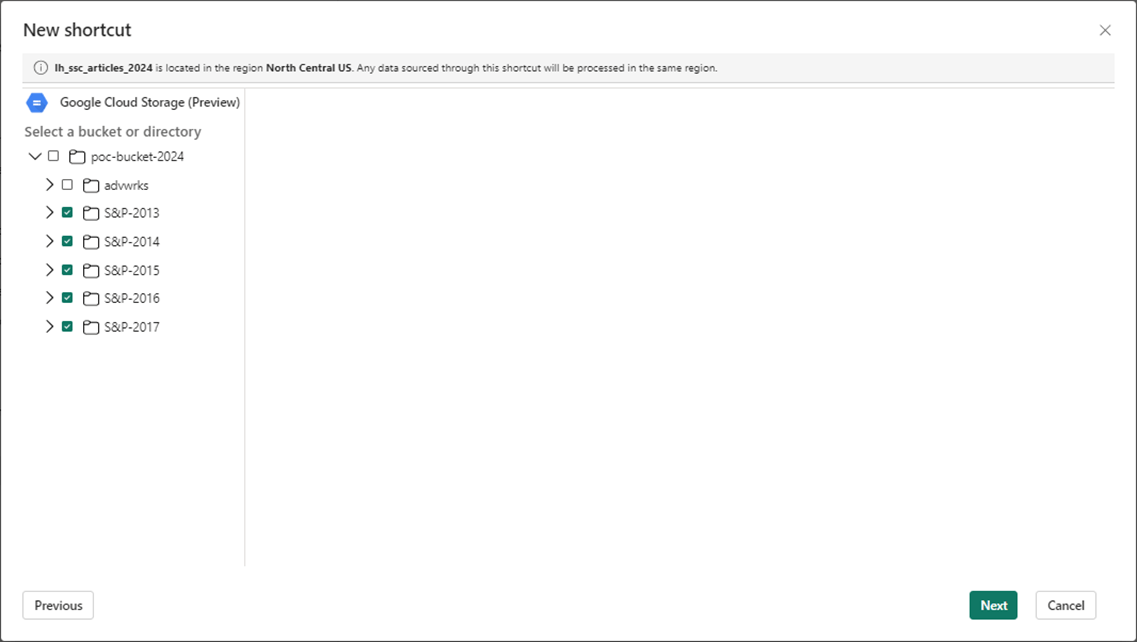
Here is a professional tip. Create the shortcuts using the lowest directory level. I want a shortcut for each folder in the GCP bucket.
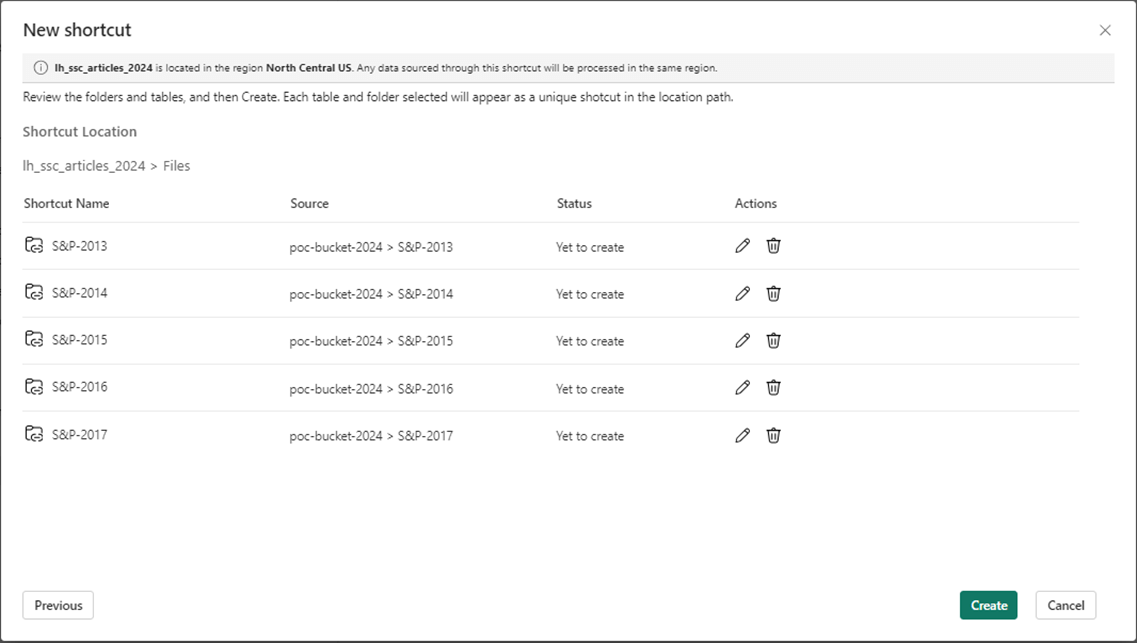
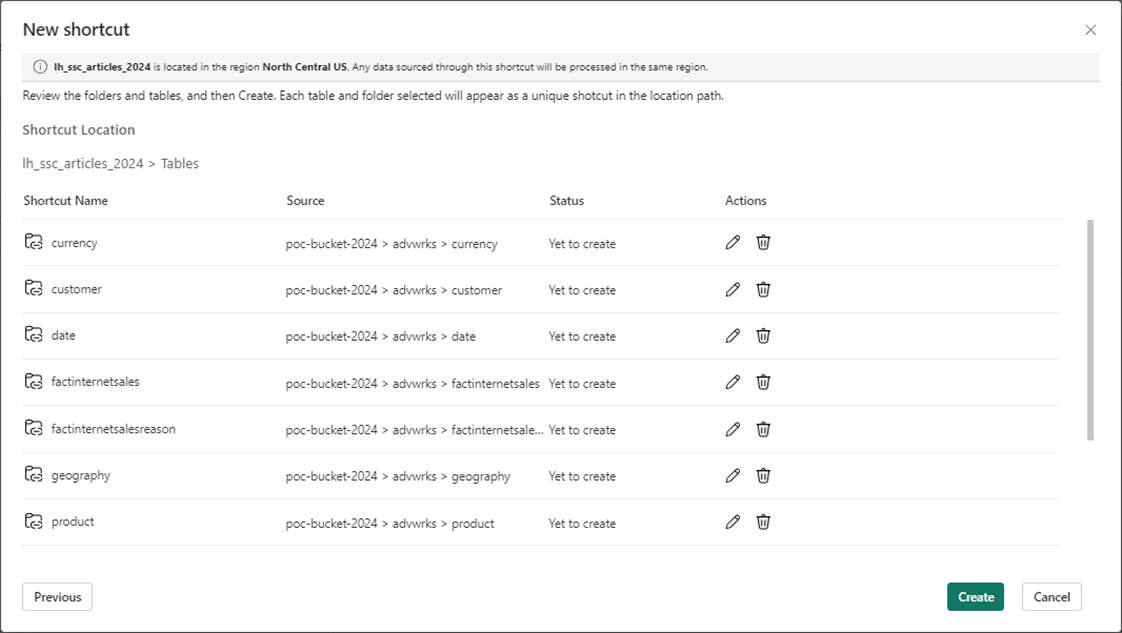
The new short screen basically asks you to double check your work at this time.
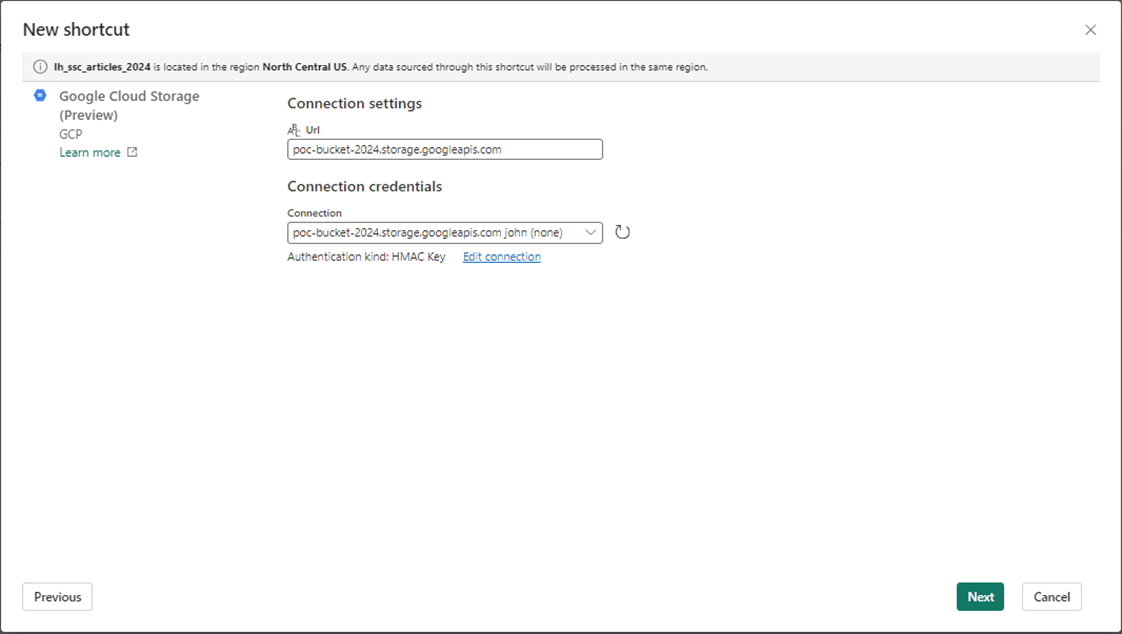
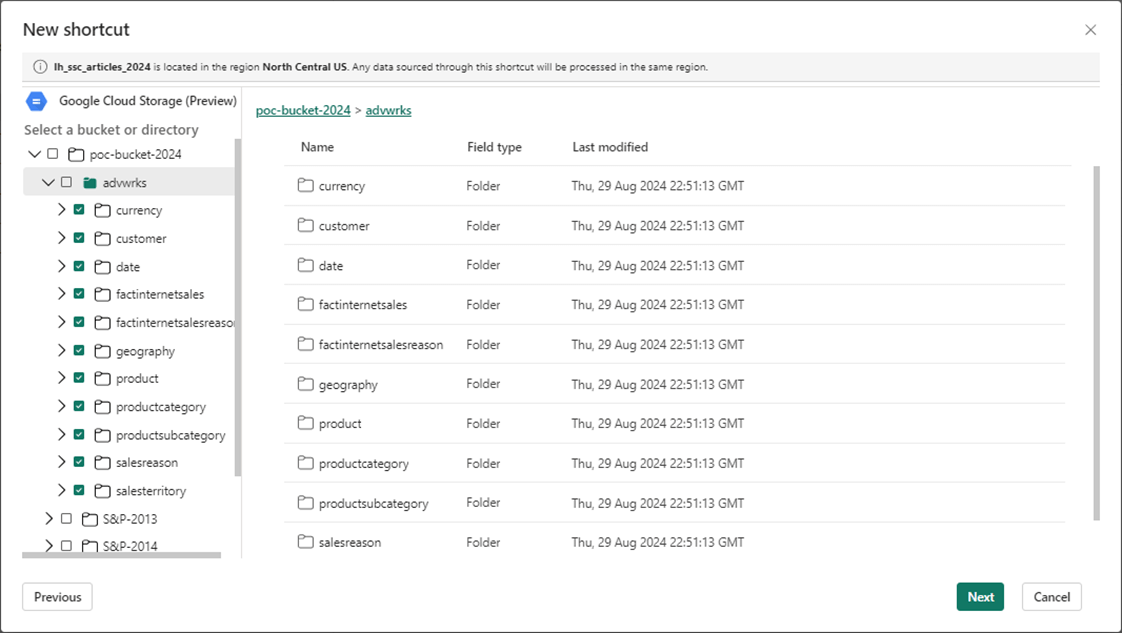
Now, we want to create shortcuts for the eleven Delta Tables. The GUI is smart enough to know we created a connection already for this storage URL.
Again, choose the lowest leaf in the directory tree for shortcuts. This will result in a shortcut for each folder that contains a delta table.
One more verification of shortcuts needs to be done before our tasks are completed.
Now that shortcuts are defined for Files and Tables, it is time to create some Python code in a Spark notebook to test them.
Shortcut Testing
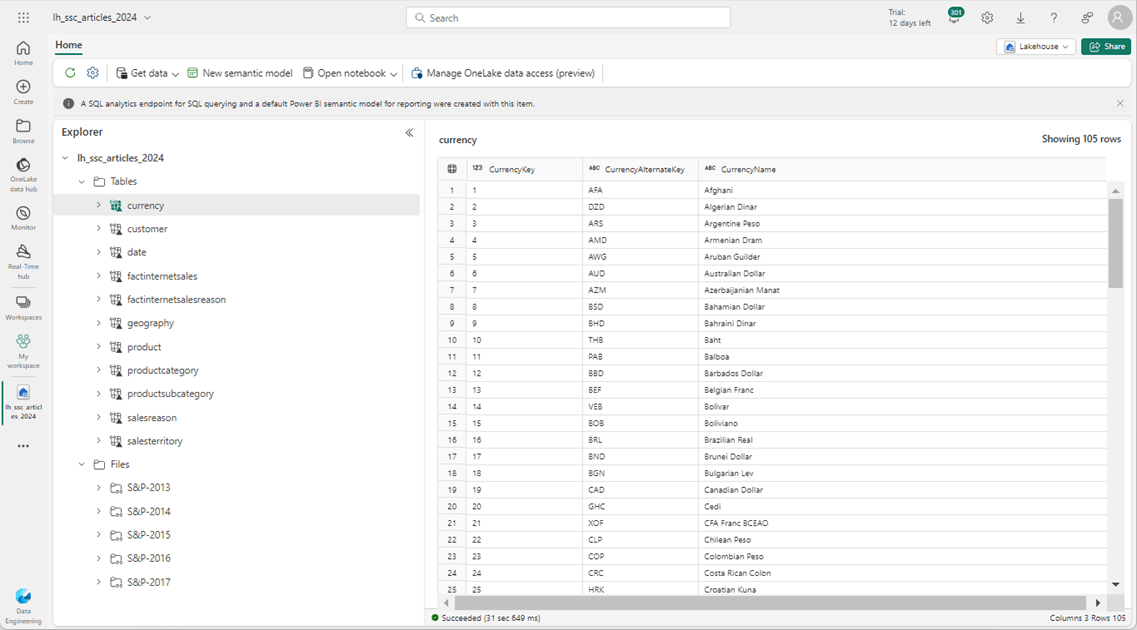
The quickest test is to use the GUI in Fabric to inspect the various shortcuts. The image below shows the data in the currency Delta Table from the Adventure Works database.
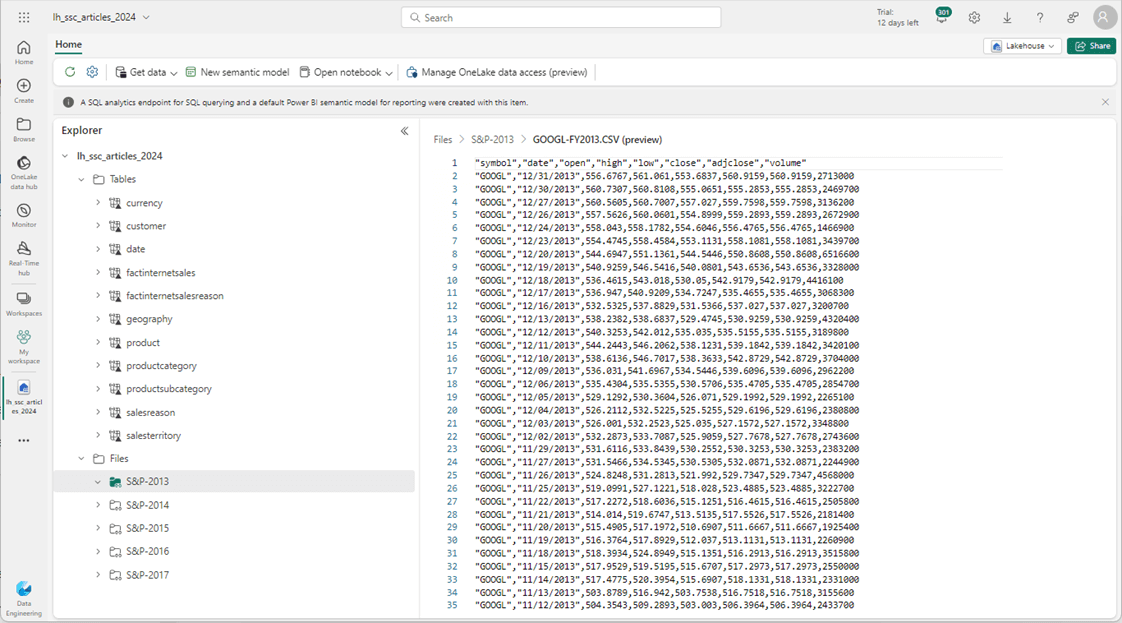
We can even preview the data stored in a CSV file. Since we are working with GCP, I want to see the GOGGLE stock prices in 2013.11
The files for the S&P 500 data set are interesting in themselves. However, having this data in a single Delta Table by year is more user friendly than hundreds of files. The PySpark code below uses a list of years as a metadata driver for loading each of the directories into a single Delta Table.
#
#  process five directories
#

# create list
years = ["2013", "2014", "2015", "2016", "2017"]

# process folders
for year in years:

    # create path
    path = f'Files/S&P-{year}/'

    # read csv files into dataframe
    df = spark.read.format("csv") \
        .option("header", "true") \
        .option("delimiter", ',') \
        .option("recursiveFileLookup", "true") \
        .load(path)

    # how many rows
    cnt = df.count()
    print (f"The number of stock data rows for {year} is {cnt}.")

    # drop existing delta table
    stmt = f"drop table if exists stock_data_{year}"
    spark.sql(stmt)

    # write dataframe to delta table
    stmt = f"stock_data_{year}"
    df.write.saveAsTable(stmt)
The output from running the above cell in Microsoft Fabric Lakehouse is below. Each year has about 125,000 records or more of data.
Business Users come up with interesting requests. We have been asked to create tables just for Amazon, Google and Microsoft stock data. How can we achieve this result? The code below uses the same year list as a driver for the for-loop. We are going to create dynamic SQL to union all file tables together. The secret to this technique is to use the result SELECT statement as input to the CREAT TABLE AS statement.
#
#  Make Amazon Table
#

# del table
stmt = "drop table if exists amzn_stock_data"
spark.sql(stmt)

# create list
years = ["2013", "2014", "2015", "2016", "2017"]

# process folders
stmt = ""
for year in years:

    stmt = stmt + f"""
        select
            substr(date, 7, 4) as rpt_year,
            substr(date, 1, 2) as rpt_month,
            *
        from
            stock_data_{year}
        where
            volume <> 0 and symbol = 'AMZN'

        union
    """

# make create table smt
stmt = stmt[:-10]
stmt = "create table amzn_stock_data as " + stmt

# exec stmt
spark.sql(stmt)
Now that we have the Amazon stock data, we can group and aggregate to find the number of trading days per month and the average stock price. The code below uses Spark SQL to look at the data ranked by month and year.
%%sql
select rpt_year, rpt_month, count(symbol) as trade_days, round(avg(close), 2) as avg_close
from amzn_stock_data
group by rpt_year, rpt_month
order by 2, 1
limit 10
The output from the Spark SQL statement is shown below. This is a good test since we used all five File shortcuts and have read all stock data files.
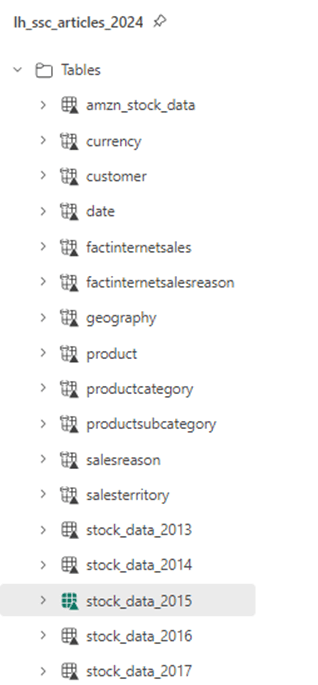
If we look at the Lakehouse Object Explorer, we can see 6 new tables have been created. I leave using the CTAS code to create tables for both Google and Microsoft as an exercise for the reader.
The next set of code joins 8 of the 11tables in the adventure works schema into a flattened reporting table named rpt_prepared_data.
%%sql
create table rpt_prepared_data as
select
   pc.englishproductcategoryname
  ,coalesce(p.modelname, p.englishproductname) as model
  ,c.customerkey
  ,s.salesterritorygroup as region
  ,floor(datediff(current_timestamp(), c.birthdate)/365.25) as age
  ,case
      when c.yearlyincome < 40000 then 'low'
      when c.yearlyincome > 60000 then 'high'
      else 'moderate'
  end as incomegroup
  ,d.calendaryear
  ,d.fiscalyear
  ,d.monthnumberofyear as month
  ,f.salesordernumber as ordernumber
  ,f.salesorderlinenumber as linenumber
  ,f.orderquantity as quantity
  ,f.extendedamount as amount
from
  factinternetsales as f

inner join
  date as d
on
  f.orderdatekey = d.datekey

inner join
  product as p
on
  f.productkey = p.productkey

inner join
  productsubcategory as psc
on
  p.productsubcategorykey = psc.productsubcategorykey

inner join
  productcategory as pc
on
  psc.productcategorykey = pc.productcategorykey

inner join
  customer as c
on
  f.customerkey = c.customerkey

inner join
  geography as g
on
  c.geographykey = g.geographykey

inner join
  salesterritory as s
on
  g.salesterritorykey = s.salesterritorykey
Now to solve the business question of what sold the most by year, month, region, and model. The output of this query can be ranked by Total Amount to make the result stand out. I leave that improvement as an exercise for you to try.
%%sql
select
  CalendarYear as RptYear,
  Month as RptMonth,
  Region as RptRegion,
  Model as ModelNo,
  SUM(Quantity) as TotalQty,
  SUM(Amount) as TotalAmt
from
  rpt_prepared_data
group by
  CalendarYear,
  Month,
  Region,
  Model
order by
  CalendarYear,
  Month,
  Region
limit 16
The output shows the last month of 2010 and the first month of 2011. The road-150 model was very popular in December 2010 in both North America and the Pacific.
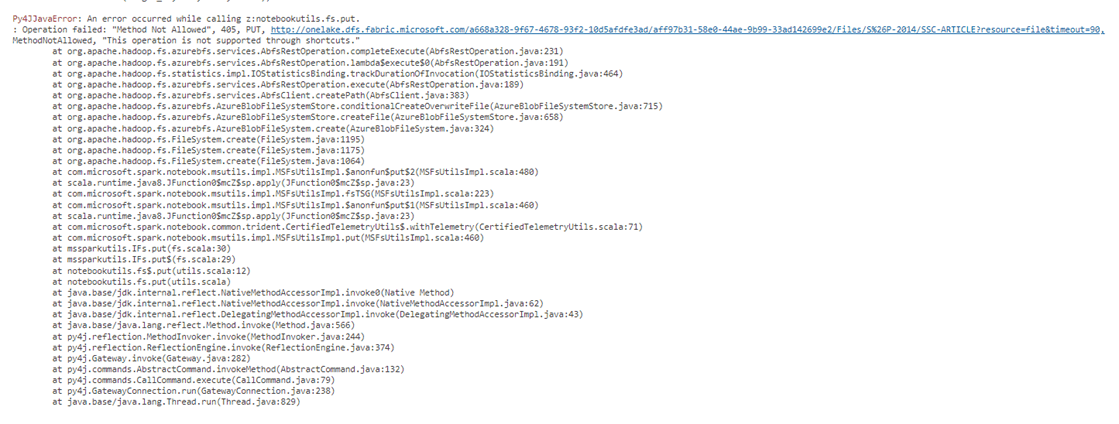
One last test to complete our analysis. We know that shortcuts are read only. What happens if we try to write to a folder that is a shortcut?
#
#  Short cuts are read only
#

path = "Files/S&P-2014/SSC-ARTICLE"
contents = "Working with GCP buckets.  Shortcuts are read only."
mssparkutils.fs.put(path, contents, True)
The above Python snippet fails with the following output. In short, this operation is not supported through shortcuts.
Summary
The creation of the GCP resources was the hardest part of this article. When creating shortcuts to a GCP bucket, you need to create a service account with access to the bucket. Create an Access Key and Secret commonly known as an HMAC key. Microsoft PowerShell can be used to validate uploading and downloading files and folders.
There are two types of shortcuts. File shortcuts point to folders in the GCP bucket. The files in these buckets can be of any type that the Spark Engine can read. By themselves, these files are not useful. Use the Spark Engine to read, translate and write the information to a delta table. Managed delta tables are where you want to be. One Lake shortcuts or shortcuts to Tables require the source data to be in a delta file format. Selecting the lowest level folder in the directory structure makes each folder look like a table. Up to 50 shortcuts can be created at one time using the graphical user interface within the Fabric console.
To summarize, shortcuts are read only pointers to tables and files. The tables can stand by themselves since they are in the delta file format. The files must be ingested into your local One Lake to be of any reporting value. I really like shortcuts and will be exploring the last cloud vendor, Microsoft Azure, in the future.


