Azure Data Studio (ADS) is a lightweight IDE built on Visual Studio Code. I've written a few articles on how ADS works, shown here:
- Getting Started with Azure Data Studio
- Getting Comfortable Writing Code in Azure Data Studio
- Using Notebooks in Azure Data Studio
- Using Azure Data Studio with TFVC
- Using Azure Data Studio with Git
- Editor Tips and Tricks for Azure Data Studio
- Using the Import Extension in Azure Data Studio
- The Profiler Extension in Azure Data Studio
If there are other features you're interested in, let me know. This article continues the series, looking at another aspect of ADS.
In the last article, we looked at getting the TFVC extension added to ADS to allow version control of scripts in a TFS server (or Azure Repos). In this article, we will examine how to work with version control and Git, which is built into ADS. We do not need to install an extension here, so most of this article will focus on the getting code in and out of a repository.
Many of these same concepts work with TFVC/Azure Repos, so you can learn how to work with code and versions here and apply this to TFVC.
Getting Started with Git
In order to use ADS with Git, you need to have the Git binaries installed. ADS has a source control manager, but this does not include the basic functions of Git. The manager works with Git to enable the functionality you might run manually from the command line from within ADS. The requirements note that youneed to have v2.0.0 or higher. You can install this from the Git download site.
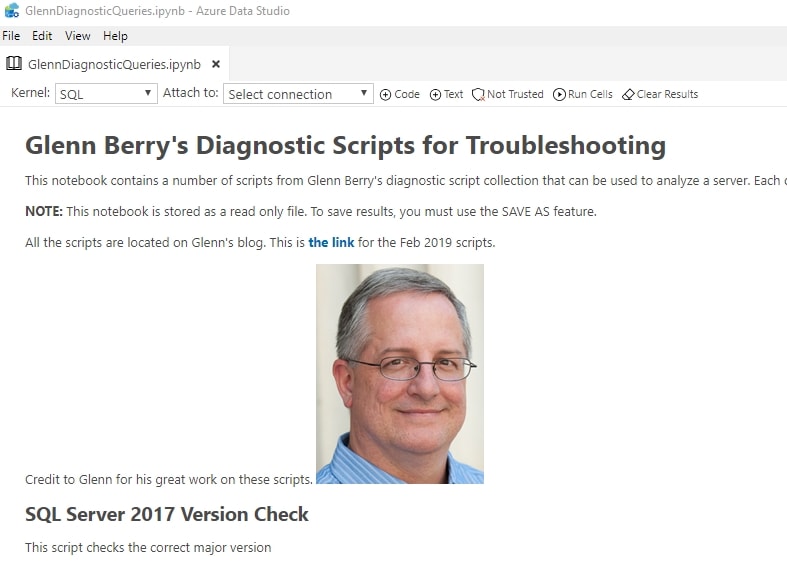
Once you have installed Git, you can begin working with ADS. Let's start by examining a situation. In a previous article, I created a notebook for a few of Glenn Berry's queries. I saved this in a folder, but now I want to ensure I version control this notebook for future changes.
Create a Repo
A repository is a location where your files are stored and versioned. Essentially this is a folder on your machine that is tracked as a part of your version control system. This can be with Git, Subversion, TFVC, etc. Since I need a location, let's create one first. I'll open Explorer on my machine and create a new folder in my user space, under Source\Repos. That's a good location.
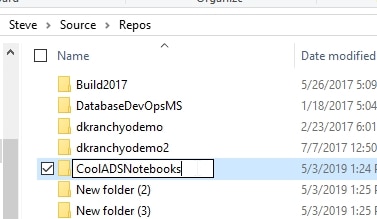
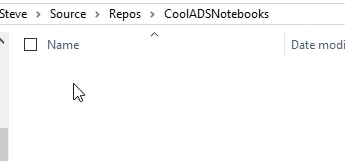
This folder is empty, as you can see.
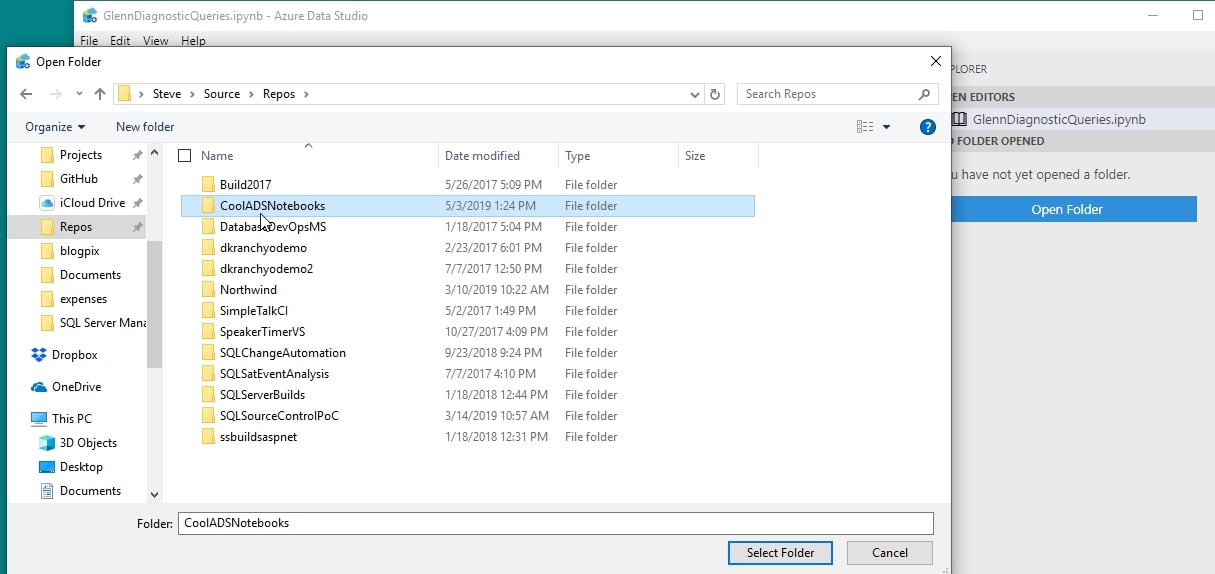
Now that I have this folder, I'll open it as a folder in ADS.
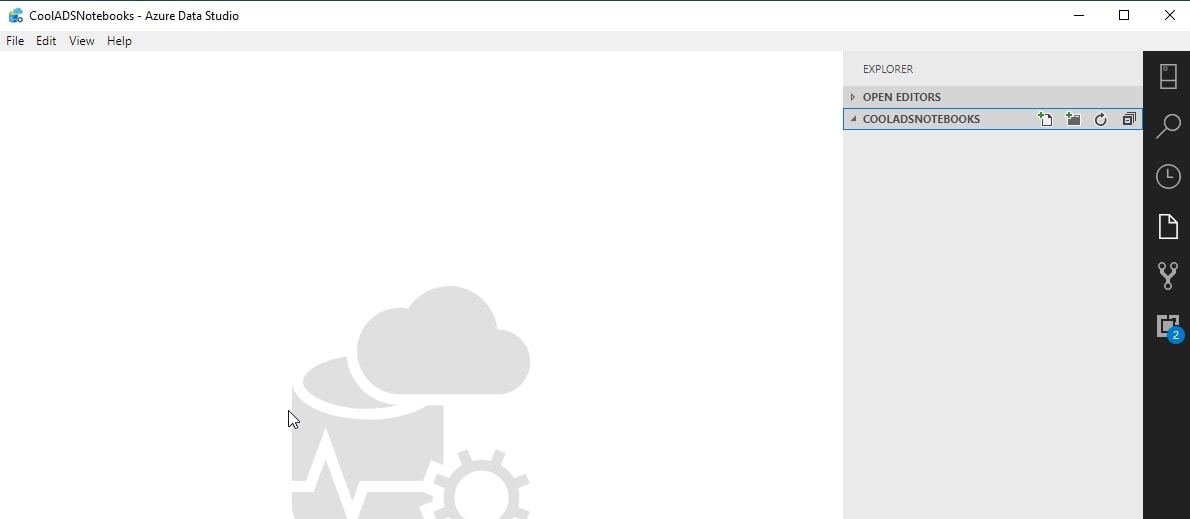
Once I select the folder, ADS reopens, removing my notebook from the display. As you can see, I have the folder open, but I've lost my file. It's not lost, just closed.
The next step is to initialize a Git repo. If you don't know what this means, it essentially creates a new place to version files by marking this folder as a repo. If you want to see this in the command line as a comparison, I've got a blog post on this.
In ADS, I click the Source Control sidebar item, which is like a Y-shaped branched set of lines. This opens Source Control, which notes I have no source control providers registered. There is a small Git icon at the top, so I need to click that to initialize the repository. Note the tool tip below.
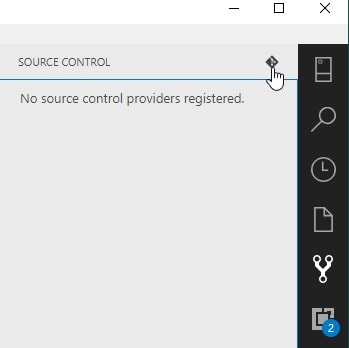
Clicking the button lets ADS know I want a repo and it asks me if I want to use the folder open, or pick a new one. I'll pick this one.

As soon as I do this, a few things happen. First, the folder is marked as a repo by Git and a hidden .git folder is added. This is what happens if you run "git init" from the command line.

At the same time, ADS will open a new Query Window and also change the Source Control tab to be ready for changes and to commit them to the repo.

I'm ready to get to work.
Adding a File to the Repo
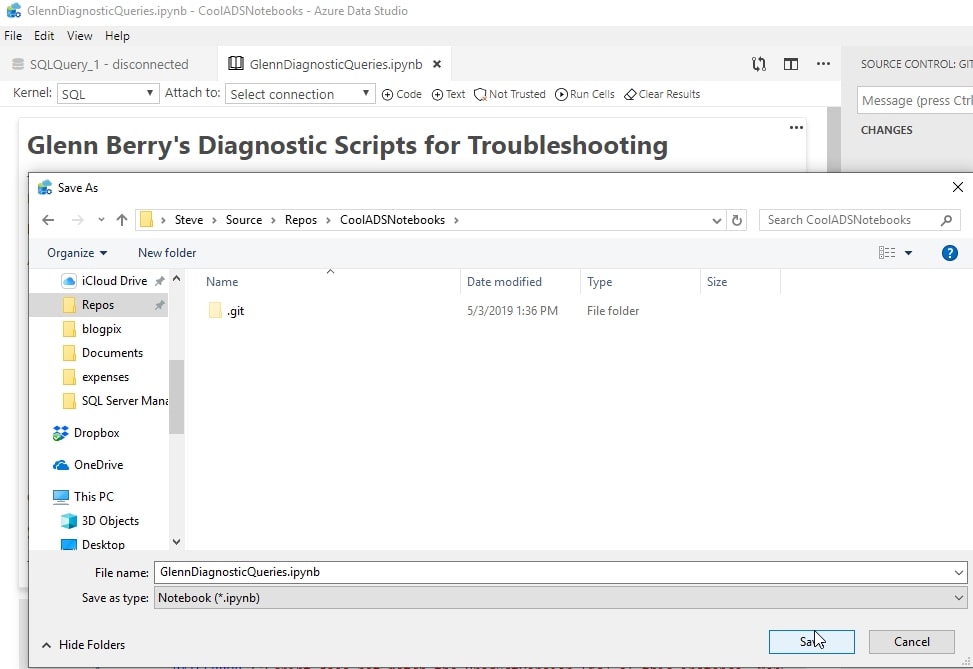
Let's add our notebook to the repo. This will let us mark the current state as a version and track what has changed over time, as well as look back to the previous versions. Since notebooks are just files, like SQL code files, we just need to save it in the new folder. I'll open up the notebook from the Recent list and then do a "Save As". I've chosen my repo as the destination here.
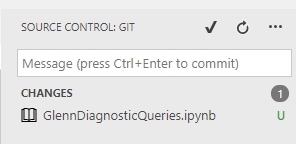
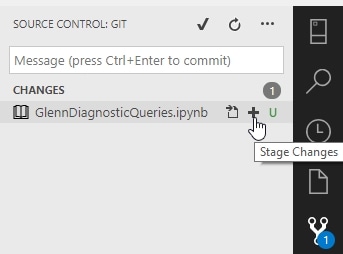
Once I save this, I'll see a new view in ADS. The file has been added to the Source Control pane, which I've kept open. The name of the file is listed in the "Changes" sectin, with a U next to it. This U notes this is an uncommitted change. We'll see this change over time with other actions.
If I put my mouse on the file, I get a couple of action items. The first item to the right of the filename is the "Open file" button. I have the file open, so this doesn't help, but I can close files I've changed, but not committed. The second item is the "stage" changes button. This will mark the file as one I will commit when I enter a message. Staging changes is a little beyond the scope of this article, but I can stage changes to bundle them into one commit, while I also have changed files that are unstaged, and won't be committed. You can see the items below.
Once I click the "Stage" icon, the view changes again. Now my file is in a Staged Changes section. If I had other changes here that were also not staged, they would remain in the Changes area.
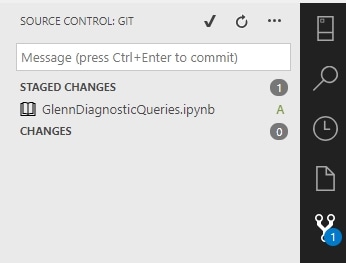
Now that my changes are staged, I can commit them. The art of commit messages is wide, varied, and controversial. Everyone has an opinion. I prefer to think of the commit message as something that will remind my why I made a change when I look at it in six months. This isn't a what changed, because I see that in code. With that in mind, I do usually stick with a "initial commit" for a first time loading something, unless this is in response to some issue. I'll enter a message and click the checkbox to commit.
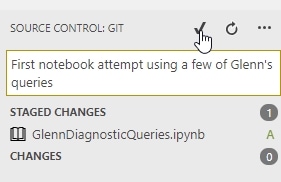
My file is now committed and tracked by Git. Nothing has really changed. The filesystem looks the same, the file looks the same, only Git knows that a change was made. Let's see what else we can do.
Working with Versions of Code
Now that we've committed a file to our repository, how do we know what happened? How do we use this and add more files? Let's see a few other ways of working with Git in ADS. First, let me add a few more files. These are just some sample SQL files with different code in them. I'll show each one in the editor, once it's been saved to the folder.
First, a set of sql script that builds a test for a query.
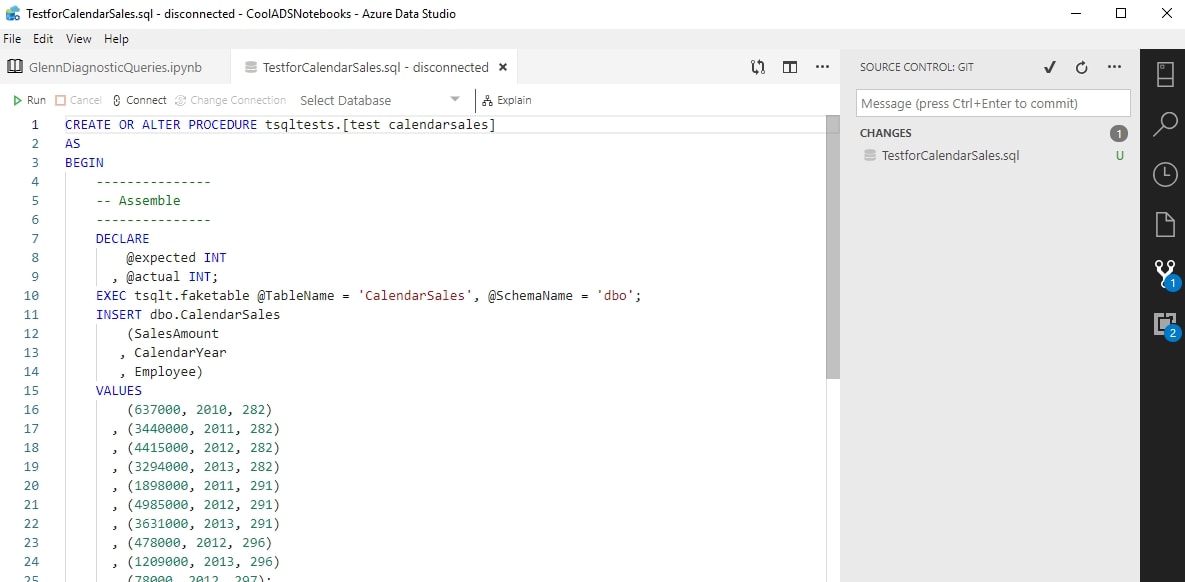
Next, a set of security changes. Note that the Source Control icon in the sidebar sees two changes after this file is saved.
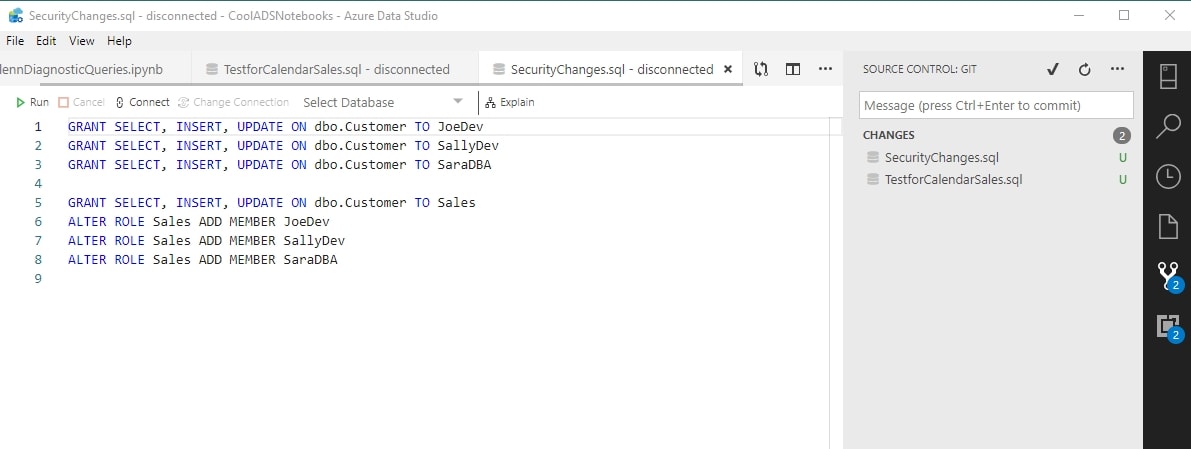
I want to commit both these changes. Here is one staged.
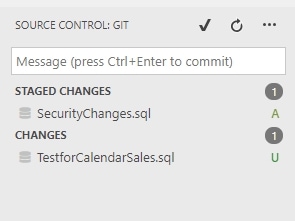
And here is the other. I've added the commit message and am ready to click the checkmark icon.
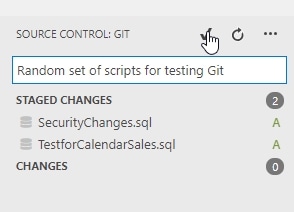
Now, these files are added, so let's see a few more things in our repository.
Getting History
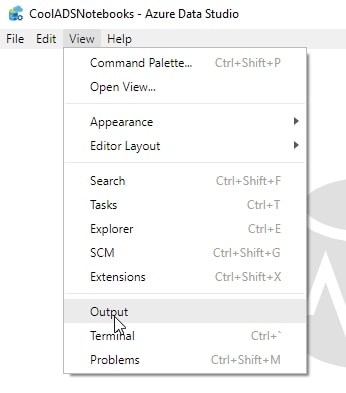
One of the important things for me at times is to see what has changed in a folder. There are two aspects to this: Git history and the log. For the Git history, we want the output from the Git commands that ADS runs. We can get this in a few ways. First, the View menu has an item that says "Output". We can select this and then select "Git" from the drop down in the Output pane.
The other way is to click the ellipsis in the Source Control pane at the top. The bottom item is "Git output".
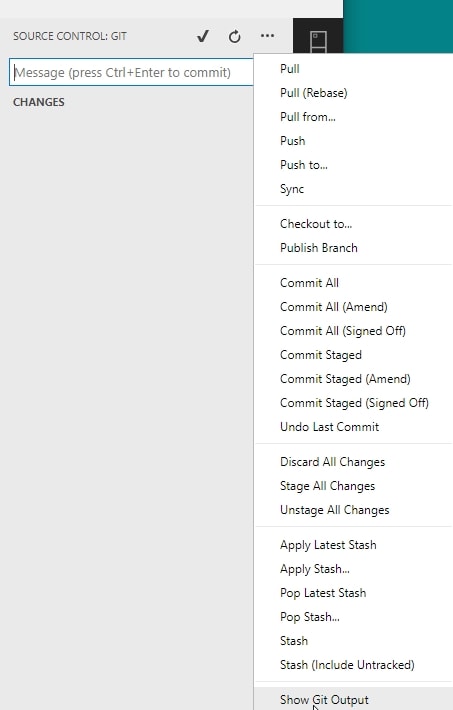
Either of these will give you a pane at the bottom of ADS. This has a few sections, but opening output will highlight the Output section with a line under it.
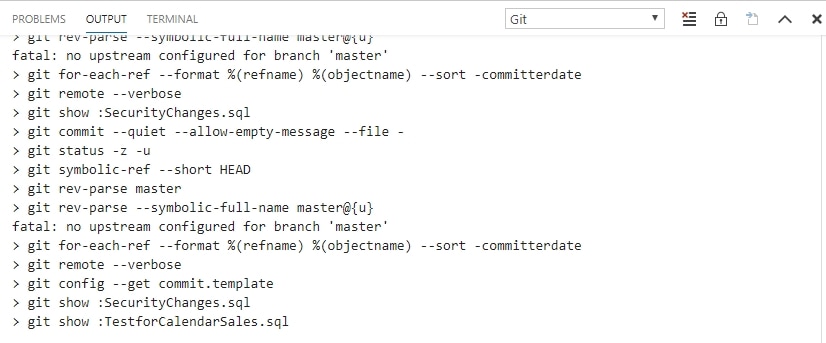
As you can see, the various commands for git that were run. These are valuable if you are trying to learn Git or debug what has happened. These do not, however, usually help in working with the code in the files. For that, we need the Git log. While I'd like to see this added in the menu, we can easily get this.
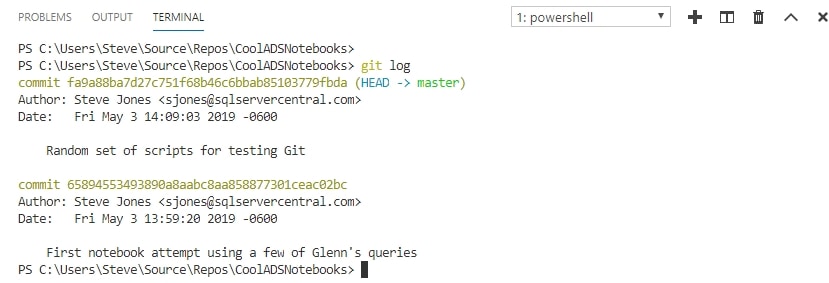
First, click on the Terminal word in your lower pane. This opens (by default) a PowerShell terminal in your local folder.

Once we have that, we can enter "git log" to see the last log activity. There are a lot of options for git log, and you can enter any that you need. Below, you can see my two commits listed, in reverse chronological order.
Updating Files
The main purpose behind using a VCS is to track changes to your files. Let's now see how ADS can be used to do this. First, let's load up our security file and make some changes.

Do you know what I changed? You can see which lines, as the darker blue (line 1) is a changed line and the lighter green (lines 10-12) are new lines. We see a change in the Source Control pane, and a "1" icon in the sidebar. Note the file is listed in the pane with an "M", as a modified file that is being tracked by Git.
You could look back and forth between this image and the one further above, but that is tedious. What's better is to get a diff view of the two versions of the file. This is hard when I've saved a file to disk without a VCS, but trivial when I'm using one.
If I double click on the filename in the Source Control pane, I get a diff view that opens up. On the left is the original view of my file. This is what's committed. The Red line essentially showed what will be deleted, with the darker red showing the actual characters. The right part shows the new file, with Green indicating the line changed with new things and the dark green the actual changes.

This is often useful for comparing items that have changed. I can also toggle this view if I want to an inline view by clicking the ellipsis in the upper right of my changed file and selecting "Toggle Side by Side View". I've changed the view to inline and then opened the menu below.
In this view, I see the old file with a minus (-) next to a line and the additions with a plus (+) at the beginning of their line. This is what we've seen in text based systems for years. You might prefer one or the other, but you can choose.
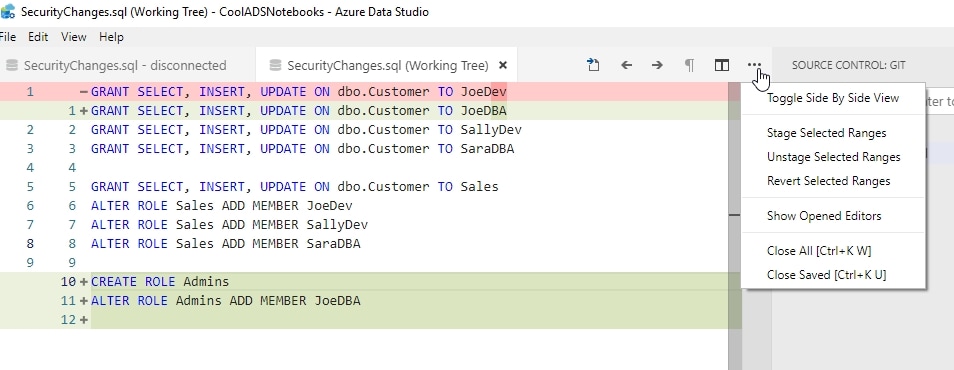
There are other options in the menu, which will be discussed in a future article. For now, I'll just commit my change.
Conclusion
This article show how you can use Git in Azure Data Studio. This isn't a Git tutorial, but this introduces the basics of setting up a Git repo from within ADS and then working with files. There are a lot more features available and a future article will cover some of these to ensure you are comfortable working with version control and ADS.
If there are specific features or questions you have, please drop a note in the discussion below. I will answer them and perhaps create another article.

