This document describes the process to provision a SQL Azure server and SQL Azure Database manually.
To get started, log on to Azure Portal via URL: https://portal.azure.com/. Use your Azure ID and password for the credentials. If your account has been added to multiple directories, select the correct directory from the account menu.
The home screen will look like below:
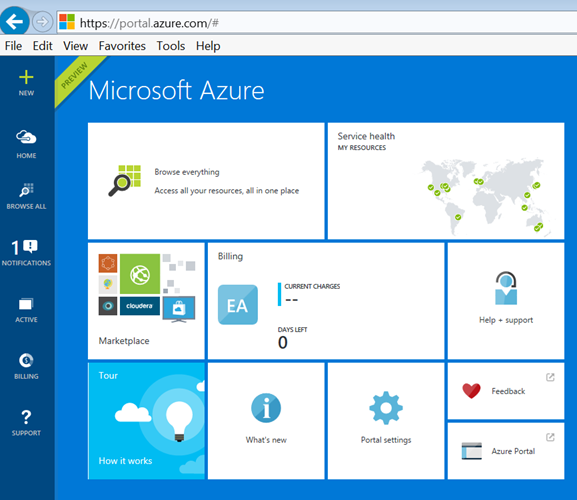
On the left hand top corner, click on the ‘+ New’ sign and select SQL Data + Storage and then SQL Database:
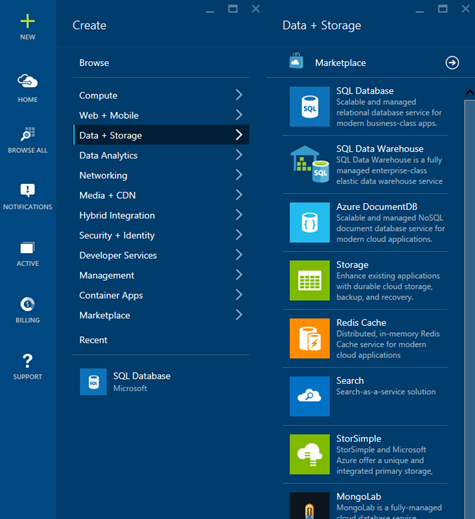
You then see a window to create a database:
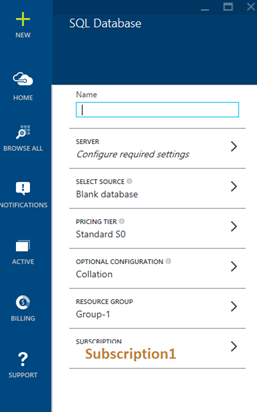
The Azure portal does not allow creating a SQL Azure server without creating a database at the same time. Therefore, a temporary database will be created.
Enter the name of the database that has to be created:
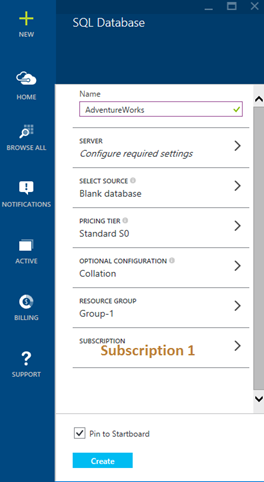
Click on Select Source:
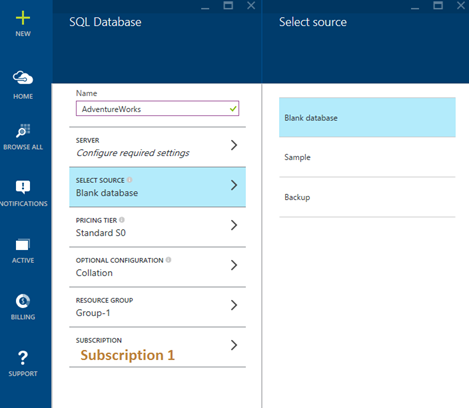
Then select Blank Database.
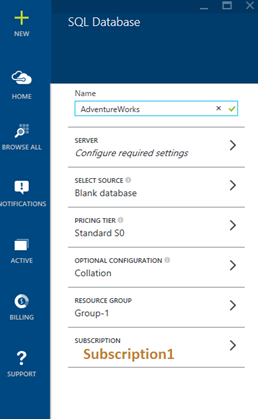
Next select the Pricing Tier. There are numerous choices with the features available and cost listed.
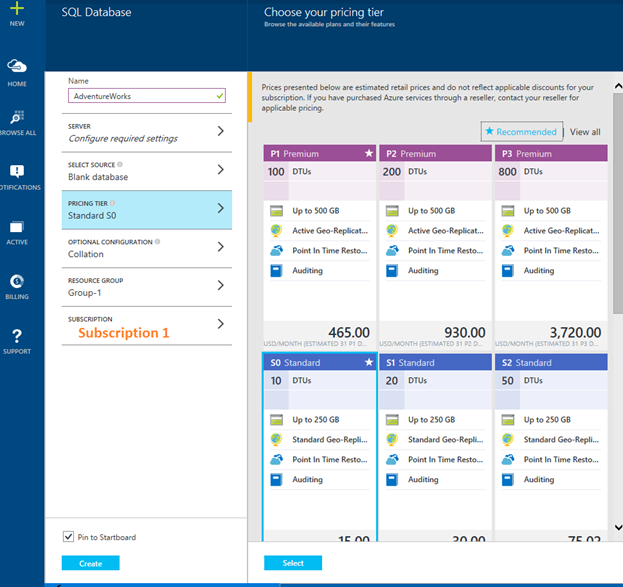
The Basic tier is recommended in this context to reduce costs.
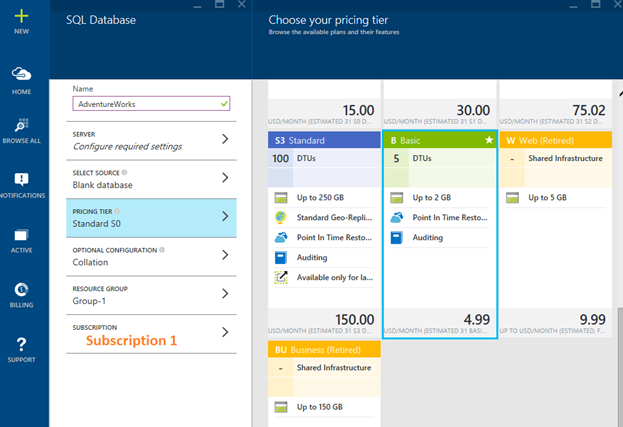
In this case, I will choose Basic Tier and then click Select.
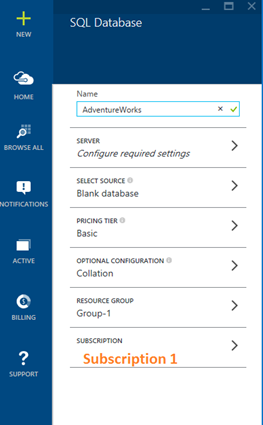
Next we need to select the server. Click the Server – Configure required settings:
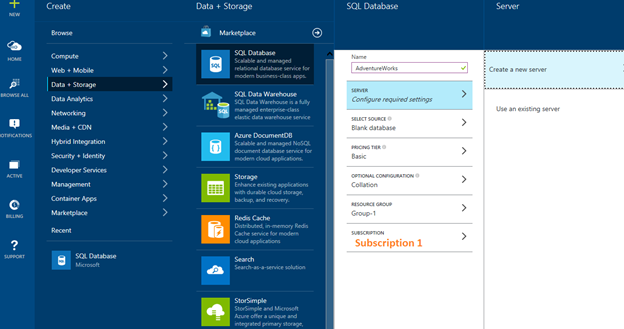
Create a new server option has to be selected to get started.
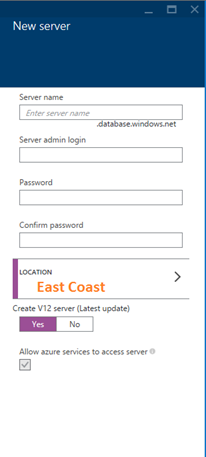
You get a pane to create new server. Enter the server name. The server name has to be globally unique and adhere to the naming standards. Also enter the server admin login. Logins have to adhere to the naming standards.
Choose Location -> Select appropriate location. This depends on your Azure Subscription. In this example East Coast is selected.
Click OK. You will see your server selected.
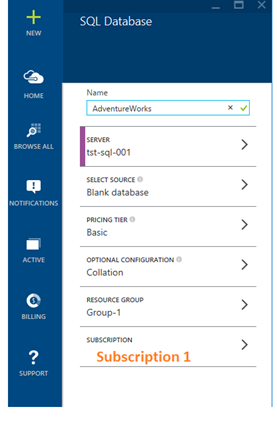
Next slect Collation -> choose Default collation. This should be chosen depending on your requirements.
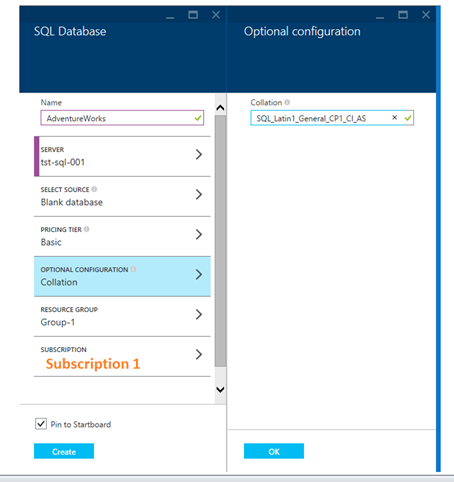
Click on Resource Group:
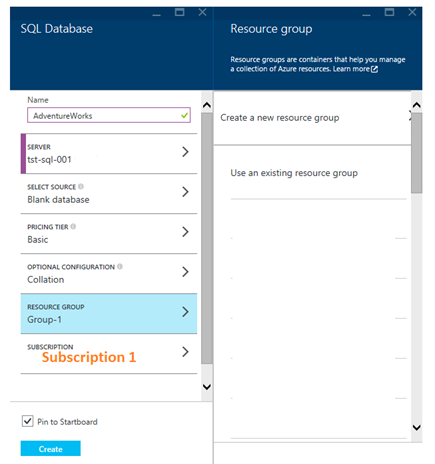
We will create a new resource group.
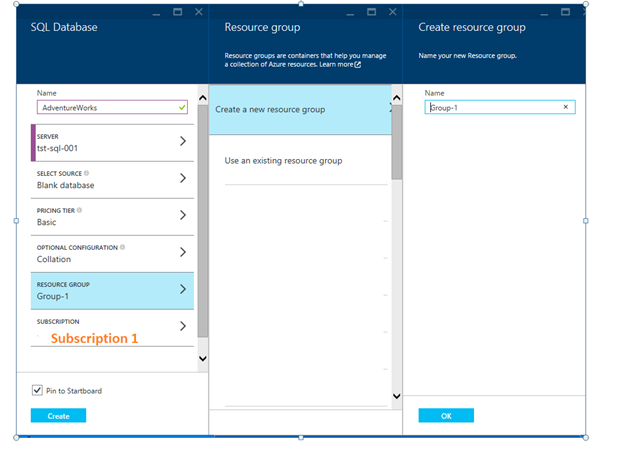
Click OK to create the resource group.
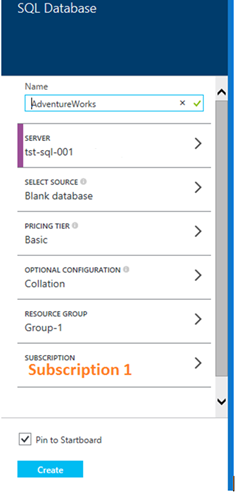
Next, click on Create. This will create database AdventureWorks on newly provisioned Azure SQL PaaS server tst-sql-001.database.windows.net.
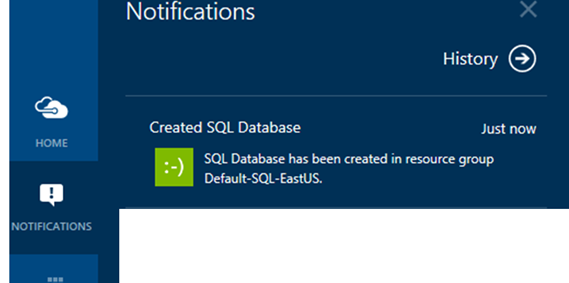
A tile is created on Azure Portal with an icon for the SQL Database that was created. At this point, the database should be dropped.
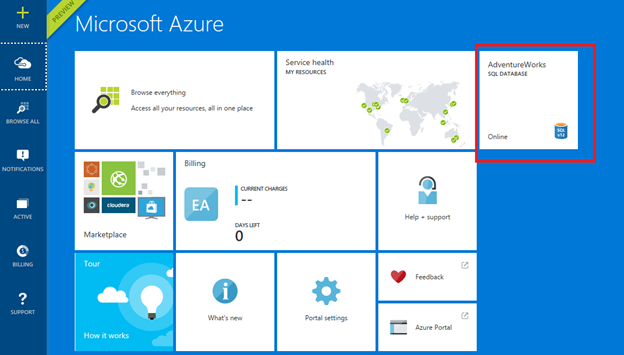
Now click on Browse -> Recent -> AdventureWorks.
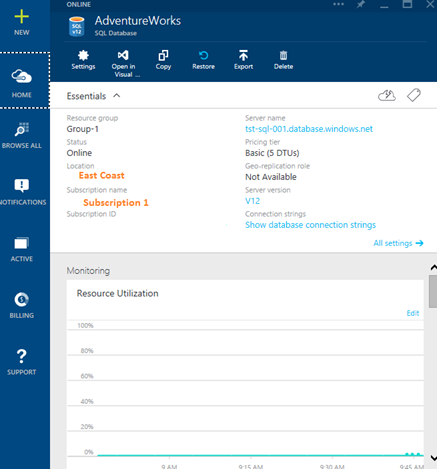
Click on Browse on the left hand pane. Select SQL Server and then select the SQL Server that was created:
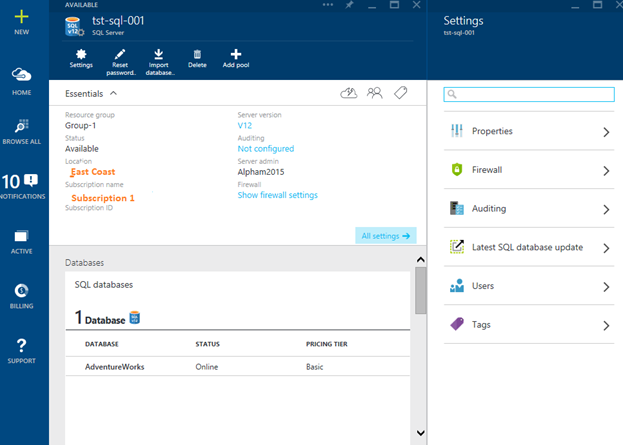
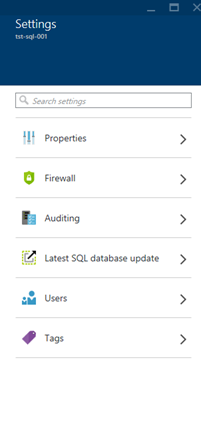
On the server page, click on Settings:
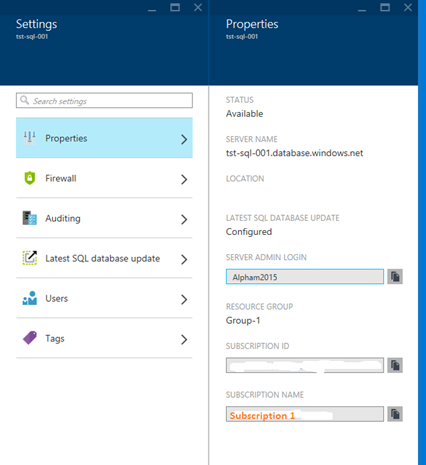
Click Properties. All the entries in the tab are pre-defined. No entries will be changed
Select Firewall.
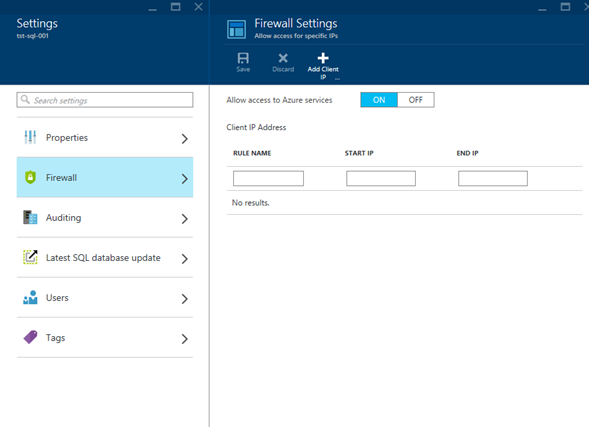
Flip the off Switch under “Allow access to Azure services”
Enter a Firewall rule name. IP range – Start IP and End IP should be provided by Network team. This will be the IP range from which traffic will be allowed to this SQL Server. Multiple firewall rules will be required to allow application connectivity and management/DBA connectivity.
Click Save.
Click on Auditing:
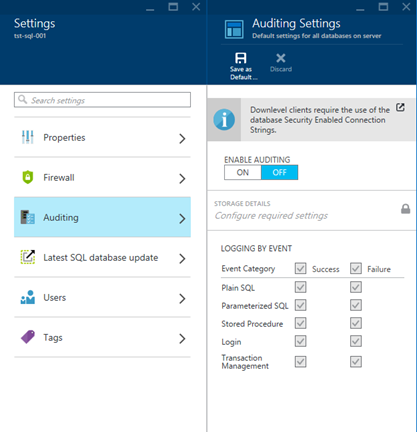
Flip the switch to ON for “Enable Auditing for all databases on this server”
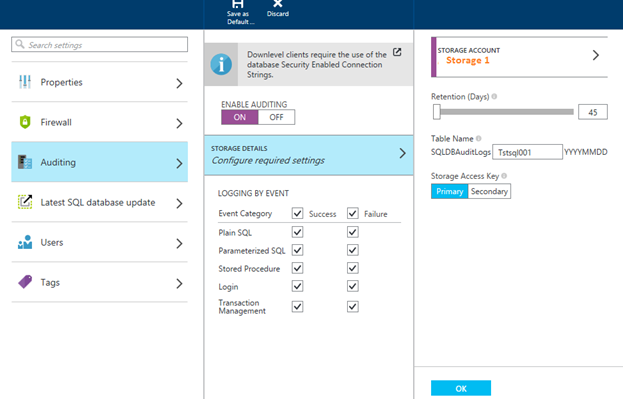
Select Storage Details -> Use the available storage account. In this case, a new storage account will be created. If there is already an existing storage account for your Azure subscription, please use that.
Click OK.
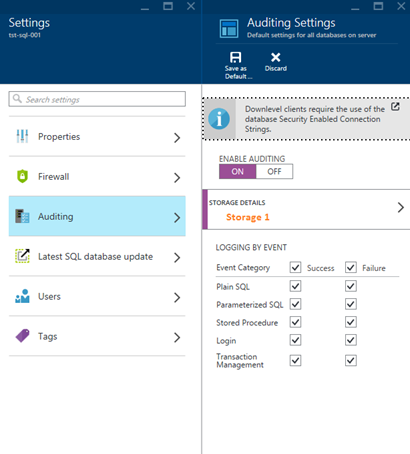
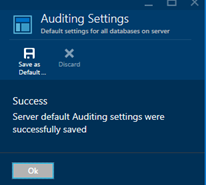
Click Save. You should see this message.
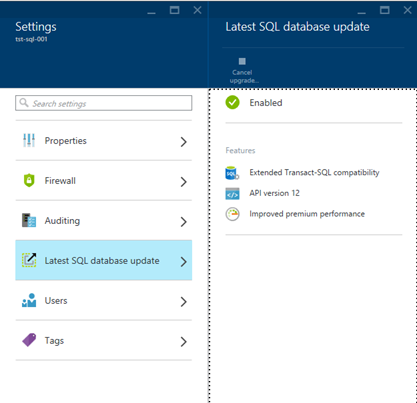
Click on the Latest SQL database update. Make sure it is enabled.
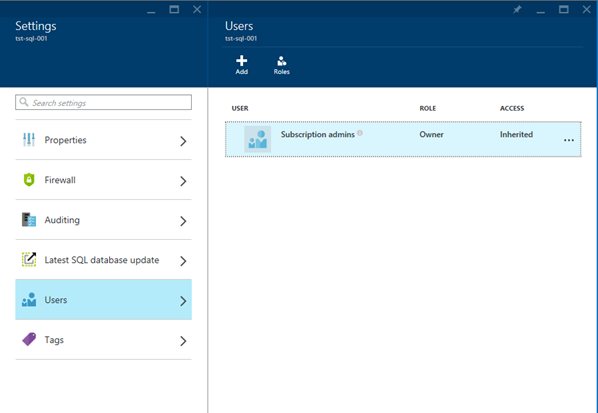
Click on Users. Users can be added and roles can be assigned in this window.
The provisioning and configuring of Azure SQL is now completed. Click on Browse All on the left pane -> AdventureWorks database.
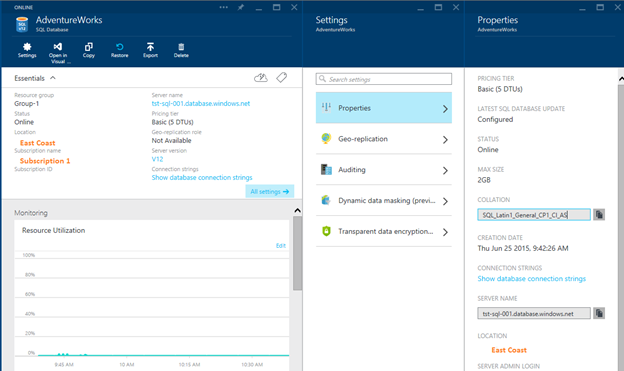
Click on All Setting to verify the settings of the database.
You now have a working SQL Azure database.


