Bulk insert operations help us to load large amounts of data from a text file to our SQL Server database. When you need a solution to perform bulk insert operations on a regular basis, SQL Server Integration services already provides you the ability to create a package to do it automatically.
Since doing it for a single file is a very straightforward and easy task, that you can achieve using the import wizard from SSMS, or you can do it from SQL Server Data Tools using the Bulk Insert Task. For this post, I will show you how to bulk insert multiple files in a folder to a SQL Server database, regardless the file name or extension, this with the help of the ForEach Loop Container.
Setup the Example
I have created an empty table on a test database with the following definition:
CREATE TABLE [dbo].[FilesTest](
  [id] [int] NULL,
  [dataVarchar] [nvarchar](50) NULL,
  [dataNumeric] [numeric](18, 3) NULL,
  [dataInt] [int] NULL,
  [dataDate] [smalldatetime] NULL
) ON [PRIMARY]
GO
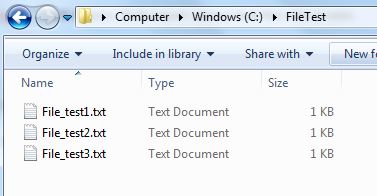
And also we have 3 text files in a .CSV format, with 10 rows each, for a total of 30 rows:
|
| 3 files, could be more or could be less... |
|
| for this example, there are only 10 rows in each file. |
Our objective is to import the 3 files to our table using an SSIS package.
Configuring the package
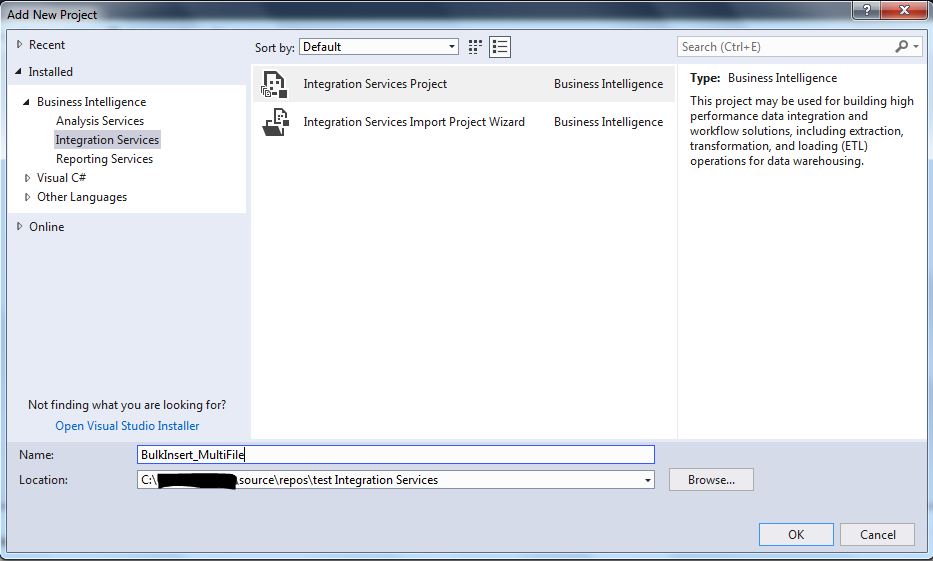
First, open SQL Server Data Tools (SSDT) and create a new Integration Services project:
In the package designer, select Control Flow and from the SSIS Toolbox, drag and drop a Bulk Insert Task component:

Then, right-click over the Bulk Insert Task and select Edit... to configure it (You can also just double-click it).
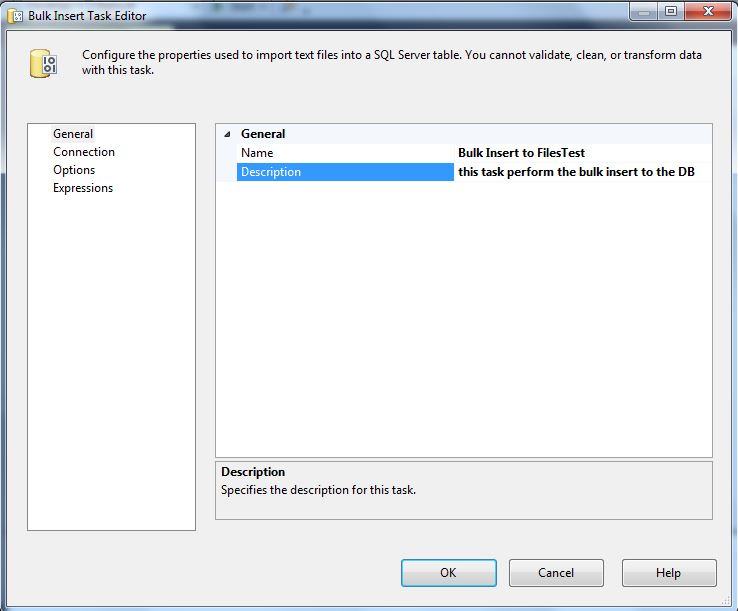
On the General tab, put a more meaningful name and description if you want:
On the Connection Tab, we will configure the source and destination connections, and the file format as well. In the Destination Connection, we have selected our SQL Server database and the destination table. On Format, we have changed the column delimiter to comma. On the Source Connection, just select a single file from the file list you have, could be any file, It just is used to perform the column mapping to the table:

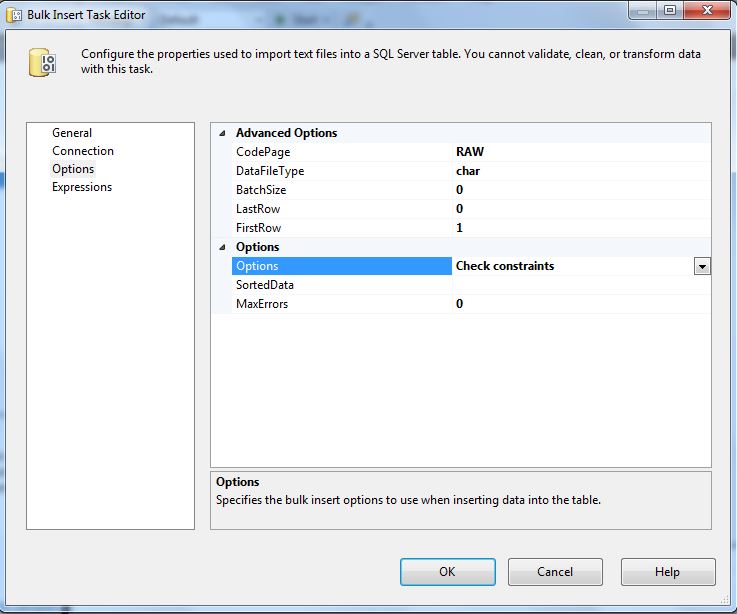
On the Options Tab, you configure the batch size options (for very large files) but for this example, you can leave it with the defaults:
Leave the Expressions Tab as it is for now, we will use it later. Click OK to save the changes.
If you want, you could test the package execution now, just to see if a single file imports correctly. In fact, for a real package I recommend to test a single file to be sure the conversions and constraints are working. Let us do that for our example:
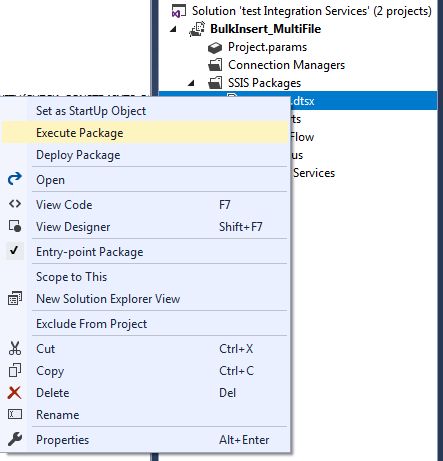

If we check our table, there should be 10 records, as we only tested one file:
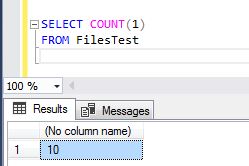
As you can see, the task works for a single file, now let us proceed to move our Bulk-Insert task to a ForEach Loop Container. This will let us process any number of files on the folder. From the SSIS Toolbox, drag and drop a ForEach Loop container onto the design surface:
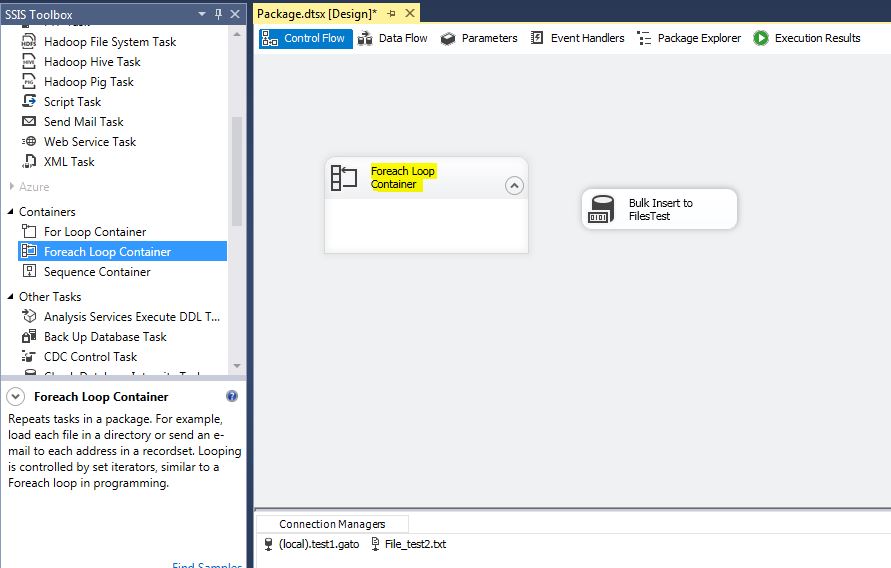
Double click on it to configure the container.
On the General tab, put a more meaningful name and description if you want:
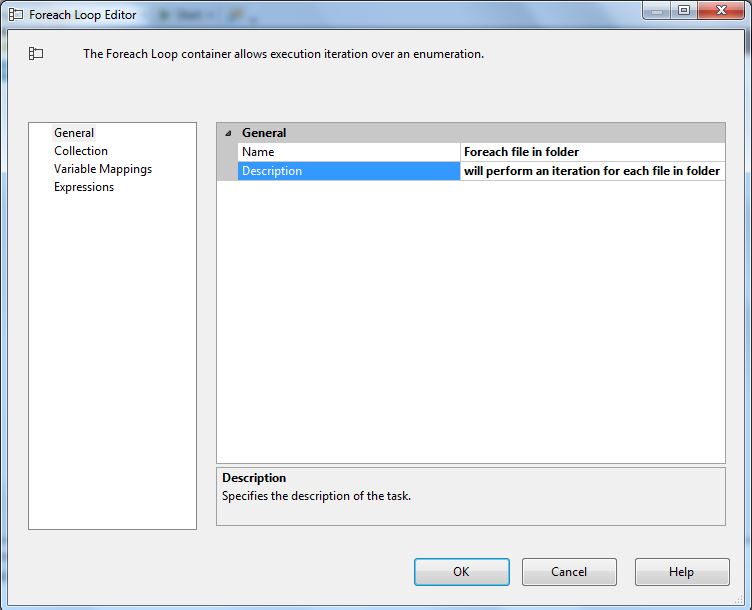
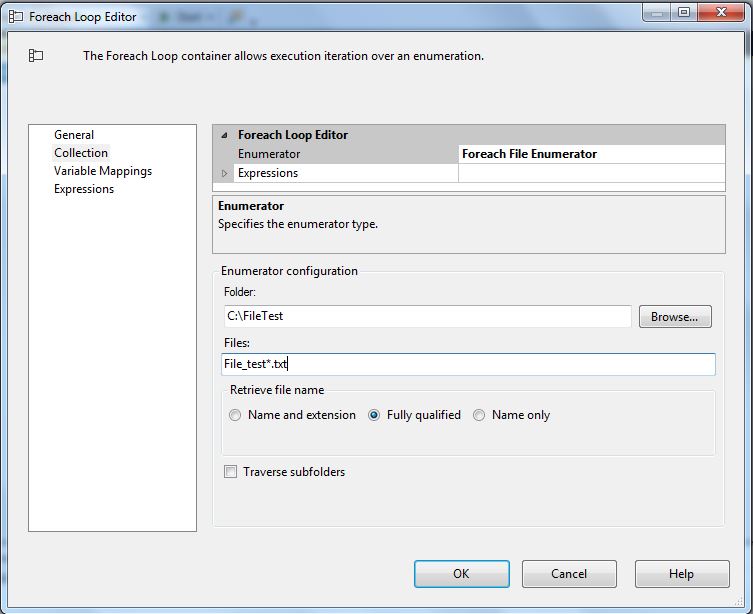
In Collection tab, for the Enumerator option, select Foreach File Enumerator, then in the file location properties, select the folder you want and the file format as well.
Leave the Fully qualified option selected:
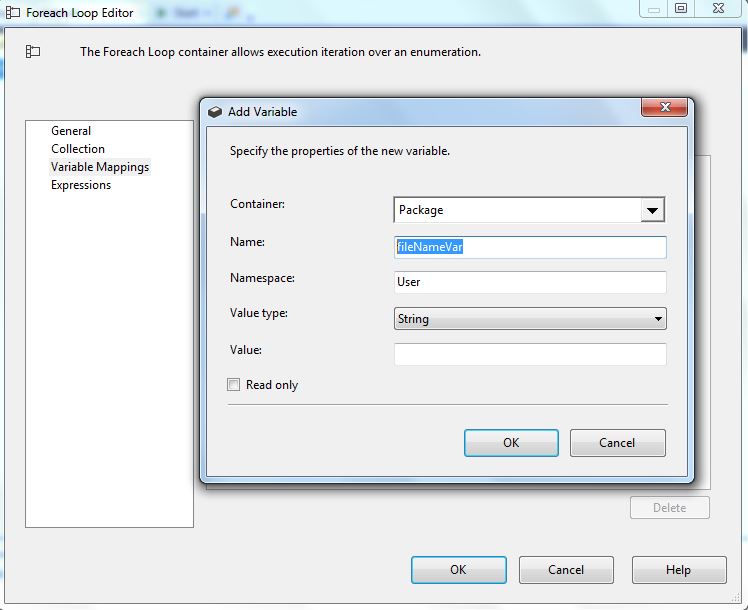
In the Variable Mappings tab, create a new variable. When the new window opens, just change the Name field for the one you want to use, leave everything else as their defaults, and click OK:
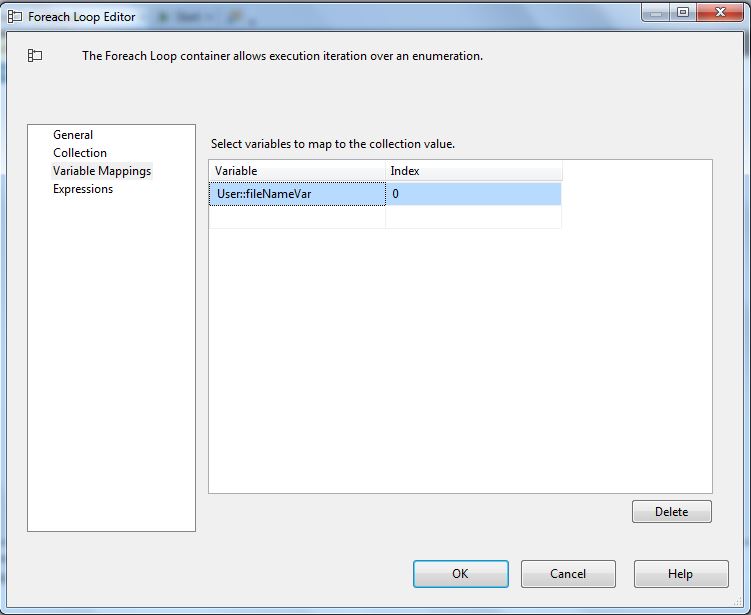
Leave the index at 0, it should look like this:
Click OK to close the properties window.
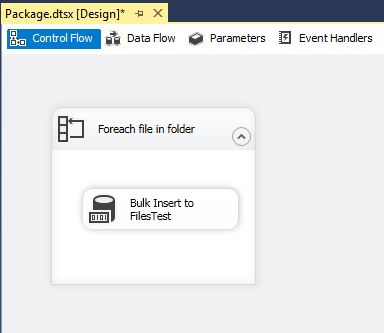
Now drag the Bulk Insert task we previously created into the ForEach loop container. This way the task will run for each file in the folder:
Now the last part is just the configure the variable of the container to be used on the source connection for the bulk insert task. To configure this, select the flat file connection from the connection manager. The name can vary according to the file you used, but you can also change it if you want. Right click on it and select Properties:
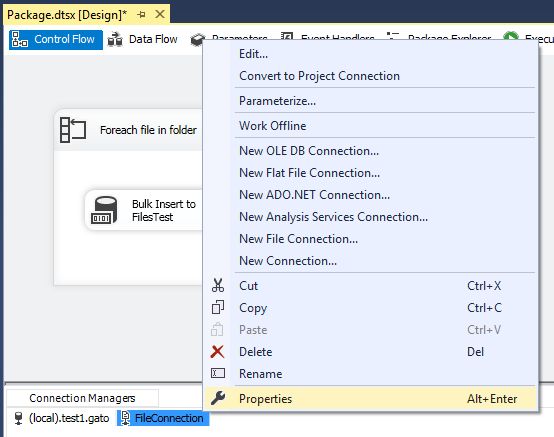
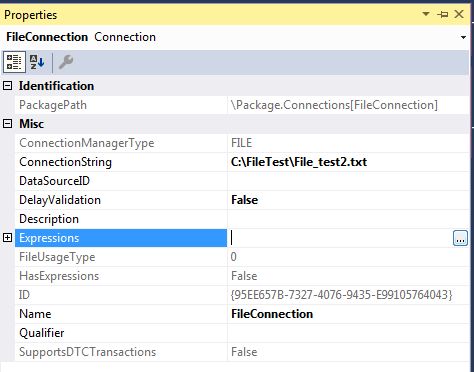
In the properties window, select the Expressions property and click on (...) button:
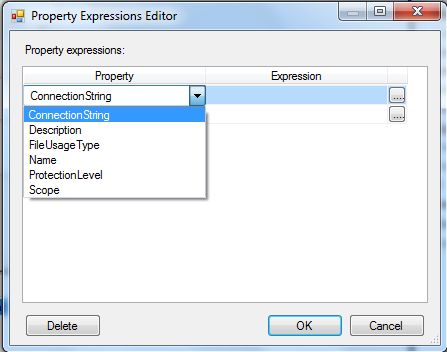
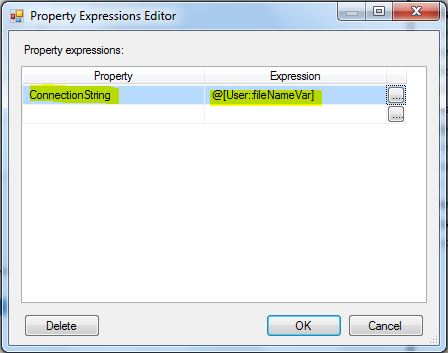
On the new window, Select the ConnectionString property and then click on (...) button:
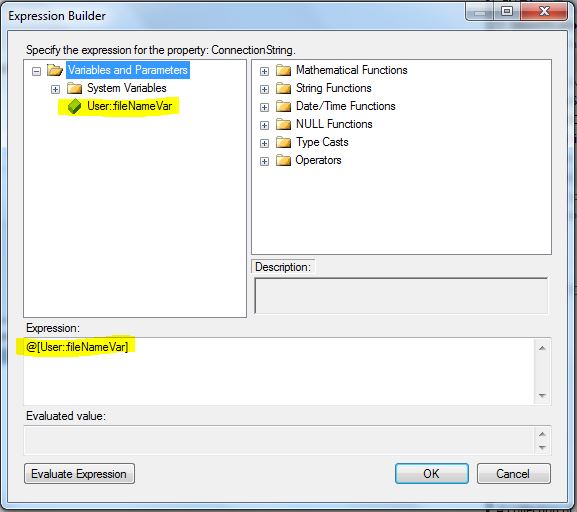
On the Expression Builder window, expand the Variables and Parameters folder, and select the variable you previously created for the ForEach Loop Container. Then drag it to the Expression textbox, and click OK to close the window:
Verify that the configuration is correct, and then click OK to close the Property Expression Editor window:
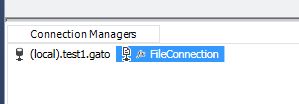
Now you can see that the Flat File connection is now parametrized to use the value of each container iteration, an Fx next to the connection indicate us this:
And for this example, that is everything. Just save and rebuild your project, and we will proceed to test it.
Testing the package
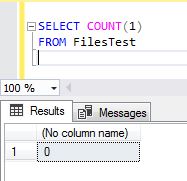
Before you continue with the example, remember to truncate the table. As you remember, we tested the package for just one file, and then we verifed that the table had the rows imported. Now we truncate the table and then verify it is empty:
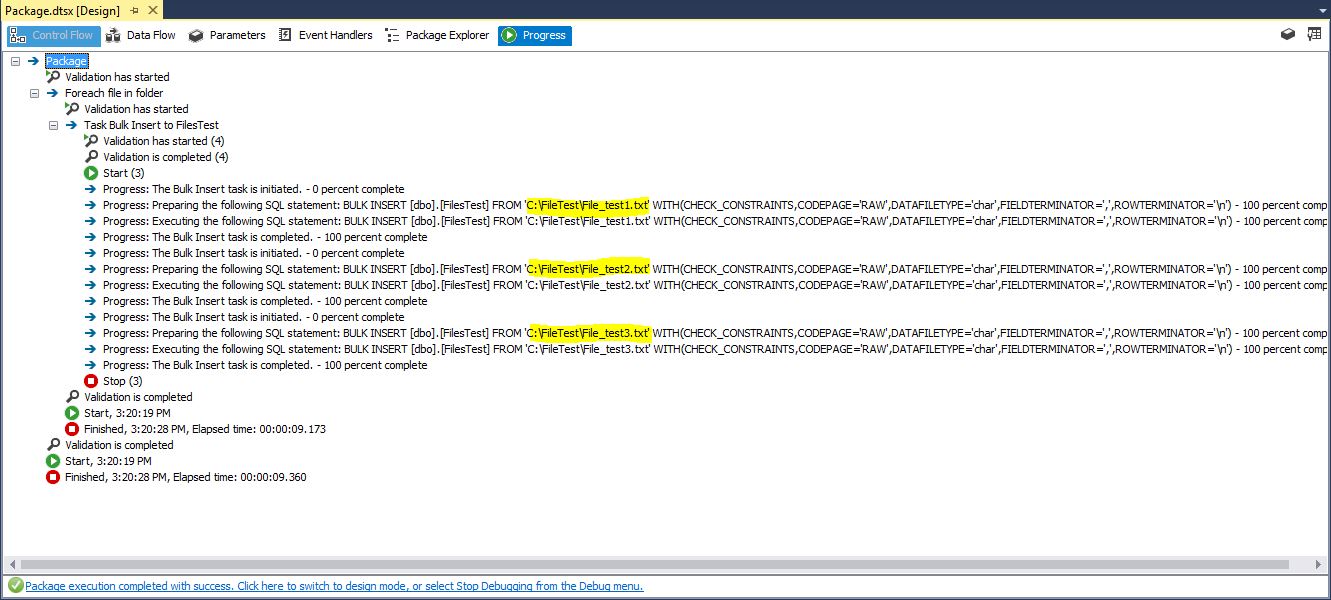
Then proceed to execute the package again. You should see in the log that all the files are processed, following the file naming rules you have configured:
If we run a select on the table, there should be 30 rows, so, let us validate this:
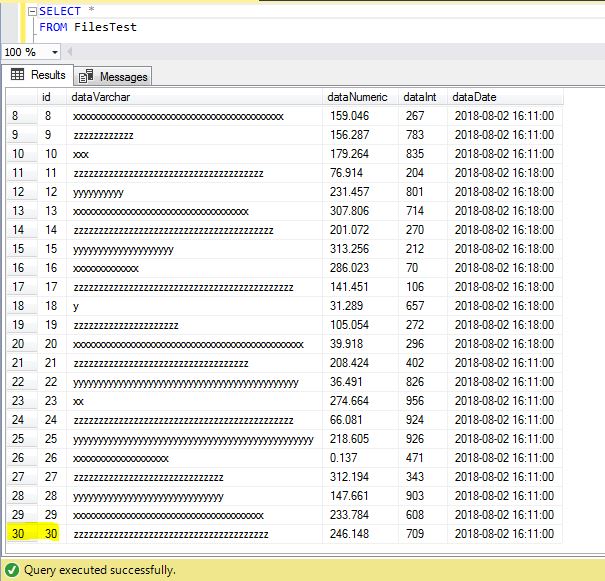
And yes, all of the rows are there, so we have successfully created a package that is able to import multiple files to your SQL Server Database.


