This is a brief tutorial showing how to create an Access 2003 database and
then link to tables in SQL Server. This is a process similar to creating a
linked server in SQL. There are quite a few images shown and the process may
seem lengthy, but in practice it probably takes about a minute to do all the
work shown in this article.
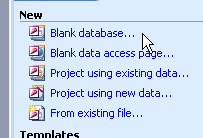
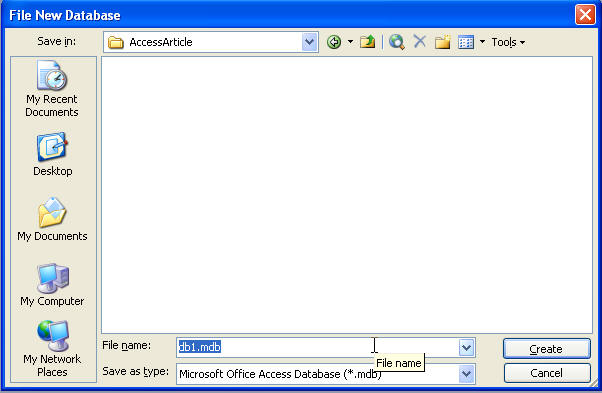
Open Access 2003 (process is very similar for earlier versions), then select
Blank Database. Type in a new name and click OK.
One point to remember is that these databases work basically like any
document file. Unless you've delved into the supported security model, you can
just copy/move the file to any other machine that has Access installed and it
will work fine. The file contains all your database objects. The next image
shows you the default view of an empty database.
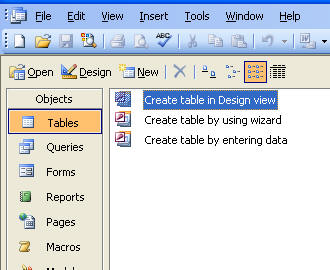
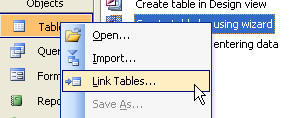
Now is where it gets interesting. Rather than create a table within Access,
we want to leverage some existing data - for this example our favorite, SQL
Server, but it does support quite a few different ones. Connecting to external
data is called "linking" and is very similar to the concept of a linked server
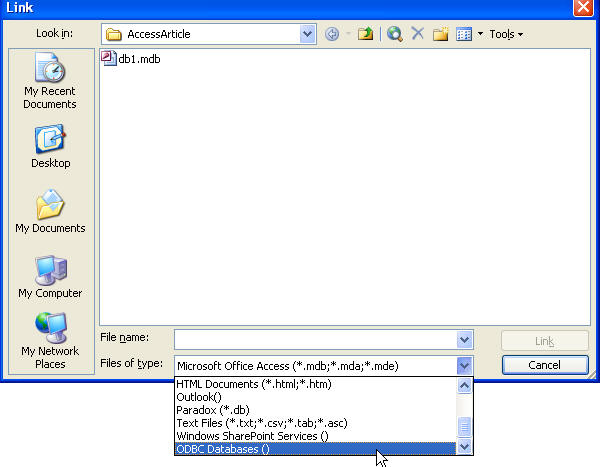
in SQL. Change the drop down (2nd image) to ODBC Databases.
Now we're going to select an existing DSN or create a new one. If you've
never created one, it's basically a way to describe how to connect to a data
source and that description is external to your application allowing it to be
changed without recompiling. For more info, I wrote an article years ago about
DSN's. Because it's key to the rest of the stuff we'll be discussing, I'll
go through the process of making one so you can follow along.
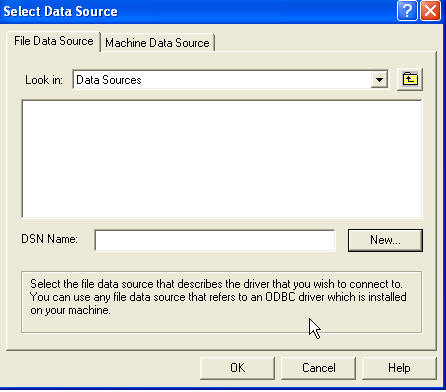
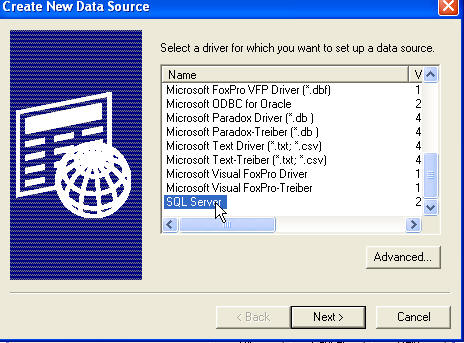
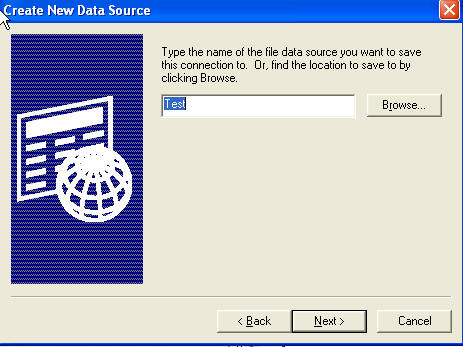
In the dialog above, click New. Scroll to the bottom and select SQL Server,
then click Next. Type in a name for the DSN, something easy to understand when
you look back at it later (something better than the 'TEST' I used!).
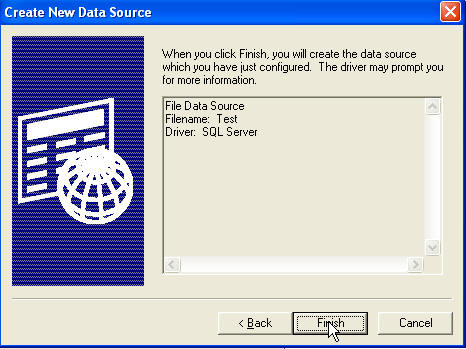
Click Next. Then click Finish. This launches a second wizard and here I've
elected to connect to "(LOCAL)", which is a shortcut to the default instance of
SQL installed on my machine.
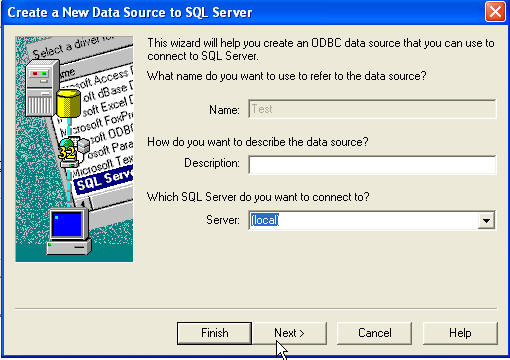
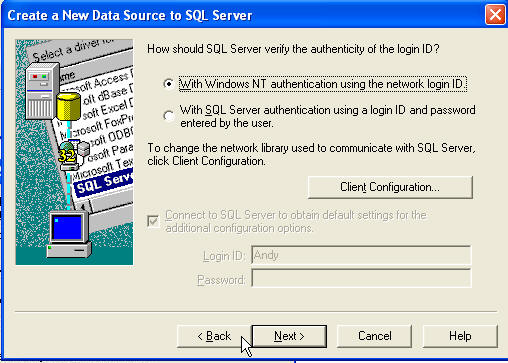
Click Next. For this demo we'll stick with NT authentication, so just click
Next again. Then I'm changing the default database to Northwind.
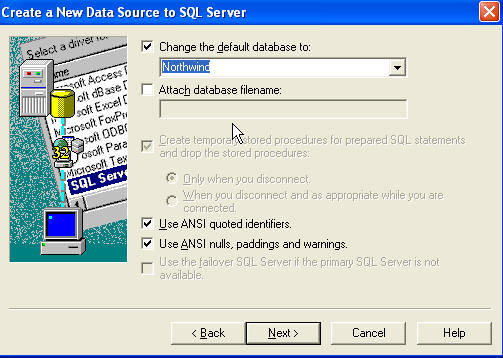
Click Next. Then click Finish. At this point you can choose to test your
connection (a good idea) or complete the DSN by clicking ok.
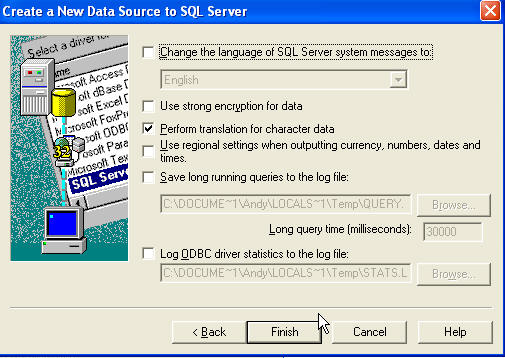
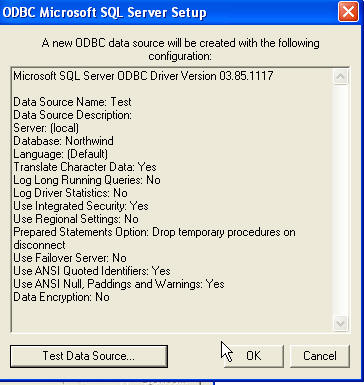
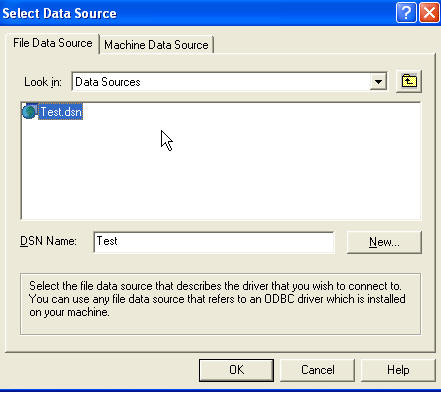
Now we're almost back to where we started. We're going to select the 'Test'
DSN we just created and click OK.
Now, finally, we can do something meaningful. The imagine below shows all the
database objects in Northwind to which I'm allowed access. I'll select two
tables and click OK.
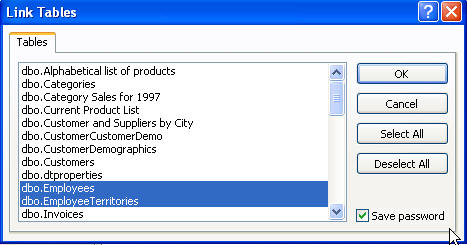
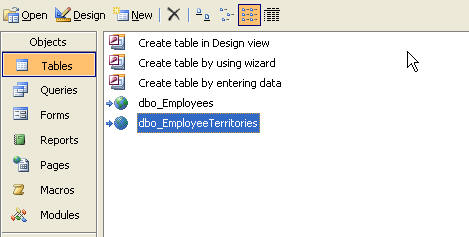
This will return you back to Access and you can see now that we have two
linked tables. Both the tables have the 'dbo_' prefix, which is the convention
Access follows, using the name of the object owner plus an underscore to make
the name unique.
At this point you can open either table and make changes that your database
permissions allow. Remember, this is live data you're modifying, Access
is only providing the interface to do the editing!


