PostgreSQL is a free database management system (DBMS). PostgreSQL 11 is the new version of this DBMS. We will take a look at how to install PostgreSQL 11 on Windows. This article covers where to download PostgreSQL 11, how the installation process looks like, and how to connect to the PostgreSQL server.
Step-by-Step Installation on Windows
PostgreSQL is implemented for many operating systems: Windows, Linux, macOS. Now we will consider in detail all the steps you need to perform in order to install PostgreSQL on Windows operating system: starting from loading graphical installer, which, by the way, includes pgAdmin 4 – a graphical management tool PostgreSQL, with which you can write SQL queries, and ending with the Russification of pgAdmin 4.
Download the GUI Installer
You can of course download PostgreSQL 11 for Windows from the official PostgreSQL website. Here is the link: https://www.postgresql.org/download/windows/.
After going to the page, we can immediately click on the link, Download the installer. In this case we will be taken to the site of EnterpriseDB, which prepares graphics distributions PostgreSQL for many platforms, including Windows. On this page, we choose the platform and version of PostgreSQL. In our case, it is Windows and PostgreSQL 11. Click on the link “Windows x86-64” – this is the version for 64-bit versions of Windows.
This should start a download of the file, postgresql-11.0-1-windows-x64.exe, with the size of approximately 187MB.
Running the Installer
Run the downloaded file. At first the installer will check if all the necessary components are present, in particular the Visual C++ redistributable. If necessary, i.e. if they are absent, it will install them itself.
After that a welcome window will be opened, click “Next”.
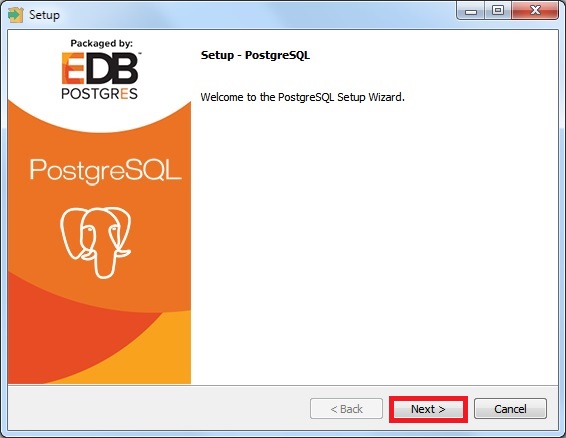
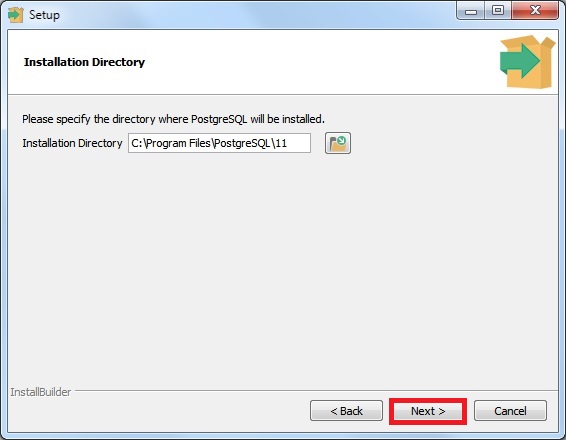
Then we need to specify the path to the directory where we want to install PostgreSQL 11, but we can leave it as default. If necessary, specify the path and click “Next”.
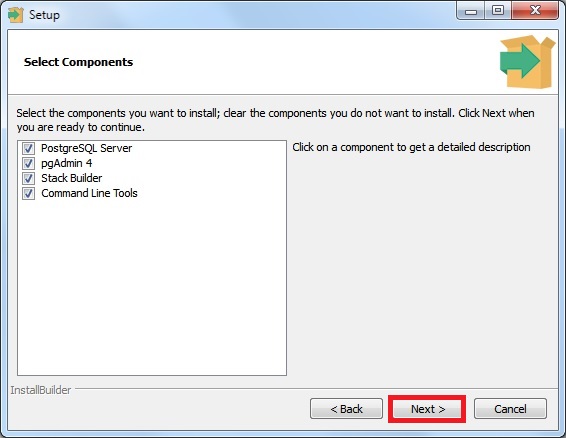
On this step we can mark the components that we need to install. As you can see, among the components there is pgAdmin 4. Leave the checkboxes against the components that we need and click “Next”.
Next, we need to specify the directory where the database files will be located by default. In this case it is better to specify a separate drive. Click “Next”.

Now we need to set a password for the postgres user. In other words, for the PostgreSQL Server administrator. We enter the password and confirm it. Click “Next”. Be sure to use a strong password here.
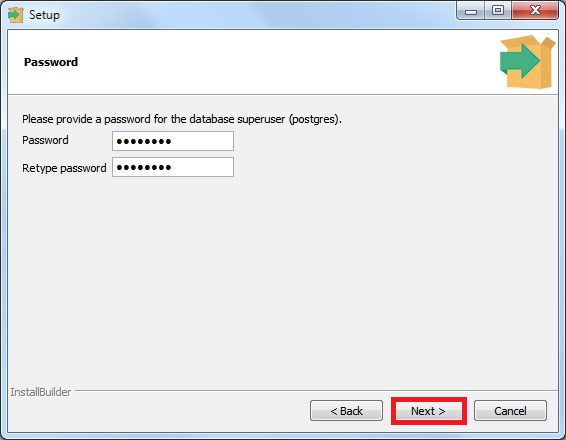
Next, if necessary, we can change the port on which PostgreSQL Server will respond, but we can leave it by default. Click “Next”.
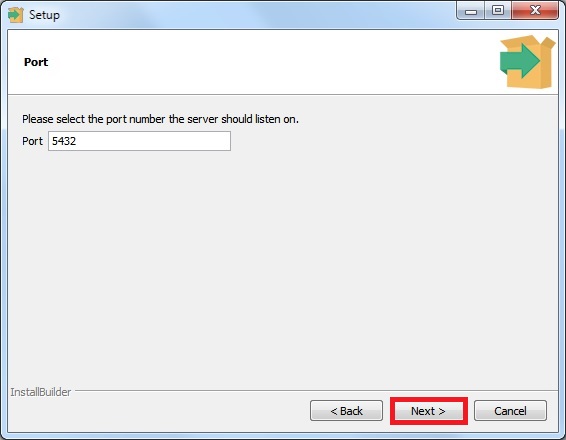
The next step, if there is a need to specify a specific data encoding in the database, we can select the desired Locale from the drop-down list. I leave it as default, click “Next”.
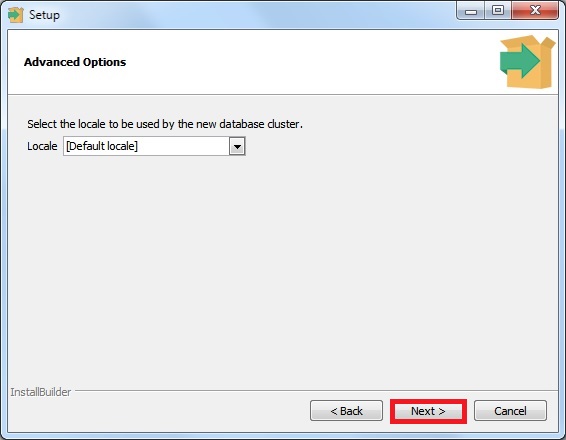
Next we check the parameters we entered earlier for PostgreSQL installation. If everything is correct, click “Next”.
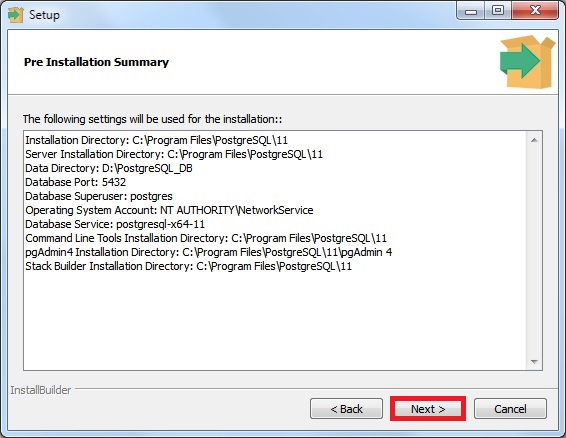
To start the PostgreSQL installation process in this window, click “Next”.
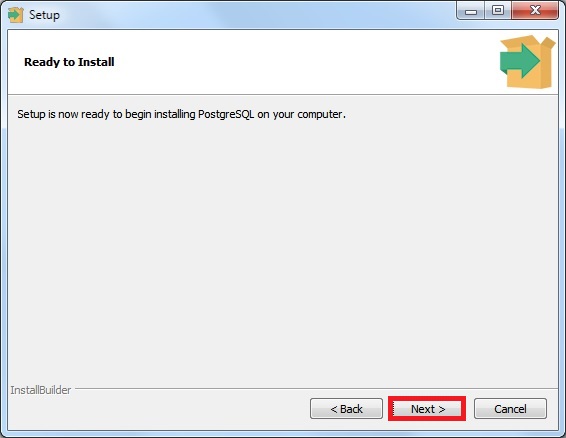
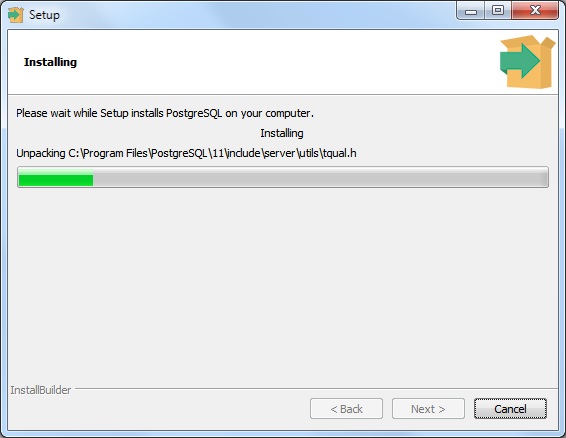
The installation will run as it does for most software programs.
Finishing the Installation
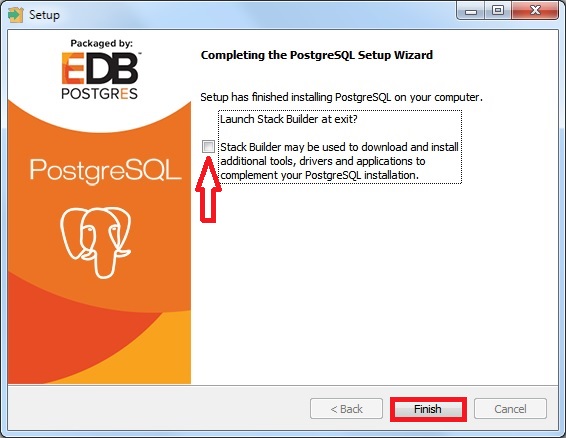
The PostgreSQL 11 installation process takes only 2-3 minutes. When you see the message “Completing the PostgreSQL Setup Wizard” the PostgreSQL installation, pgAdmin 4 and other components will have been installed.
In the last window we will be offered to run Stack Builder to load and install additional components. If you do not need anything, uncheck “Lanch Stack Builder at exit?” and press “Finish”.
Connect to the PostgreSQL 11 Server
If you installed pgAdmin together with PostgreSQL, you can use this to connect to the server. To start pgAdmin 4 press “Start Menu – > PostgreSQL 11 -> pgAdmin 4”. The new version of pgAdmin 4 has a web interface, so you will launch a browser that will open the pgAdmin 4 application.
To connect to your newly installed local PostgreSQL 11 server in your server browser, click on “PostgreSQL 11”. This will launch the “Connect to Server” window, where you need to enter the password of the system user postgres, the password that you entered when installing PostgreSQL. Enter the password, tick “Save Password” to save the password, and each time you do not enter it, click “OK”.
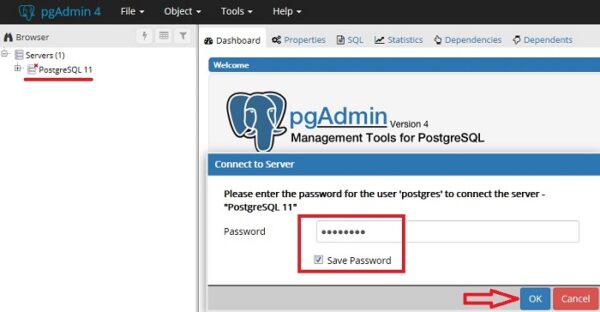
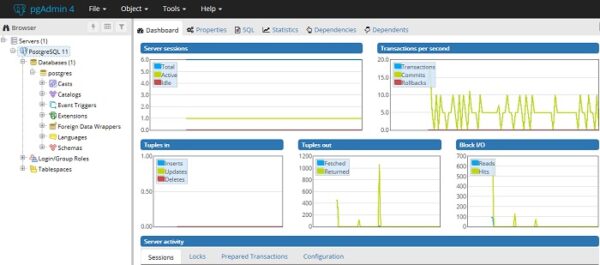
If everything is correct, you will connect to a local PostgreSQL server.
Summary
This article walks through the installation of PostgreSQL on your local system. From here, you can now use this to build a database that can be used in your application.


