Introduction
In this article, we will show how to compare tables in Azure Data Studio. This time we will show how to use the SQL Server Schema Compare extension to compare different database objects like tables, view, functions, or stored procedures.
The article contains the following parts:
- Requirements
- How to install the SQL Server Schema Compare extension
- Comparison options.
- Explain of the scmp file.
- Additional options.
Requirements
These are the requirements to follow along with this article.
- Firstly, SQL Server installed.
- Secondly, Azure Data Studio installed.
Install the SQL Server Schema Compare extension to compare tables in Azure Data Studio
First, go to Extensions in Azure Data Studio and search for the SQL Server Schema Compare extension and then press install.
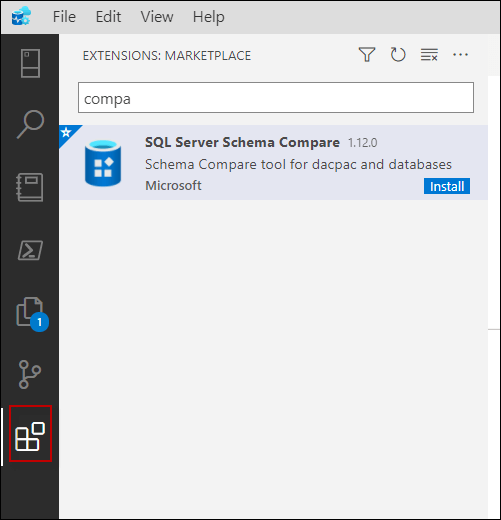 Schema compare
Start the Schema Compare feature
If everything was installed correctly, you will be able to right-click on Servers on your Database connection and select the Schema Compare option.
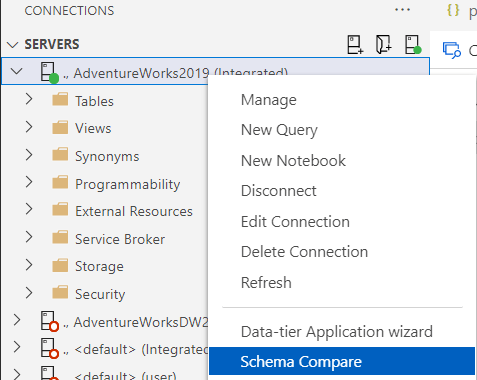 Schema compare
Secondly, enter the SQL Server name and Database from Source and Target. You can also use a dacpac file instead of a live database. If you do not know how to create a dacpac, check our SQL Server Dacpac in Azure Data Studio article. In this example, we are comparing the Adventureworks2019 with the AdventureworksLT2019, but you can use any two databases that you prefer.
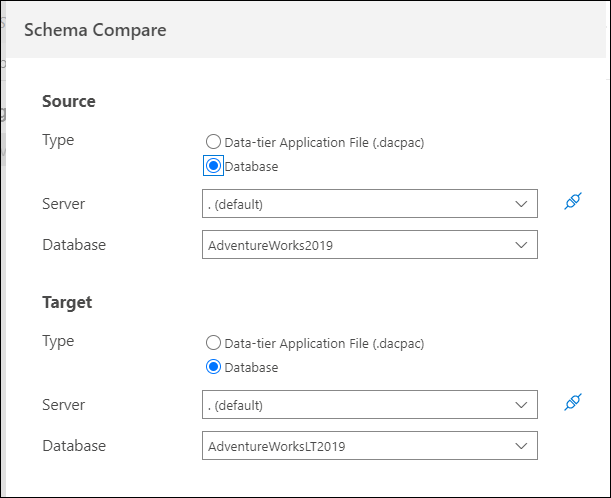 Source and target
The Compare option compares both tables and will display the differences. Azure Data Azure Studio Compare data option
Comparison options
First of all, click options to see all the options available during comparison.
 Icon with options
There are different options such as Allow Drop Blocking Assemblies, Allow incompatible Platform, Allow unsafe row-level security data movement, and more. Also, you can backup the database before applying changes. In addition, you can block a script from running on possible data loss scenarios, drop constraints, triggers, and more options.
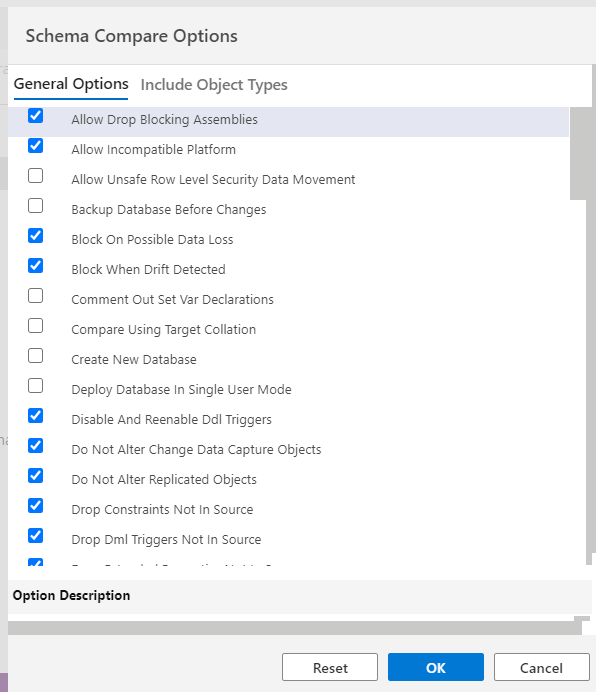 Options in schema
The SCMP File
You can save the schema differences in an .scmp file. The schema comparision file is basically an XML file that stores the connections from source and target, the configurations, and the changes to be made. You have an option to save the information from your comparison in the file. You could store this file with the Save .scmp file option and export it to another server.
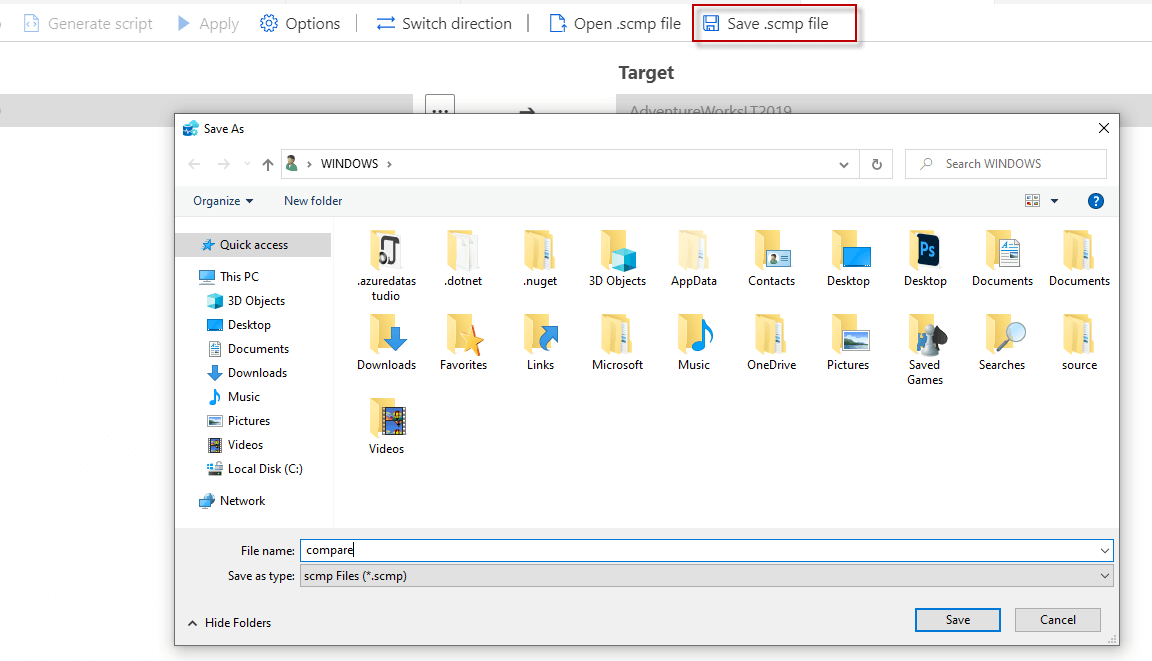 Path to save file
You can use the Open .scmp file to open the file from another location.
 File to open
You can see a sample of the file below. It is just a file that includes the connections, properties, and differences between two databases.
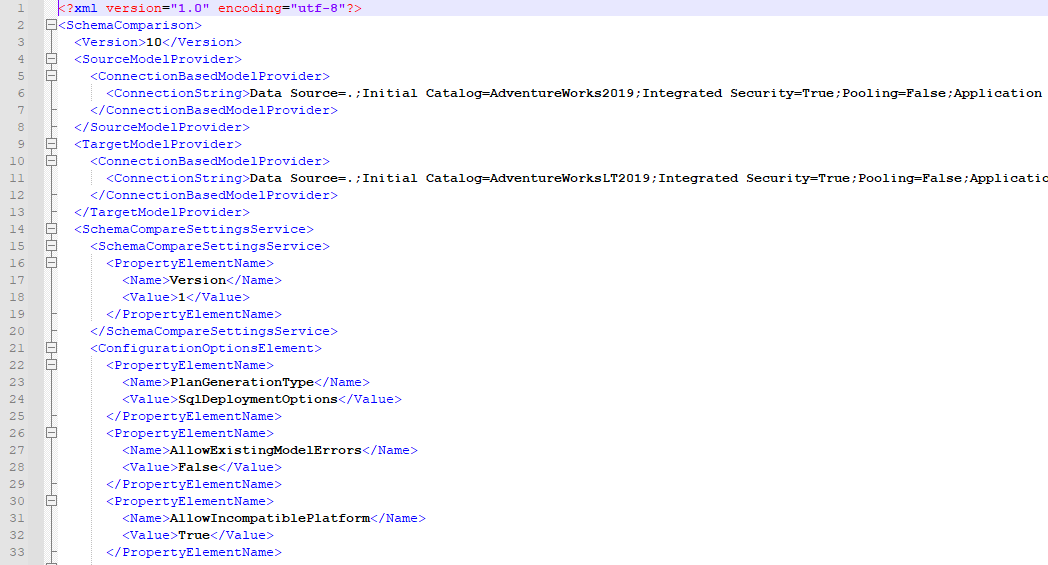 File with differences
Other Options Available
In addition, it is possible to switch the direction of the comparison. This option is used when you want to change the source with the target and vice versa.
 Switch the source and destination
The action column in the image below will tell you if you need to add an object (create), delete it (drop), or modify it.
Furthermore, you can generate a script and execute the T-SQL according to your needs, by using the Generate script button.
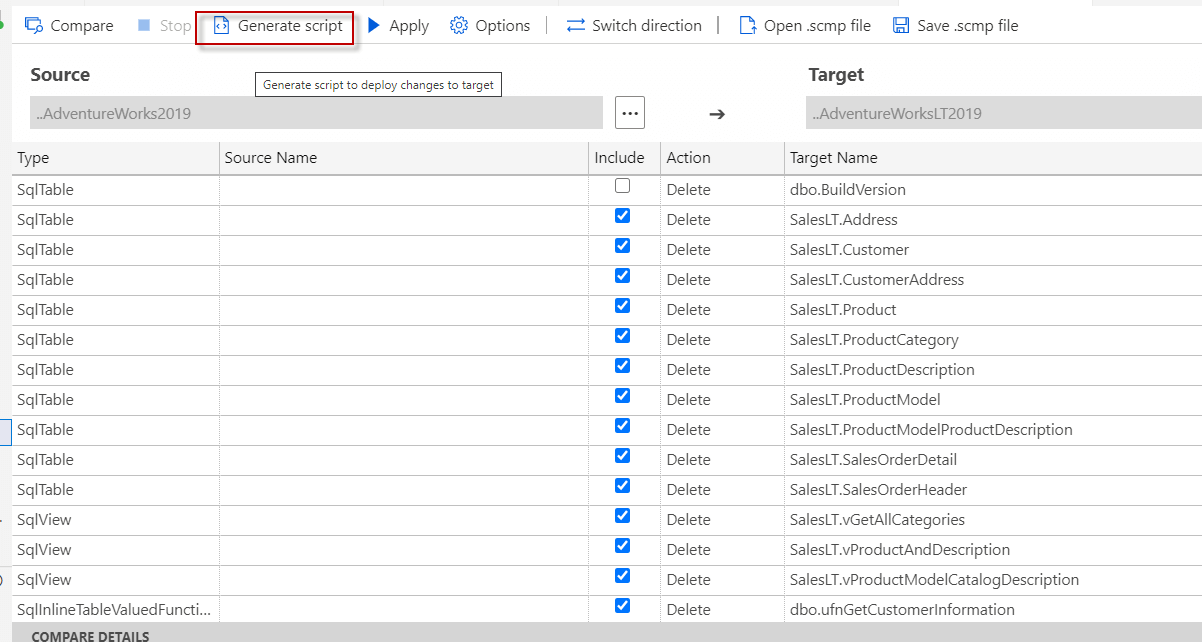 Create a script
You can also apply the changes. However, you may need to be careful if there are many changes because there are several dependencies, and applying them may cause errors.
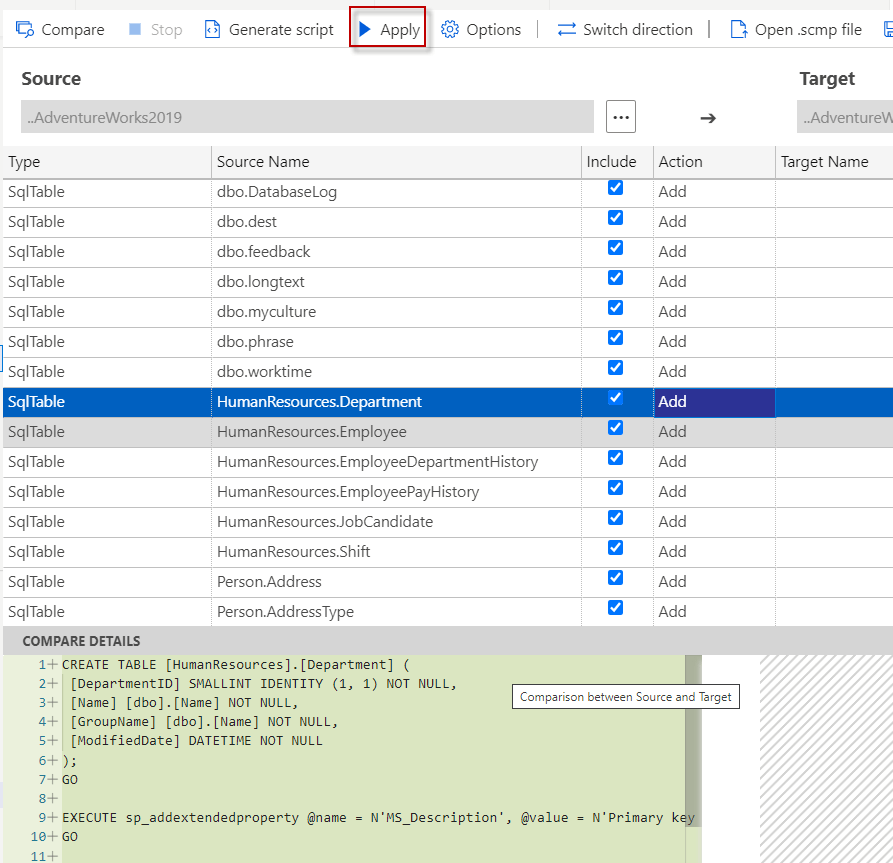 Apply what was changed
You can select which changes to include and check the actions. The following example shows that the dbo.BuildVersion exists in the target, but not in the source. You could delete it or create it in the source.
 Actions in ADS
Also, it is possible to see the T-SQL code to add the table or drop it. In the following example, we can see the T-SQL code to create the dbo.BuildVersion table.
 The script generated
As you can see, comparing all the files and objects from different databases is a straightforward process in Azure Data Studio.
Conclusion
In this article, we learned, how to install and use the SQL Server Schema Compare and compare tables in Azure Data Studio. This extension allows comparing different databases and generating scripts to add missing objects or delete extra objects.


