

Introduction to the GitHub Web Platform
In a previous article, we explained how to sign up for the GitHub platform to protect our code and publicize our code on the web to work with multiple users simultaneously on the internet. With GitHub, you can coordinate with multiple users to update and version your code.
In this article, we will do the following:
- First, we will learn how to edit our code in GitHub.
- Secondly, we will use the tools to report issues in our code using GitHub tools.
- Also, we will learn how to create actions if events occur.
- In addition, we will learn some options to handle pull requests.
- Finally, we will learn how to handle Agile projects in GitHub.
How to edit our code on the GitHub Web Platform
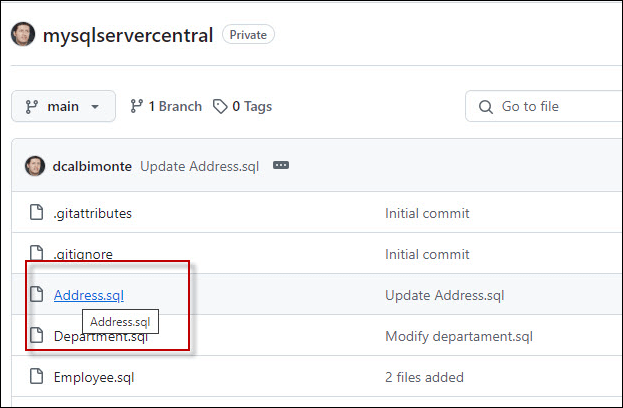
For this purpose, we will use my sqlservercentral repository: https://github.com/dcalbimonte/mysqlservercentral
First, select the address.sql file.
Secondly, press the edit button to edit the text.
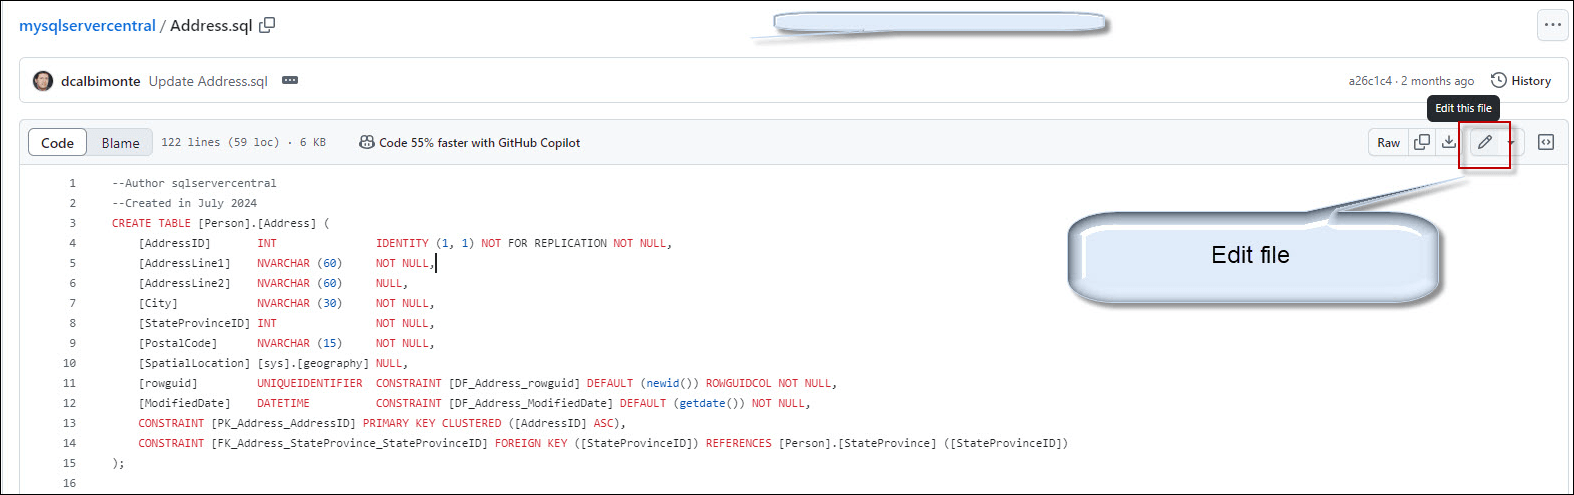
Thirdly, add some comments to the code.

Also, commit changes.
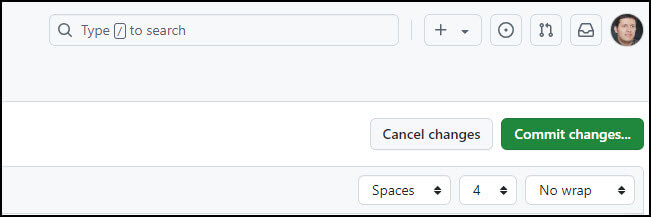
Add a message and optionally a description

Finally, if you press the history icon, you can see the history of commits.
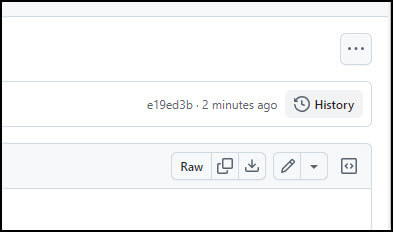
You can check the changes done.

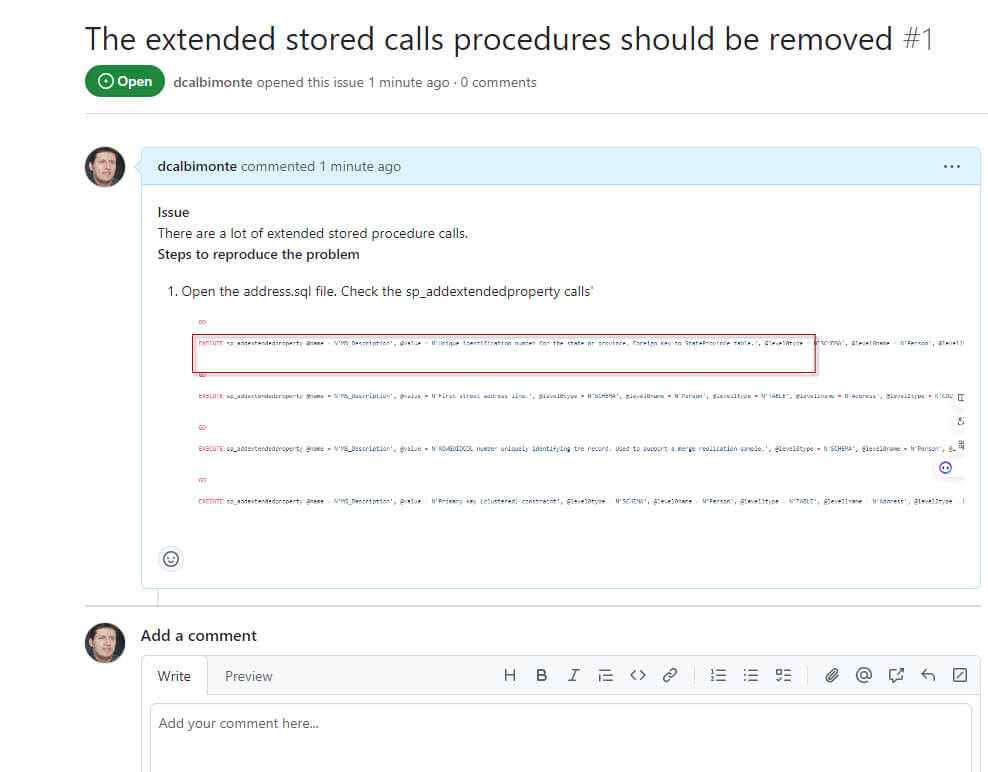
Add issues to the GitHub Web Platform
There is also an Issues section to report issues. The issues are bugs or problems reported on the system. If it is complex software, it is good to track them. Sometimes we do not have time to report all the issues, but we want to register them to fix them later. Also, we need to report and register the changes done.
First, create your issues with the New Issue button.

It uses Markdown language. If you are not familiar with Markdown, I strongly recommend you read the following article: How to use Jupyter Notebook in VSCode
In the issues, you can use bold, italics, bullets, and so on.

Also, you can copy and paste images and there is an option to paste, and drop files.
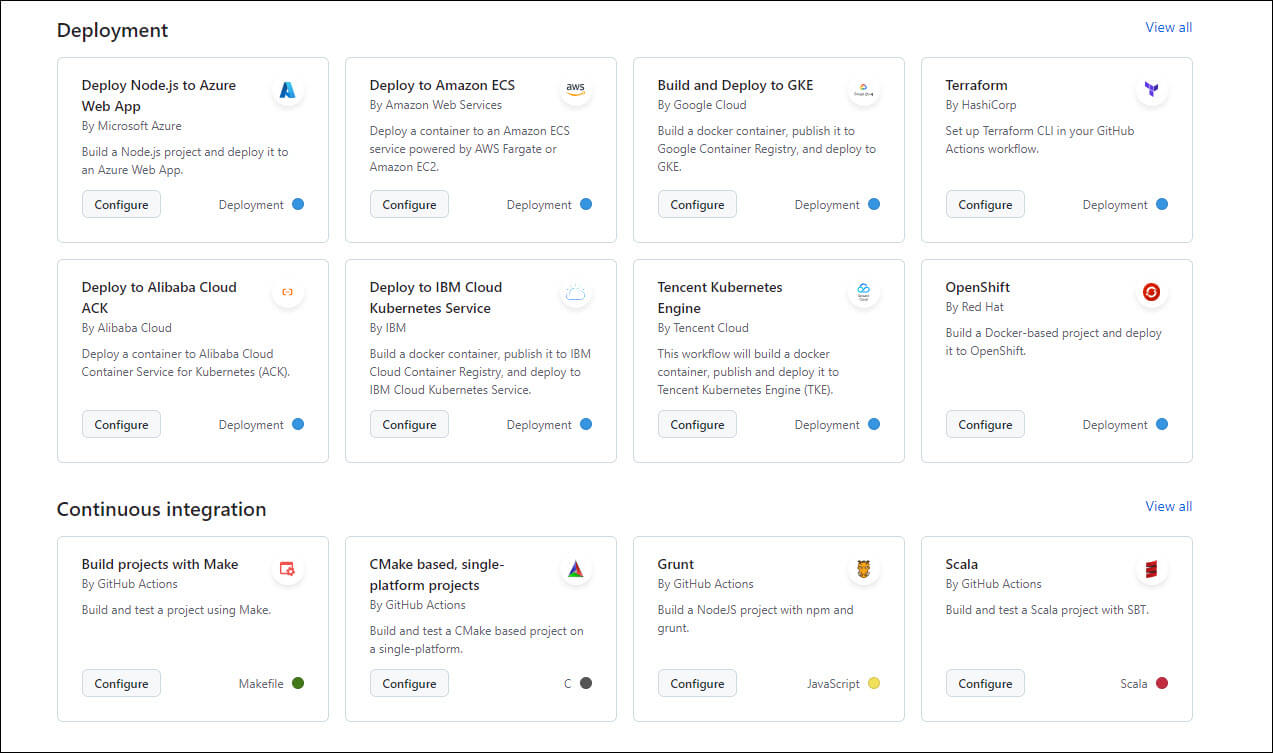
Working with actions in the GitHub Web Platform
You can create different actions when an event occurs in GitHub. To test the actions, press the action option in your GitHub repository. You can create for example deployment actions to deploy your configuration to Azure, there are also options to deploy in Azure, Amazon ECS, deploy in IBM Cloud, Alibaba Cloud, etc. There are also actions related to DevOps tasks for CI/CD (Continuous Integration and Continuous Delivery). You can create actions in Docker, and JS, create GitHub actions, automate tasks, monitor and troubleshoot.
For more information about actions, refer to the following link: Understanding GitHub Actions
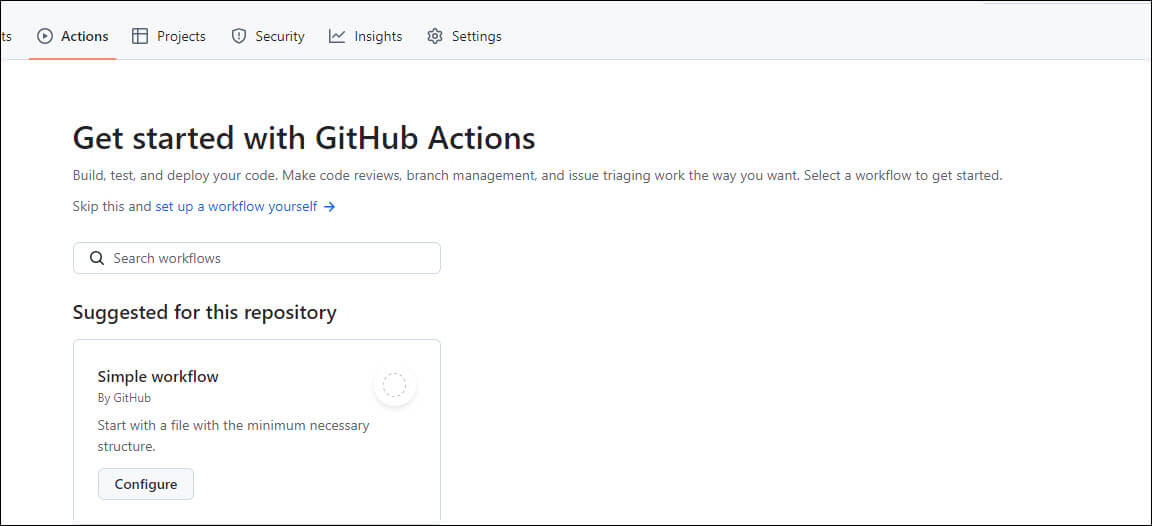
First, press the Configure button to create a Workflow.
Here is the code used in the first action:
# This is a basic workflow to help you get started with Actions
  name: CI

# Controls when the workflow will run
  on:

  push:

    branches: [ "main" ]

  pull_request:

    branches: [ "main" ]


  # Allows you to run this workflow manually from the Actions tab

  workflow_dispatch:

# A workflow run is made up of one or more jobs that can run sequentially or in parallel

jobs:

  # This workflow contains a single job called "build"

  build:

    # The type of runner that the job will run on

    runs-on: ubuntu-latest


    # Steps represent a sequence of tasks that will be executed as part of the job

    steps:

      # Checks-out your repository under $GITHUB_WORKSPACE, so your job can access it

      - uses: actions/checkout@v4


      # Runs a single command using the runners shell

      - name: Run a one-line script

        run: echo Hello, world!


      # Runs a set of commands using the runners shell

      - name: Run a multi-line script

        run: |

          echo Add other actions to build,

          echo test, and deploy your project.
Explanation of the code
The actions are created in .yml files. Yml stands for Yet Another Markup Language. We used these files to automate tasks in GitHub actions. It is similar to JSON but without brackets. It is very simple to read.
First to create the action we need a name. The name is CI:
name: CI
Secondly, we need to define when the action will trigger. Think about the SQL Server triggers. They usually execute when we create, or drop an object or when we insert, update or delete data. In this case, we will execute the code when we pull or push code on the main branch. The branches are parallel versions of the code made by different developers. In addition, you can change the main branch with other branches.
on:
# Triggers the workflow on push or pull request events but only for the "main" branch
push:
branches: [ "main" ]
pull_request:
branches: [ "main" ]
Also, we have the workflow_dispatch. The workflow_dispatch is used to run the action manually. It is like the SQL Server agent job. It can run on a scheduled basis and demand. Also, add this code if you want to run the action manually.
workflow_dispatch:
In addition, in these lines of code, we specify where the code runs. In this case, in an Ubuntu machine. You can run in Windows (windows-latest) Mac (macos-latest) or self-hosted which is for custom configuration.
 build:
runs-on: ubuntu-latest
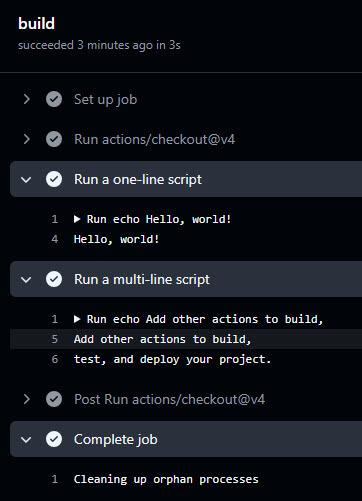
The next line of code is used to check out the repository. This action clones the repository into the environment. By the moment version 4 is used.
- uses: actions/checkout@v4
Also, we run a Hello word test here:
 # Runs a single command using the runners shell
- name: Run a one-line script
run: echo Hello, world!
Finally, we will show how to run two lines of code. After echo, you add any custom message:
 - name: Run a multi-line script
run: |
echo Add other actions to build,
echo test, and deploy your project.
Once created, commit the changes.
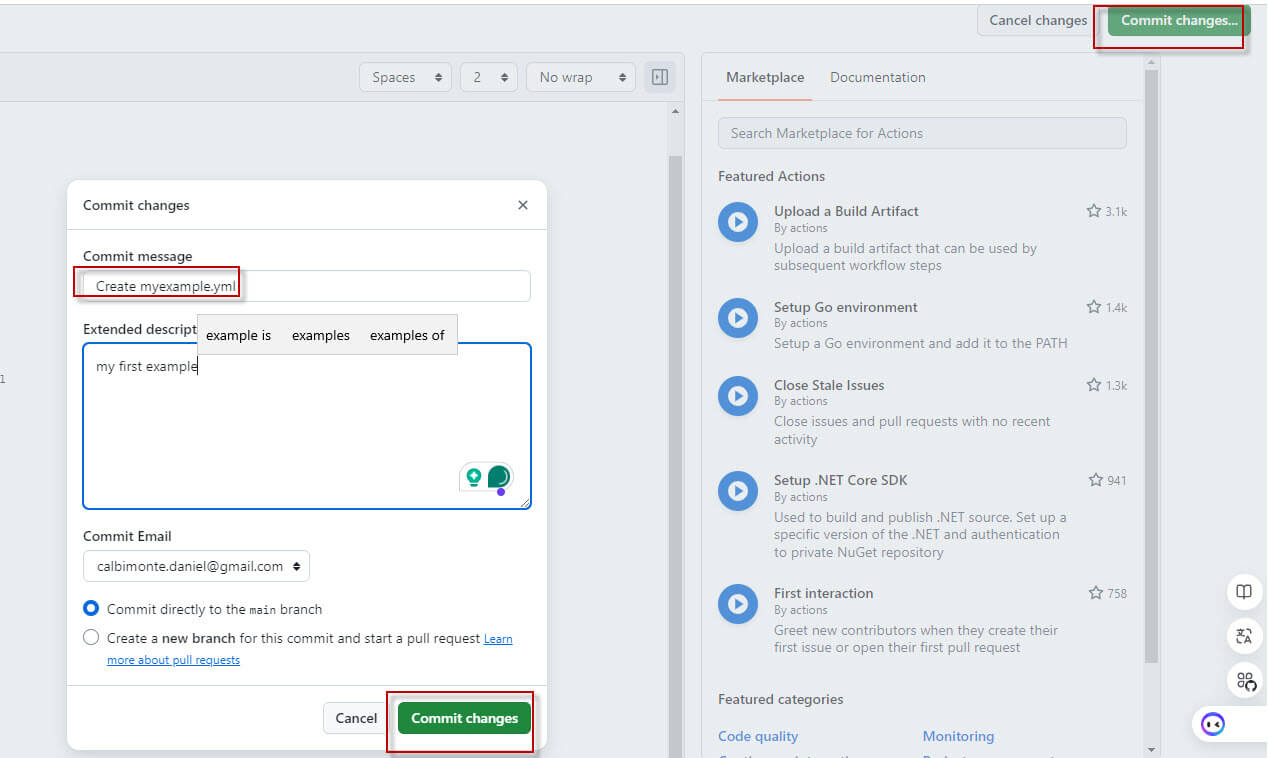
Press the Build option to check your code.
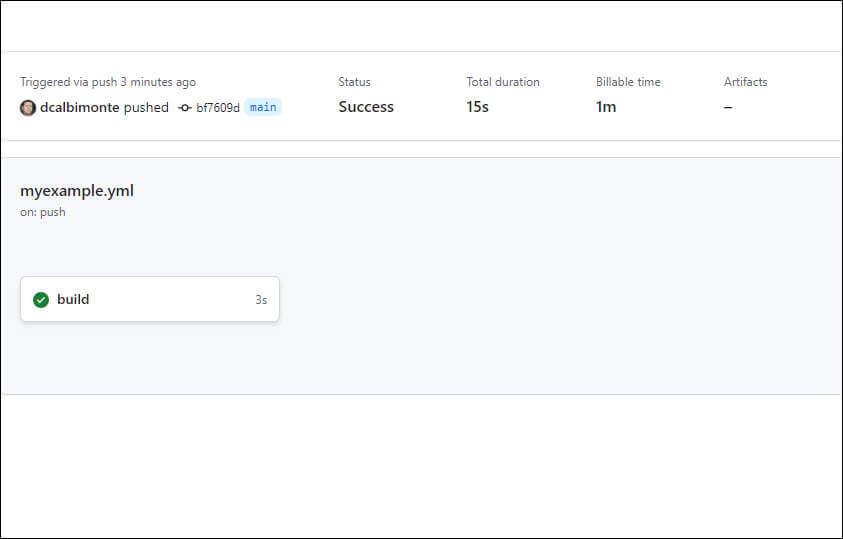
In addition, run the code created. 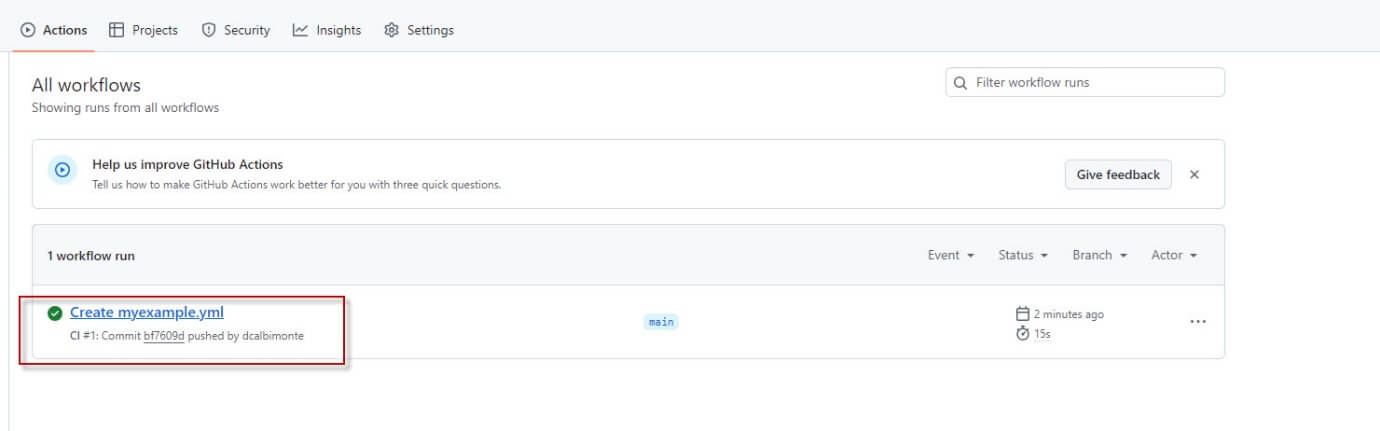
You will be able to see the code executed with the echo messages on it.
Pull requests in GitHub
The pull requests are changes made to the code. For this option, we are going to logout and create a different user. Then we will log in with the new user created. If you do not know you to sign up with a new user, review the following article: Git, GitHub, and Visual Studio Code for SQL Server
In the article look for the Sign up for the GitHub subscription section. Once subscribed, log in with the subscribed user and follow these steps:
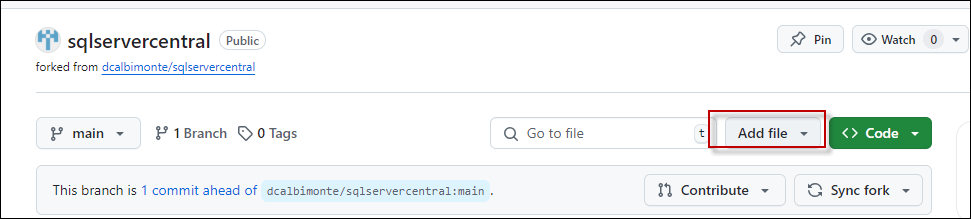
First, we will select the option to create a new fork. The fork is used to collaborate with open-source projects or create independent copies. It can also be used for testing.
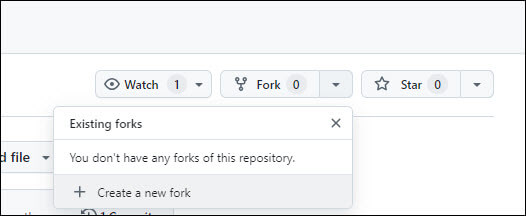
In the fork, add a file and commit the changes.
We will add a file named readme.txt
Welcome to the readme file.

This file will guide you to understand this project.
Also, if you go to Pull requests you can see the add readme file request.
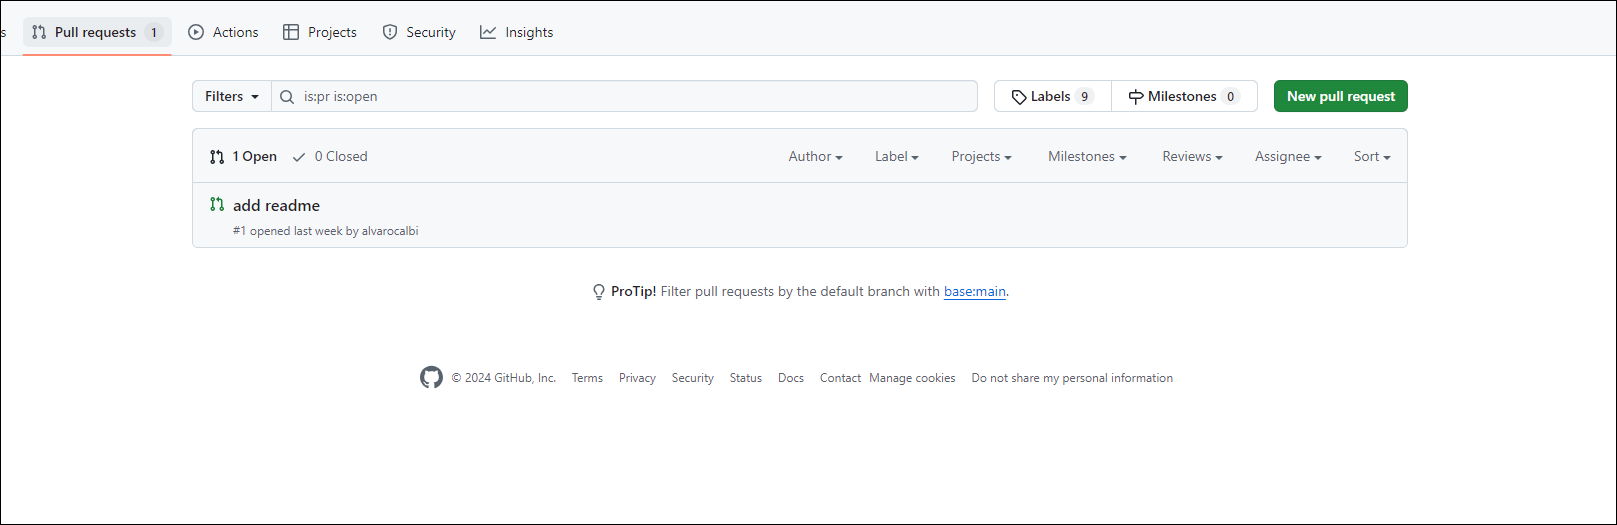
Also, you can close the pull request.

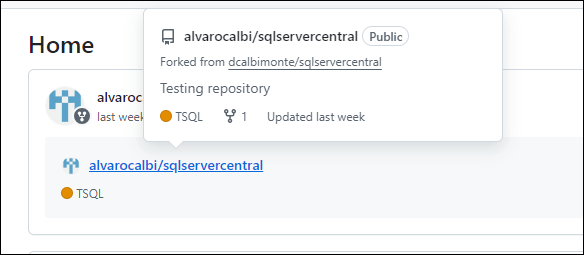
If you logout with this secondary user and log in with the repository creator, you will see a notification saying that your repository was forked.
Also, if you want to add the change Create a pull request.
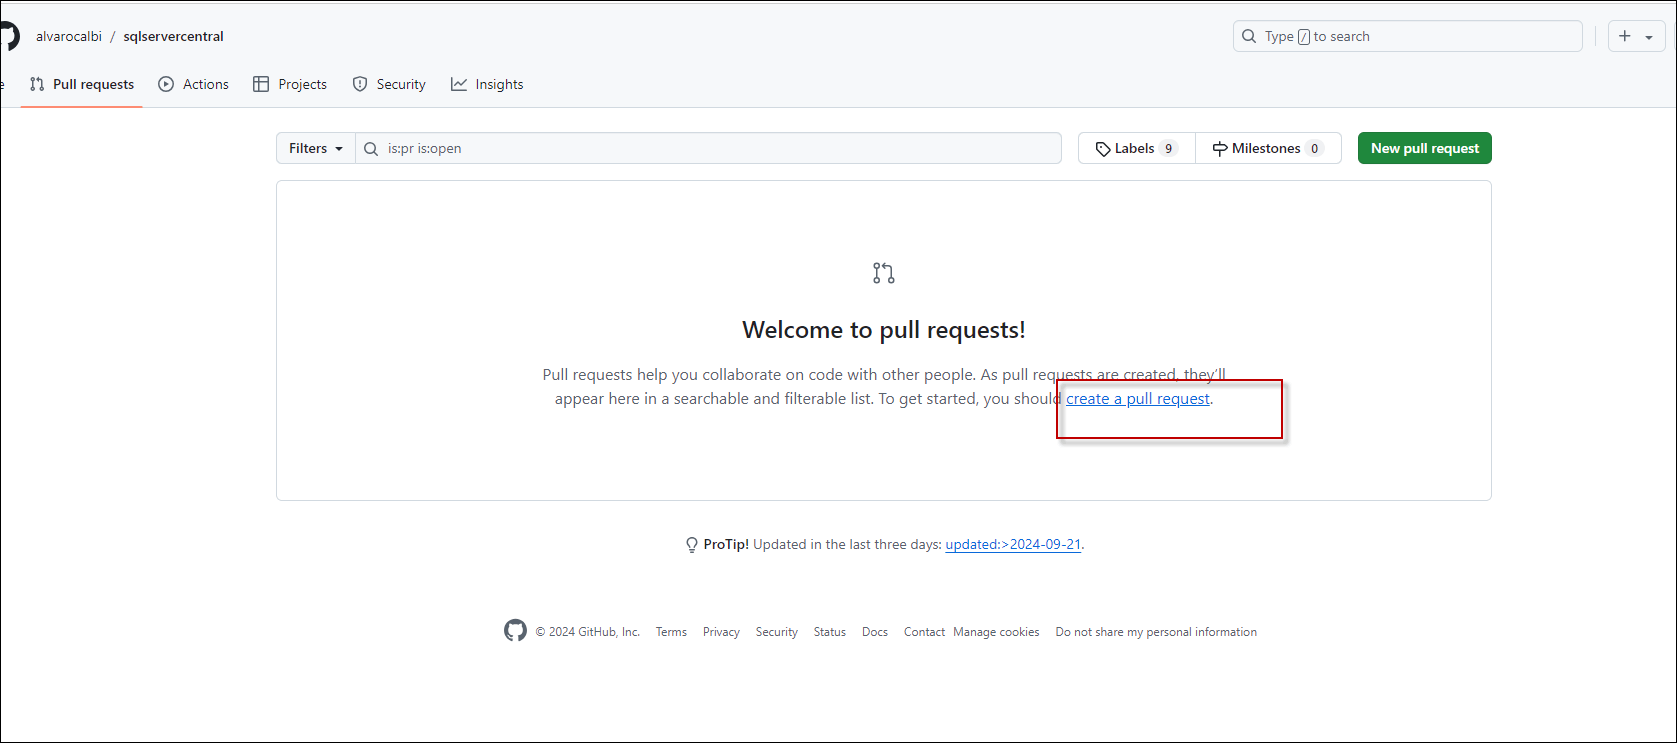
In addition, press the View pull request button.
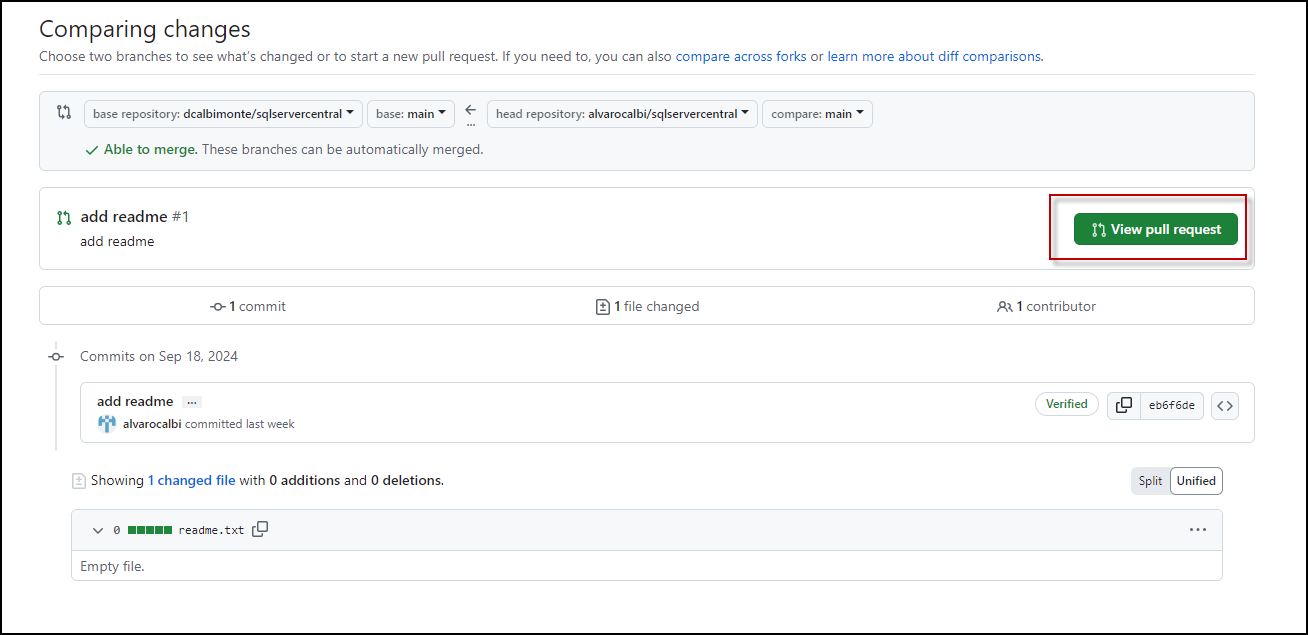
Finally, you can merge the pull requests to merge your changes.

Add projects to the GitHub
We also have a section for creating our project.
First, in the GitHub, go to Projects.

You can create a team plan with the tasks and cycles to develop your code. You can also use the Kanban methodology to visualize the project's status. Also, you can create a Bug tracker project to report and handle bugs.
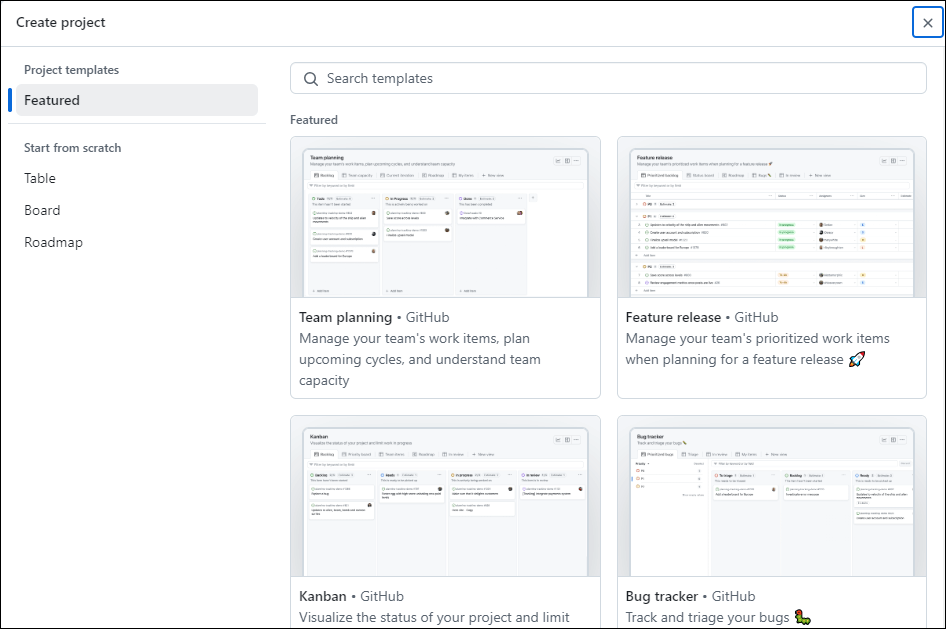
In this example, we will use the Team planning. This will handle agile methodologies to handle your project.
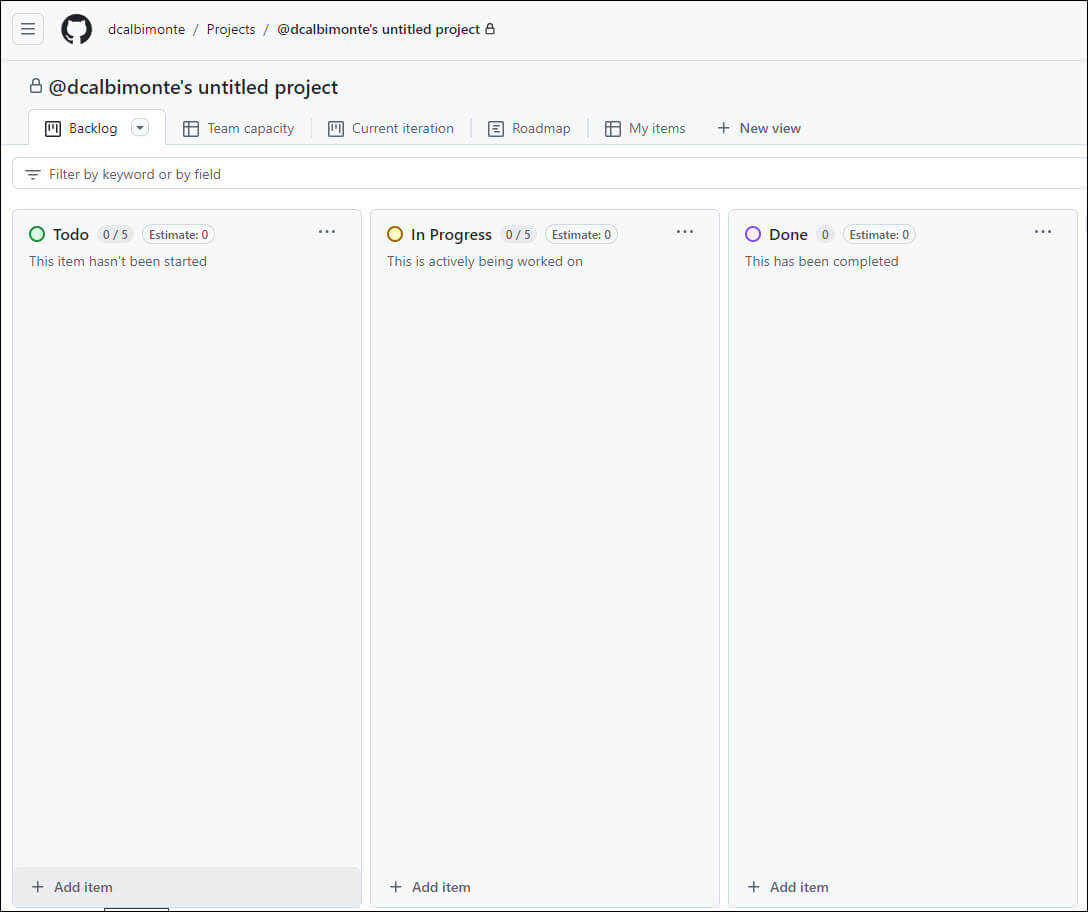
You have 3 categories:
- First, you have the Todo tasks. These are the tasks that you are planning to do during the week.
- In progress are the tasks that you are working on. For example, write an automation script to handle indexes.
- Done are the tasks finished.
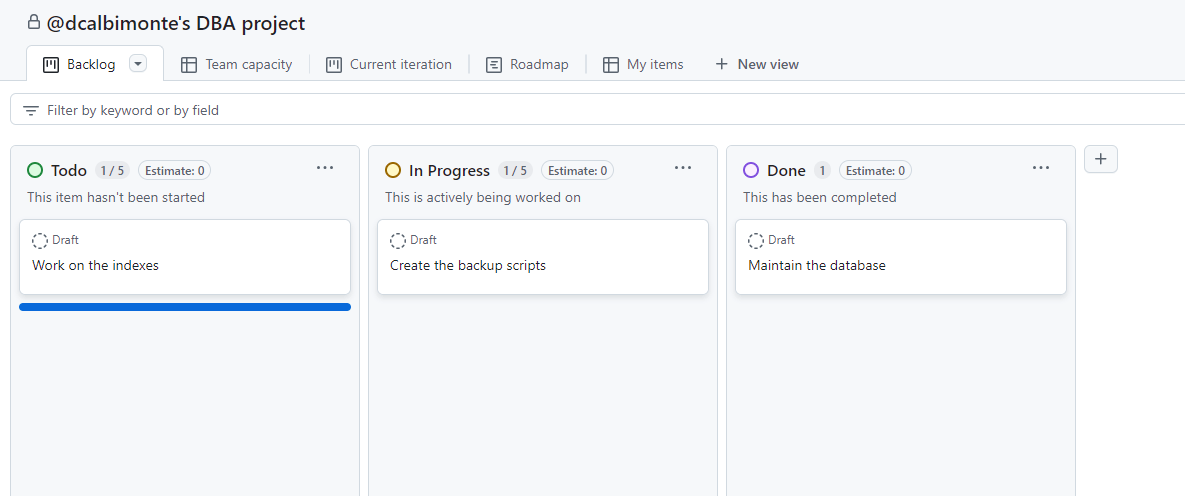
With the Add Item, you can add new tasks. Additionally, you can drag and drop your items from Todo to Progress and from Progress to Done:
Conclusion
In this article, we show the main features of GitHub. It is a tool for creating versions of your code and working with multiple users in the code. This tool can help you a lot with your DevOps tasks and you can automate the deployment and testing of your code.
Also, you can handle your project using the GitHub tools and keep track of your Agile tasks. Also, you have a free issue report system to control the bugs.