

Introduction
This article will teach us to integrate Git, GitHub, and Visual Studio Code. Visual Studio Code (VSCode) is a great tool for programming in T-SQL, Python, Java, and other languages. You can read our articles about Visual Studio code if you are new to the tool. This article will show how to integrate your Visual Studio Code in Git and GitHub.
The article covers the following sections:
- What is GitHub?
- What is Git?
- Requirements to configure Git on Visual Studio Code
- Configure the Git for Windows in Visual Studio Code.
- Sign up for the GitHub subscription.
- Add a repository on GitHub to use in Visual Studio Code.
- Send the code to the GitHub Repository.
- Checking the GitHub of Visual Studio code information
What is GitHub?
GitHub is a web platform for developers to create and share code. It provides distributed software with version control. For example, you can have a version history of your code. It allows us to work with code in parallel with multiple users worldwide. GitHub has more than 100 million developers affiliated. This platform was acquired by Microsoft in 2018 for 7.5 billion.
What is Git?
Git is a free tool for version control of your code. You can use it to collaborate between multiple users and keep a version tracking.
Requirements to configure GitHub on Visual Studio Code
We already explained what is Visual Studio Code in the following article:
- Working with SQL Server in Visual Studio Code
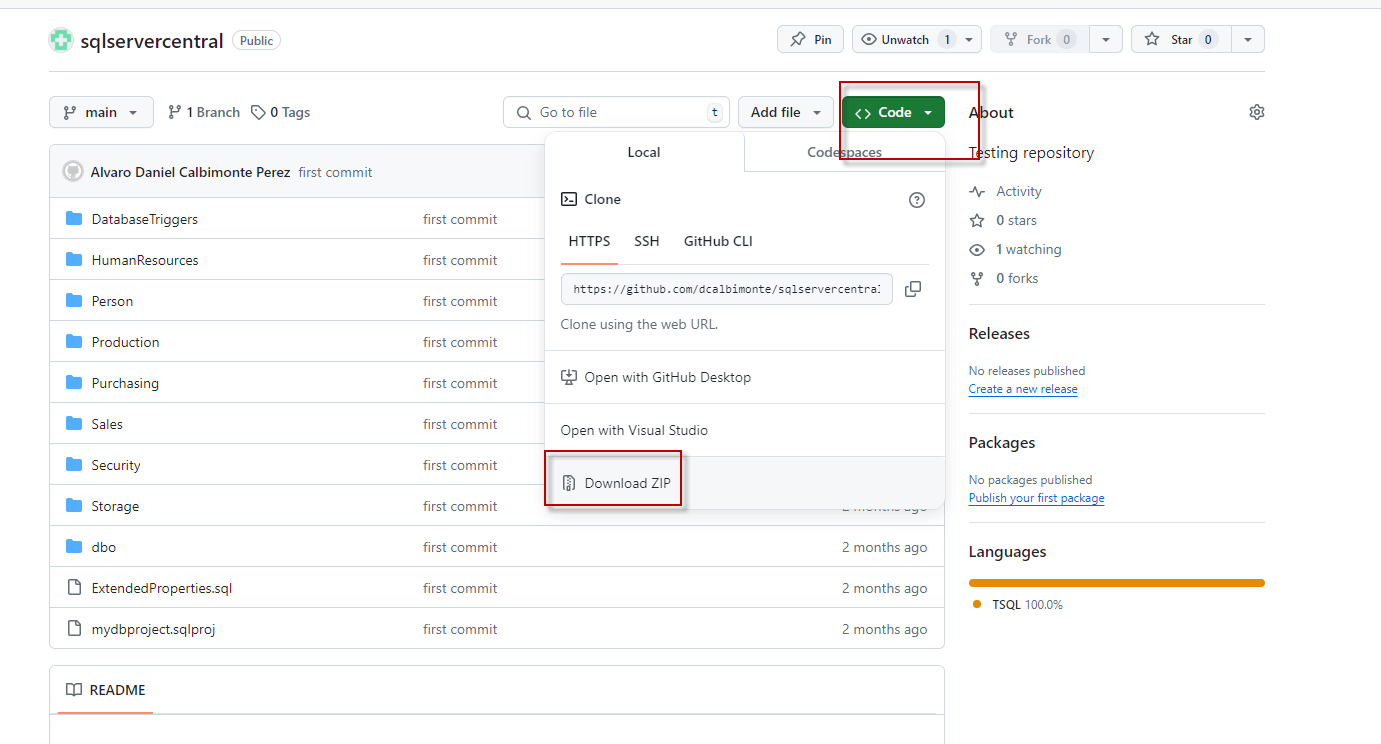
- Also, download the SQL project at https://github.com/dcalbimonte/sqlservercentral/tree/main

- In addition, unzip the project.
- In VSCODE go to File>Open Folder and select the unzipped folder downloaded previously.
- Download the file aworks.sql at https://github.com/dcalbimonte/mydbproject/blob/main/aworks.sql

Installing the Git for Windows for Visual Studio Code
Now that you have Visual Studio Code installed, we will open it.
We will need to install Git for Windows. If you already have Git for Windows, go to the Sign Up for GitHub Subscription section. The steps to install it are the following:
First, press the Source Control icon. Press the Download Git for Windows button to install Git.
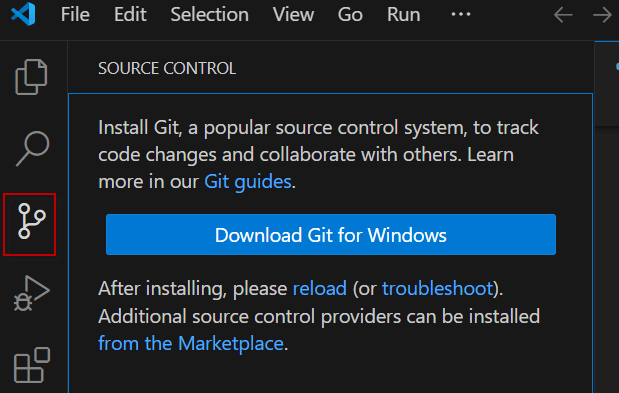
Git is a version control software that tracks your code changes over time. We will use this software to connect to GitHub.
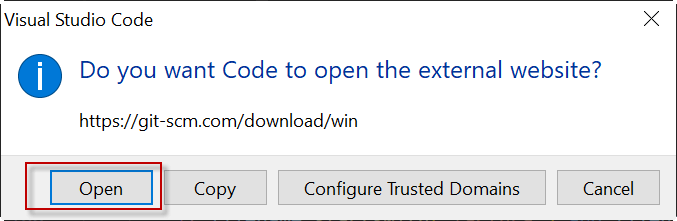
Next, you will receive a message to open the external link. Press the Open button.
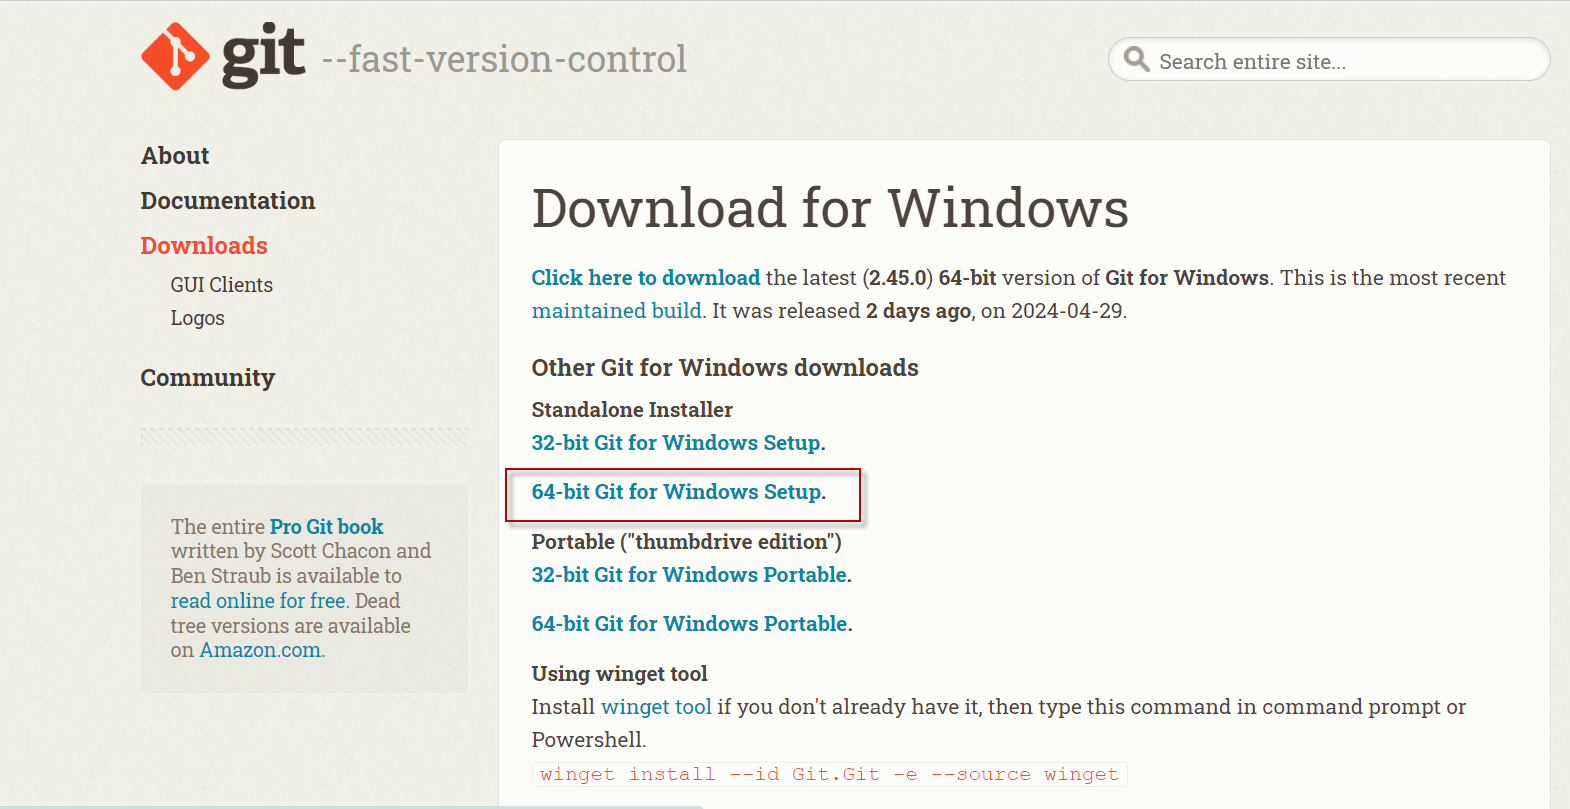
Thirdly, download the 64-bit version for Windows if applicable.
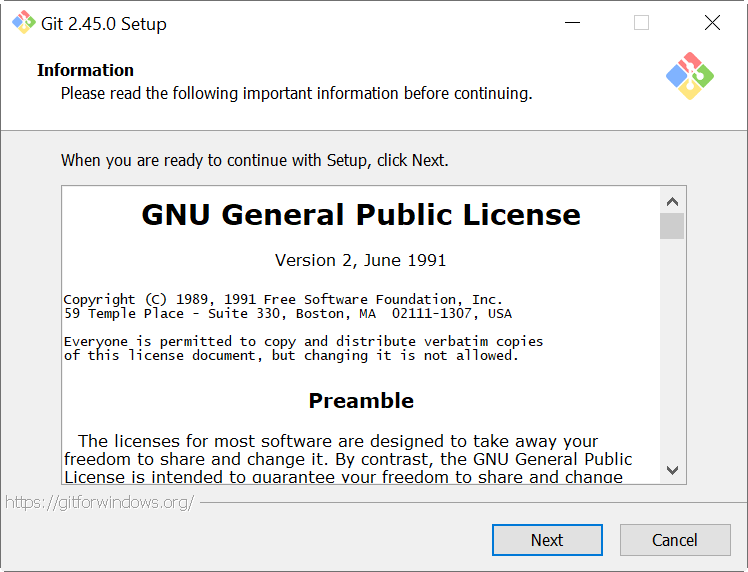
Also, read the Git GNU license terms and press Next.
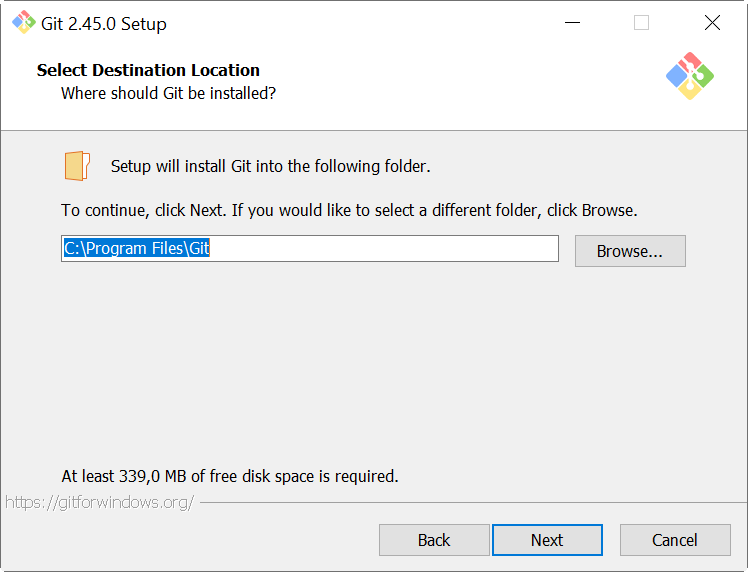
In addition, select the destination Path to install and press Next.
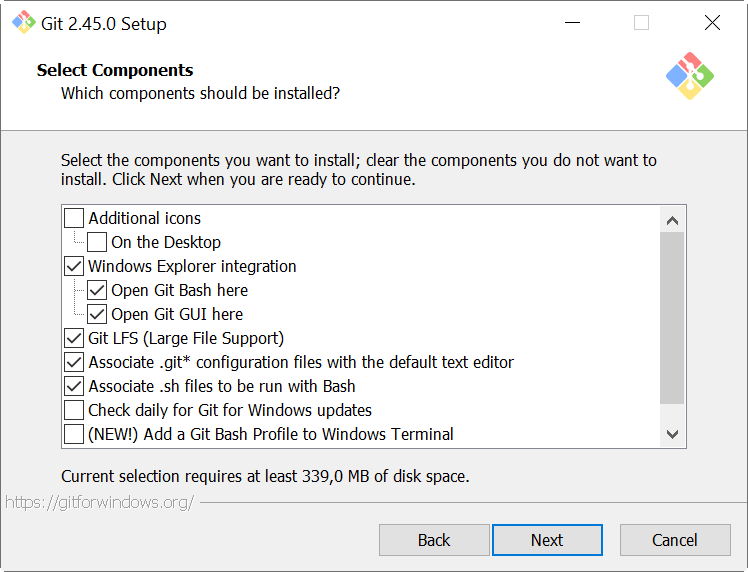
You can also install icons of the programs on the desktop, the Git Bash, and the Git GUI. The bash uses the command line and the GUI uses the Graphical User Interface. For large files, you can install the Git LFS for large file support. You can also associate the files with .sh extension to run with bash and the git files with the default text editor.
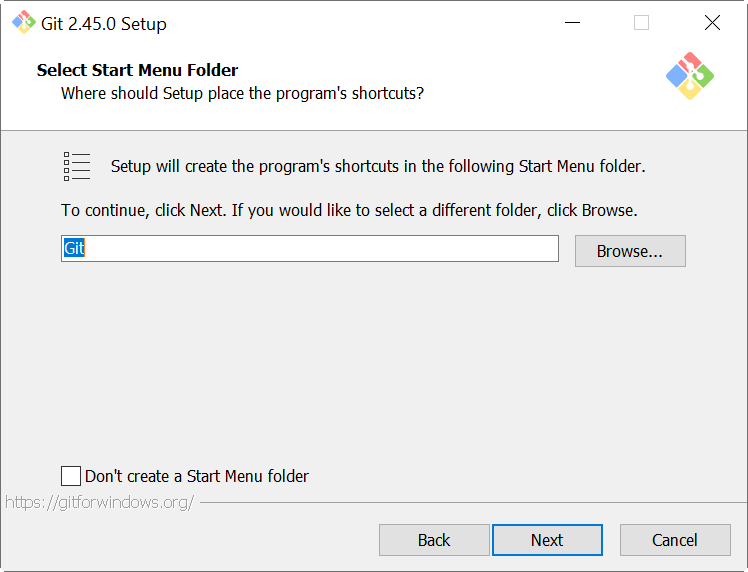
The next menu is used to configure the Windows Start Menu folders.
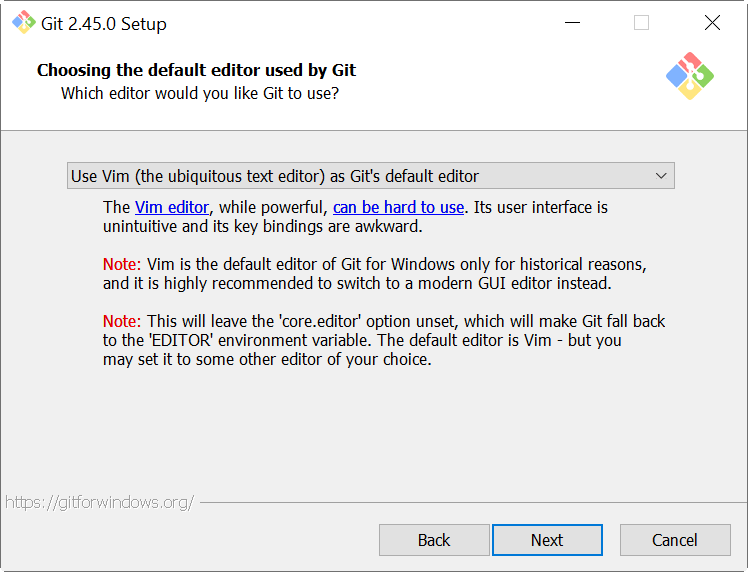
In the next window, you select the editor. The default option is the Vim. A famous Linux text editor.
Selecting editors, branch administration, and Path environments
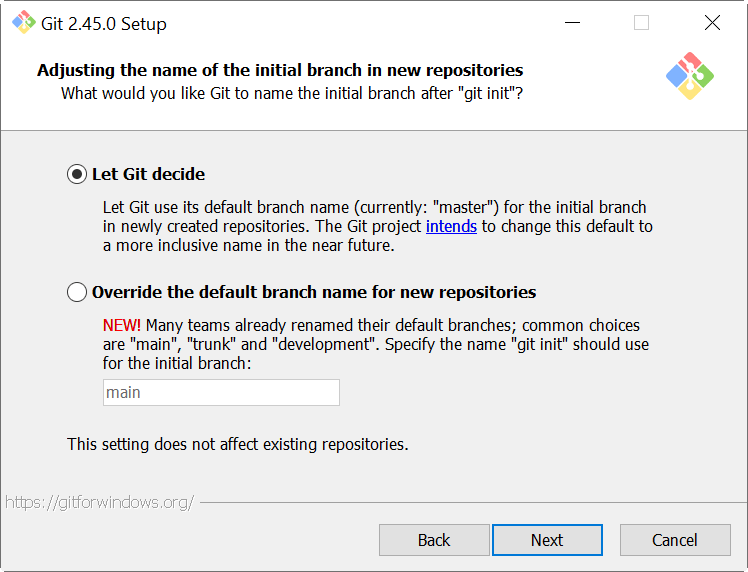
The information is divided into branches, the default option is to let Git decide the default branch. The other option is to override the default branch.
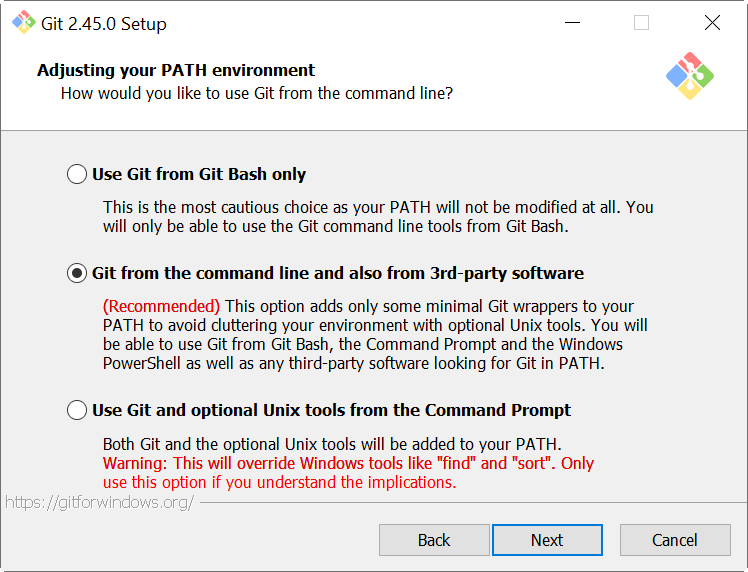
Also, the next option asks how to use Git from the command line. The first option runs Git using only Bash. You can create your PATH environment here. The default option and the recommended one is to use Git from the command line and 3rd-party software. The third option uses the command prompt.
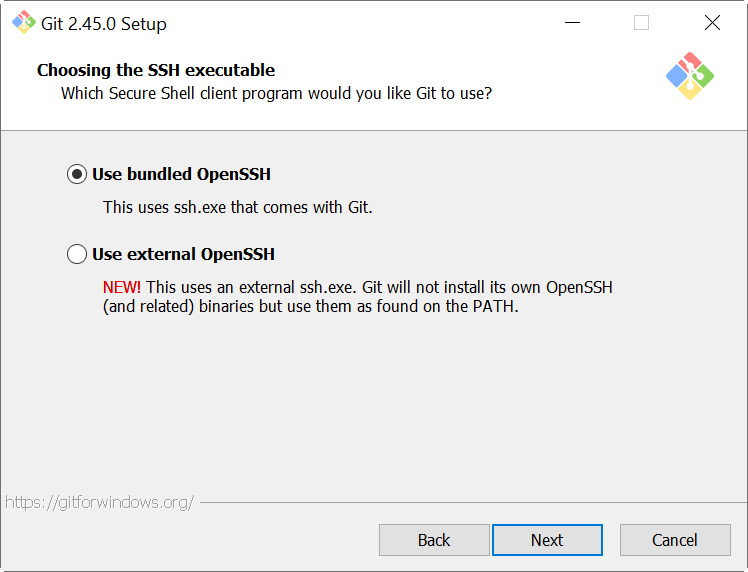
The next option selects your Shell client. You can use the bundled Shell or use an external OpenSSH. If you are familiar with other OpenSSH tools, you can choose the second option. Otherwise, select the first option.
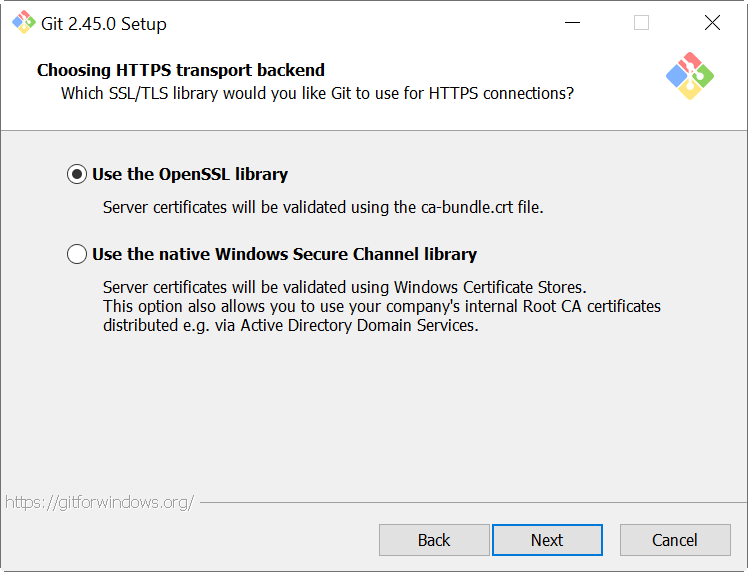
OpenSSH, HTTP, line editing, and other settings
The next option is to open a HTTPS connection with Git. You can use the OpenSSL library which is the default option or use the native Windows Secure Channel. This option uses the Windows Certificates to validate the certificates.
The next option is used to select the way the Git will handle the end lines. The first option is the recommended one. When we check out files, the LF (Line Feed) will be converted to CRLF (Carriage Return Line Feed). In the commit, the CRLF will be converted to LF. This is the default and recommended option.
The other option is to keep the Unix style when checking out files in Git. In the commit, the CRLF will be converted to LF.
Finally, the last option will not do any conversion at all.

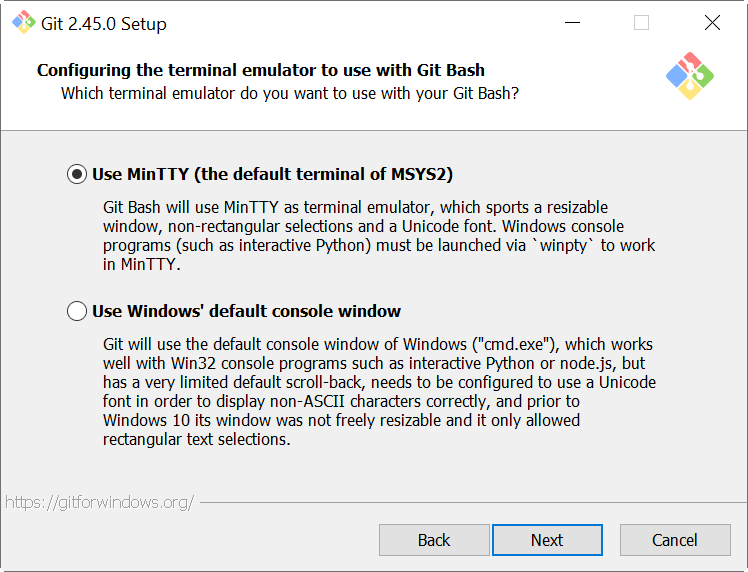
In addition, we can configure the terminal emulator for our Git Bash. The default and recommended option is to use MInTTY which is the most commonly used terminal emulator. The Default console window is the cmd which could be used as well.
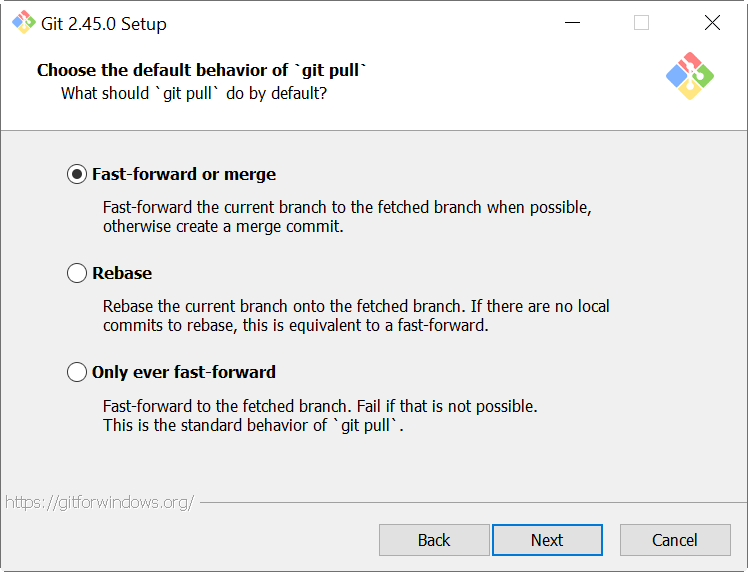
The next option is used to select the default option for a pull. The Git pull has 3 options:
- First, we have the fast-forward or merge. If it is possible, git will fast-forward the branch to the fetched branch. Otherwise, a merge commit will be done.
- The second option will rebase the current branch on the fetched branch.
- Finally, the last option forces the fast-forward onto the fetched branch. Otherwise, the pull will fail.
Also, we can install a Git Credential Manager. It is a secure storage for credentials. The second option is to avoid using it.
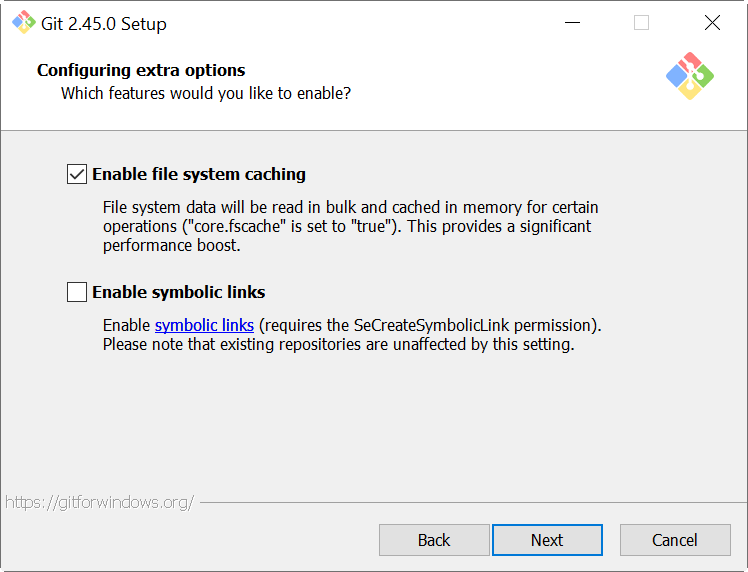
Credential helper, file system caching, and other configurations

The next option allows having file system caching. This option will allow to read information in bulk cached memory. In addition, we have the Enable Symbolic Links. This option is used to store the content of a link.
Another interesting option is to Configure experimental options. For example, the Enable experimental support for pseudo consoles is used to run Python or Node consoles using Git Bach.
Also, we have the option to enable the experimental built-in File system watcher. This option speeds up git operations.

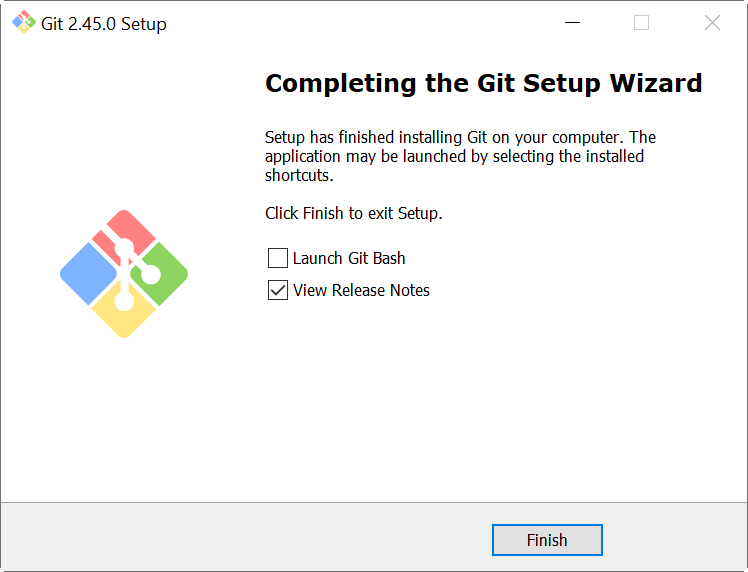
Finally, the installation wizard is completed and we can optionally launch the Git Bash or read the release notes.
Configure the Git for Windows in Visual Studio Code
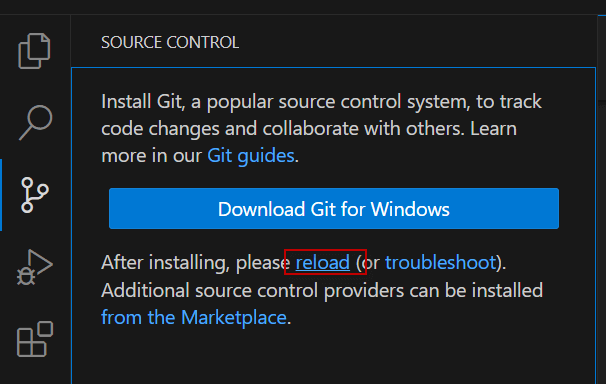
Once that Git is installed, follow these steps. First, in the Visual Studio code, in the Source Control that we used before, press the reload option. The reload will refresh the source control with the new options after installing Git.
You have 2 options here. Initialize Repository which will help you to create local folders. This option will allow creating with Git locally and have a Git versioning. The other option is to publish your information on GitHub. This option will send your code to the web.
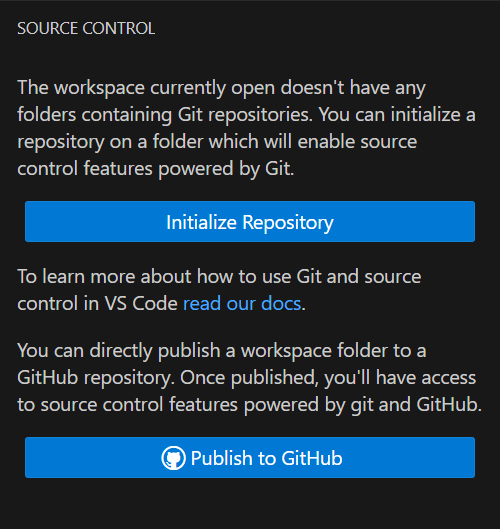
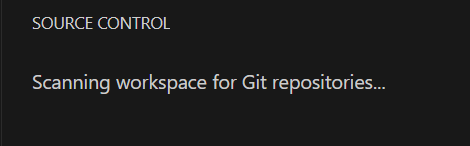
Also, press the Initialize Repository button. The VS Code will look for Git repositories.
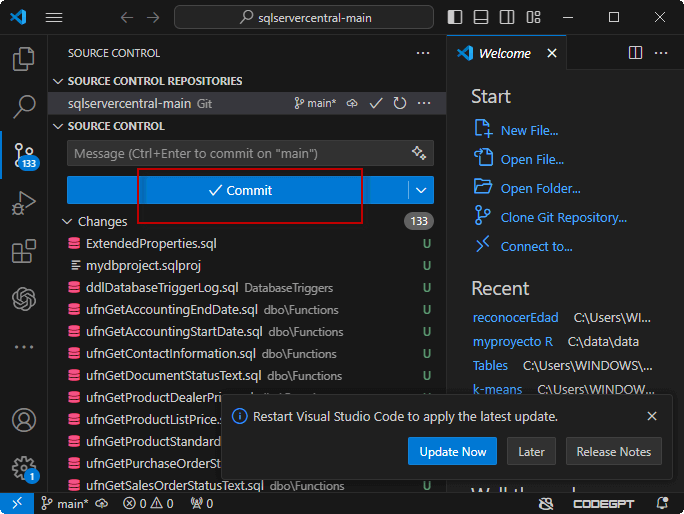
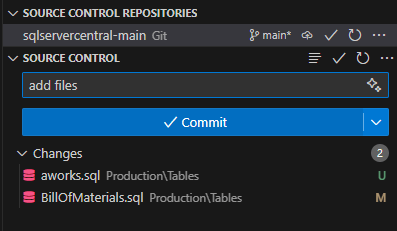
Click the Source Control icon. You will see the files. The modified file has an M and a new one has a U (Untracked).

Using the Commit button you can save these changes in the local Git Repository. The commit will save all our files into the repository.
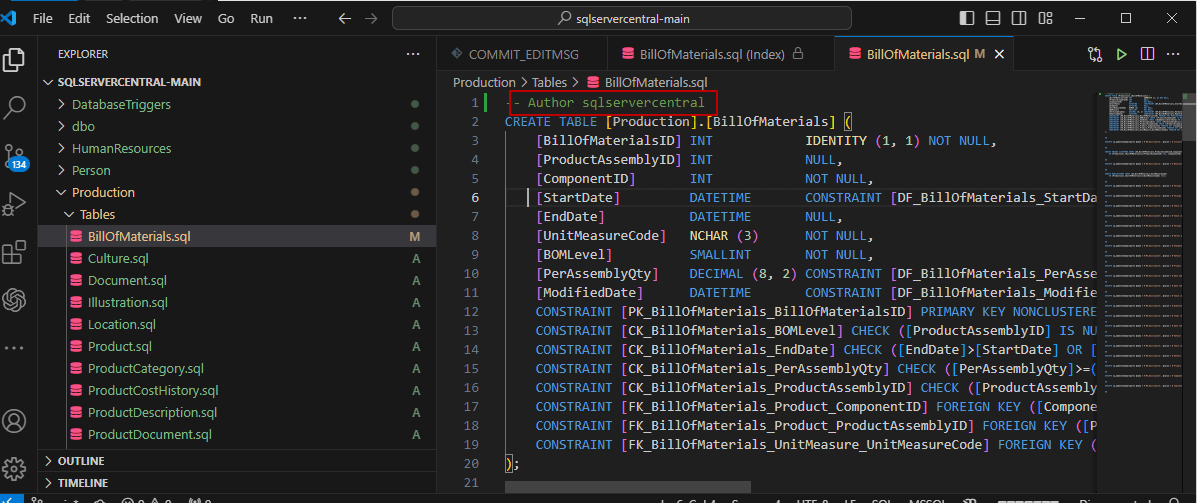
In Explorer, open the BillOfMaterials.sql file in VS Code (verify the prerequisites if you do not have it yet).
Check the VS Code tutorial if you do not know how. Also, to test Git and GitHub, we will make some changes in the file. Add the Author of the file as a comment. Also, note that if you save changes, these changes are highlighted by Git in the left hand side next to the line number.
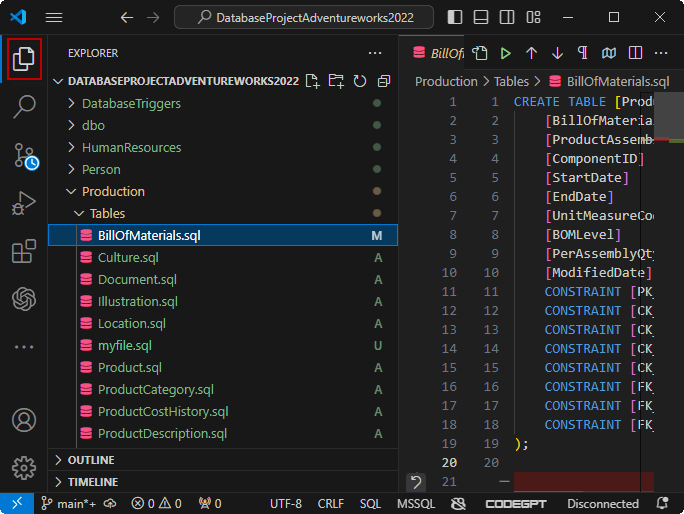
Add the AWorks.sql file downloaded in the requirements section.
If you go to the Explorer, we see the file has been modified with an M. The other files have an A which means Added.
If you go to the source control and click the BillOfMaterials.sql file, you will see and compare the changes.
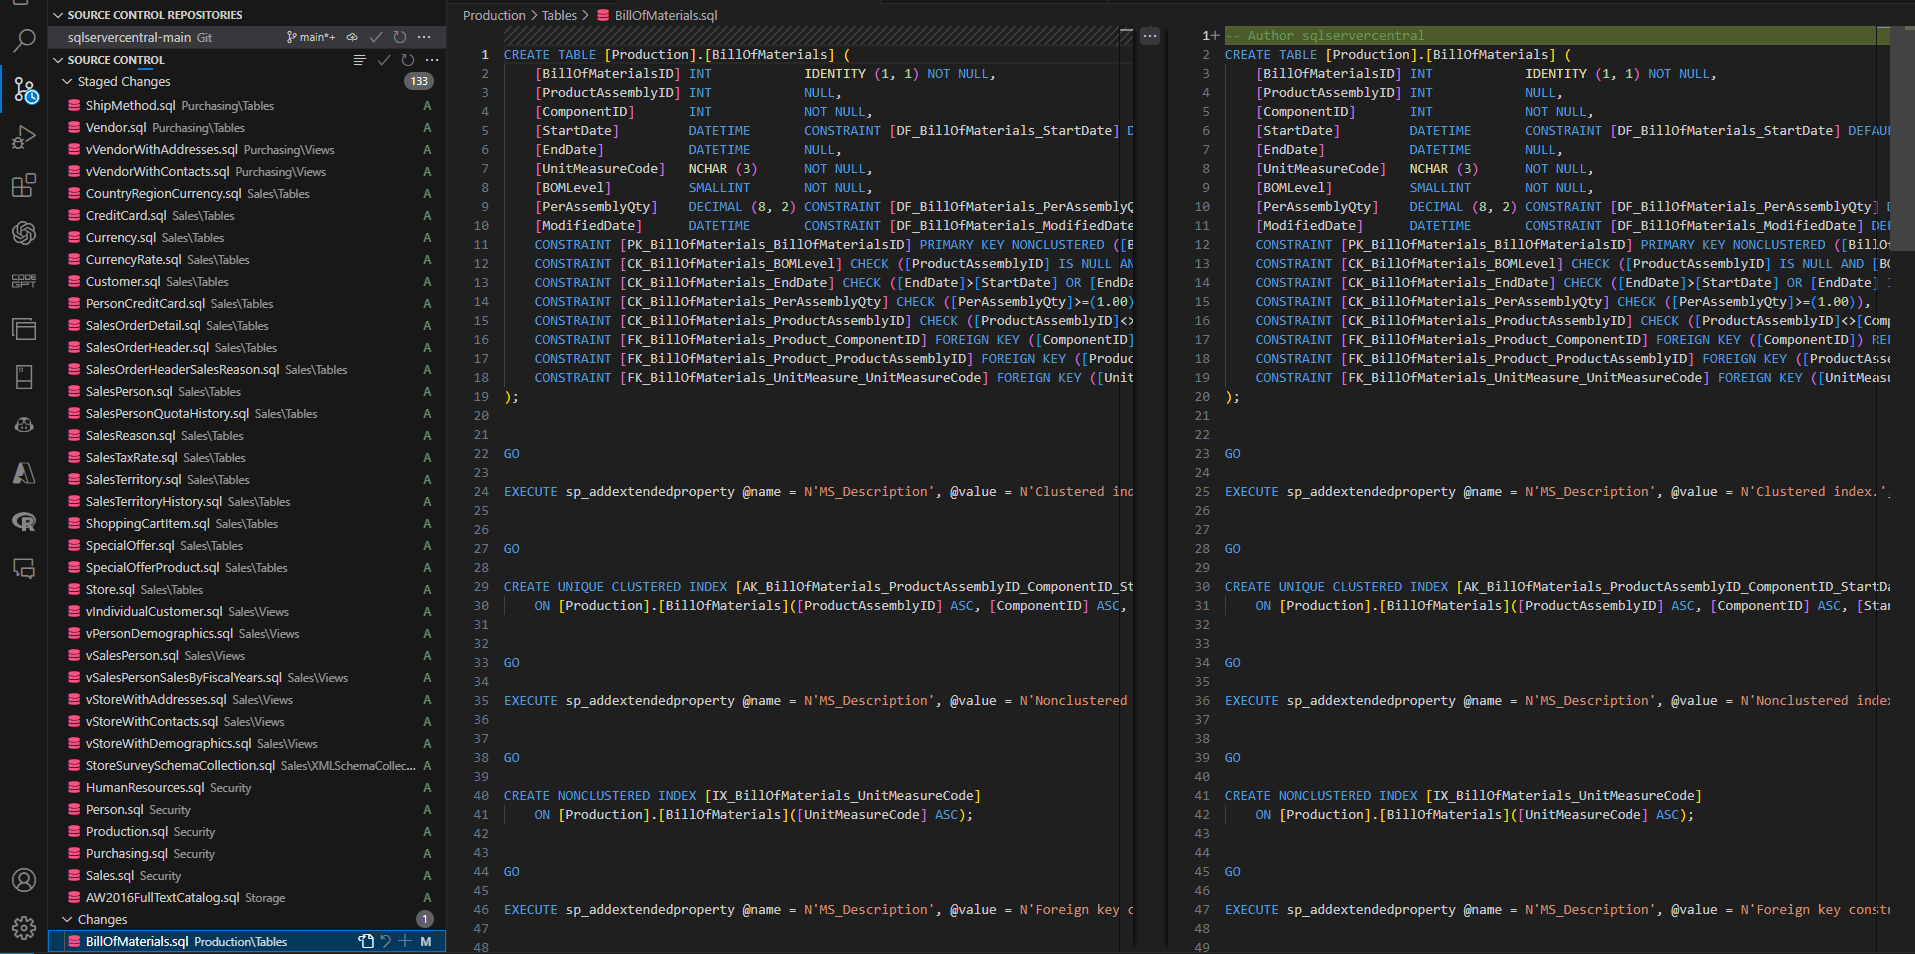
If you accept the changes, you just press the Commit button to save the changes.
Right-click the BillOfMaterials.sql file and select the Open Timeline option to see the history of the file.
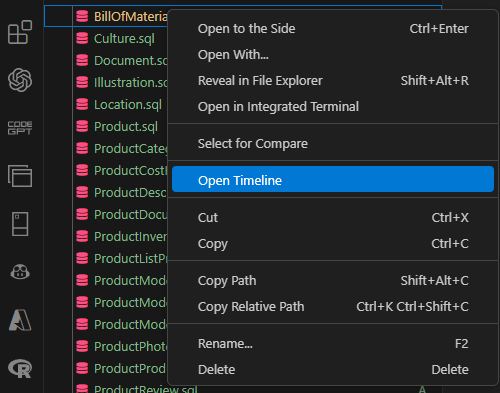
You will be able to see the changes made in the history. You just need to click on the version that you want in the history to open the older or newer version.

In the next section, we will learn how to work with GitHub.
Add Files in Git
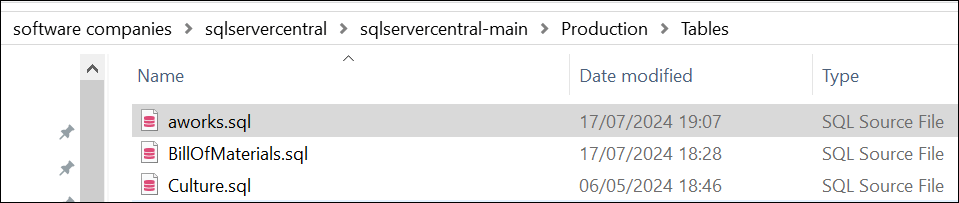
If you want to add a file to your project, copy the aworks.sql from the requirements to the unzipped file from the requirements (sqlservercentral-main) in the Production\Tables folder.
In the source control the file will be untracked.

If you press the Commit the changes, the file will be added to GitHub.
Sign up for the GitHub subscription
Now that we have Git installed, we need to subscribe to GitHub. As we said before GitHub is a web platform and open source used to collaborate, handle the security, and control the version of the code. You can go to the website here: GitHub website.
This website stores your code and your historic versions. We will Sign up here. First, on the site, sign up if you do not have an account yet.

Secondly, enter your email, password user name, and email preferences.
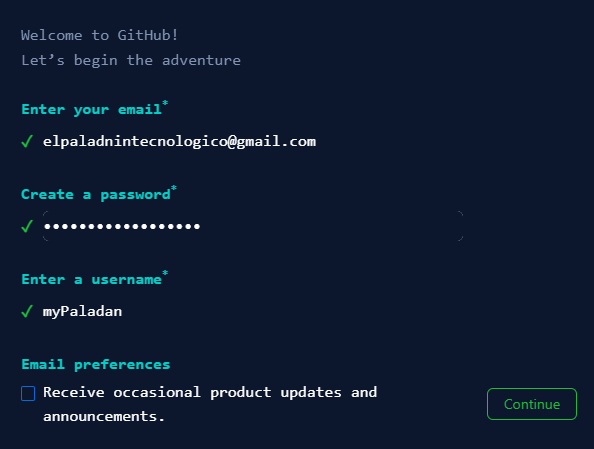
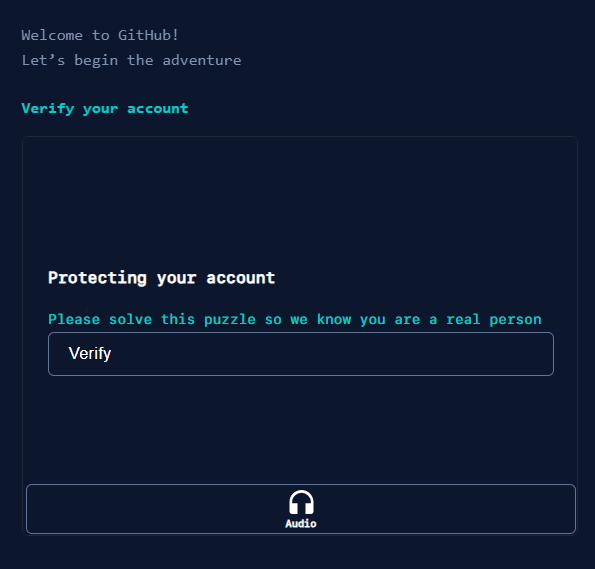
Finally, you will have a verification of your account.
Once you have your account ready, return to the VS Code.
Add a repository on GitHub to use in Visual Studio Code
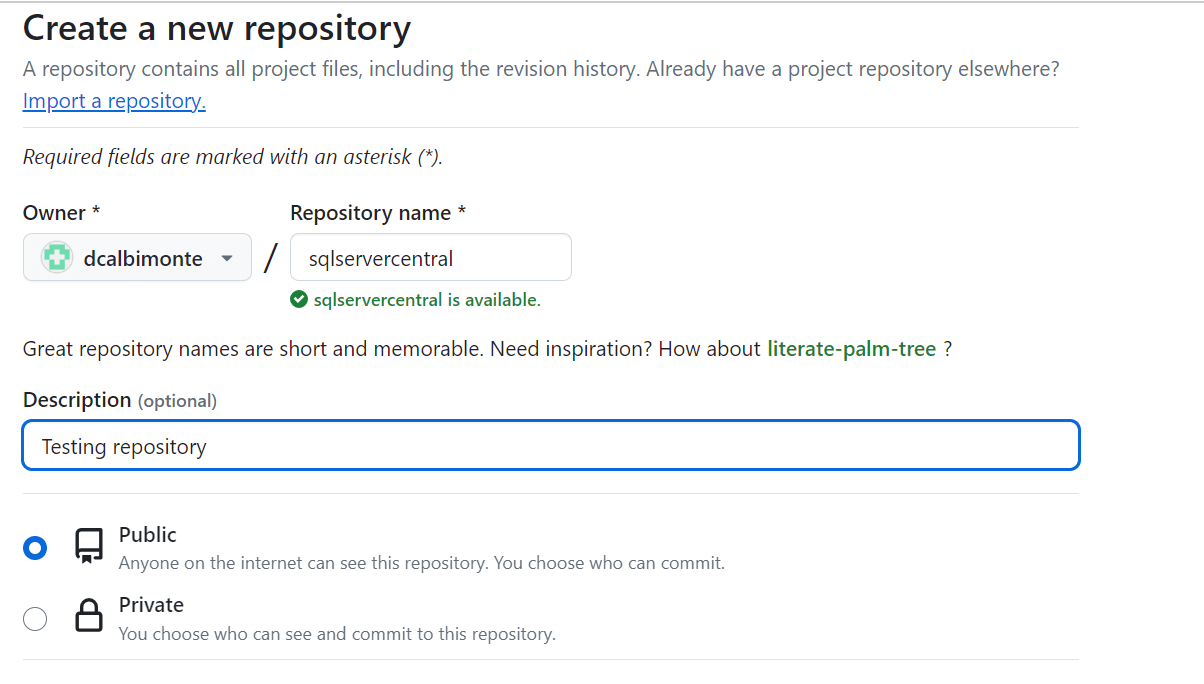
GitHub will also need to create a repository. The repository contains your files and the history. If you do not already have a repository, we will create a new one here. You can go to the next section if you already have an account.
The New button is on the right side of your repository tab.
 The repository is the URL where your code will be stored. The repository can be public or private. Click this and enter a name for your repository.
Send the code to the GitHub Repository
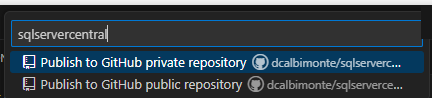
Another option is to Publish to GitHub directly. If you have your code, you could try to send it to GitHub. In the Control Source, select the Publish to GitHub button.
If it is the first time you publish in VSCode, you'll be prompted to sign in to GitHub. Provide your information and then authorize VSCode to access your GitHub repositories. You will be asked to publish in the private or the public repository.
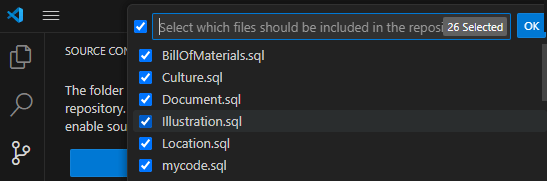
Select the files to upload to the GitHub and Press OK.
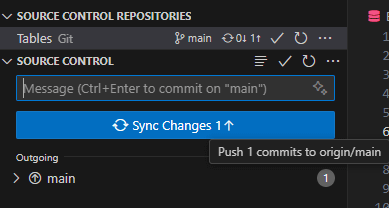
If you save some code, you will need to Sync changes.
Checking the GitHub of Visual Studio code information
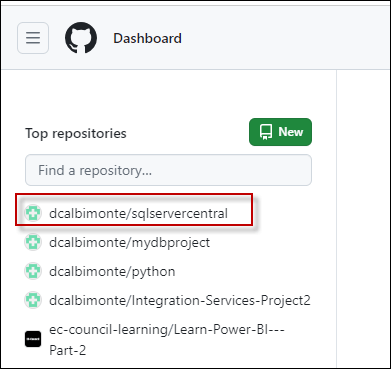
Go to GitHub to check if everything is synchronized. First, select your Repository.
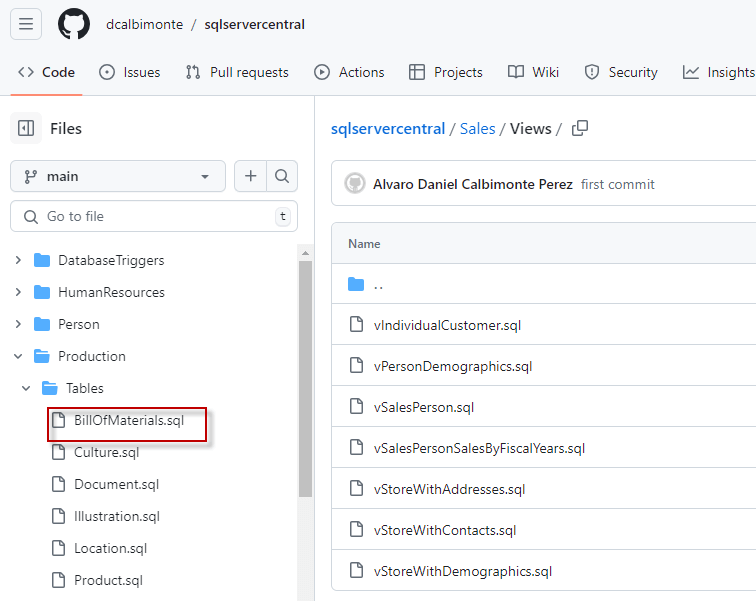
Look for the modified file. In this example, it was BillOfMaterials.sql. Click it.
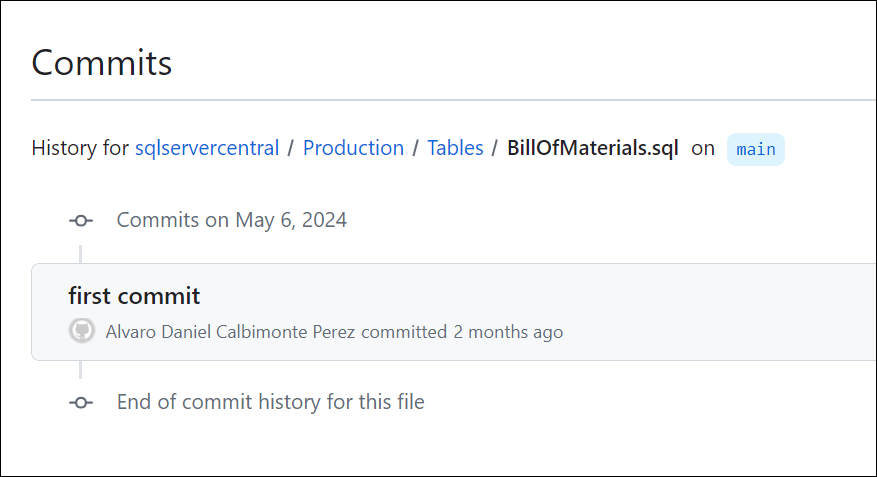
Press the history button to check the version history.

The history will show the list of changes made to the code.
Conclusion
To conclude we can say that VSCode provides a simple integration to GitHub. GitHub will allow us to share the code with our team, track the versions of our code to return to earlier versions if necessary or track the changes.
I will provide more details about GitHub and some features in future articles.