Introduction
In this new chapter, we will use the new utility named Data Warehouse Migration Utility. This is a new tool created to migrate data from SQL Server on premises and Azure SQL to ASDW.
Requirements
- SQL Server Management Studio (SSMS)
- SQL Server on premises installed.
- An Azure Account
- Data Warehouse Migration Utility
- A Database with tables (in this article we will use the AdventureWorks database, but you can use any database that includes tables with data.
Getting started
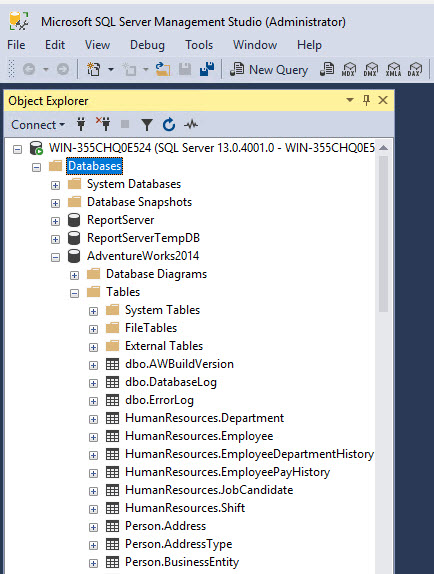
In SSMS, we have a SQL Server on premises. We want to migrate one of the tables to ASDW:
In the desktop, open the Data Warehouse Migration Utility installed (see the requirements section if you did not install it):
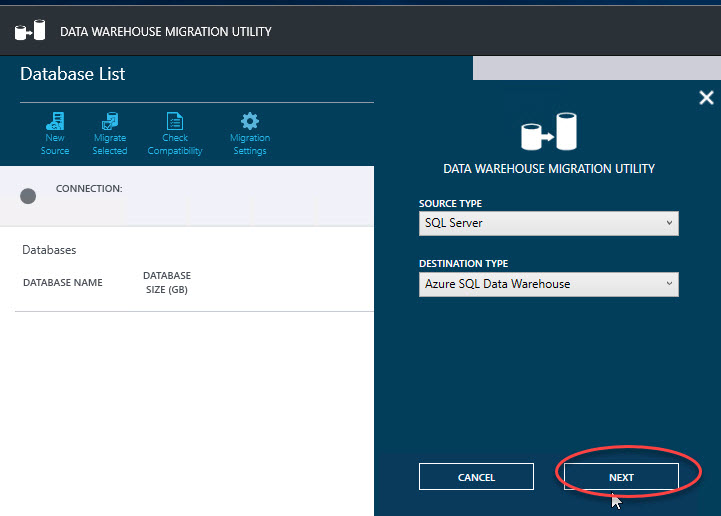
You will select the source and destination type. In this example, we are copying file from SQL Server on premises to ASDW if the source and destination types are selected, press Next:
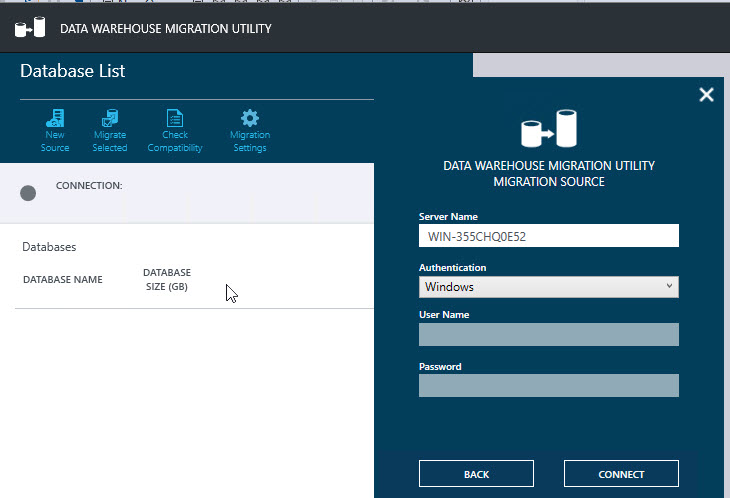
Enter the SQL Server on premises name and the authentication information. Press Connect:
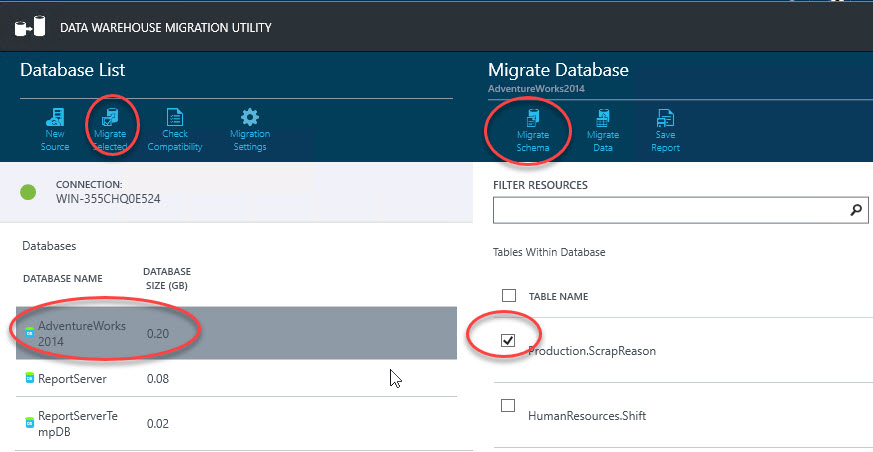
Click the option Migrate Selected. Select the database with the table(s) that you want to export to ASDW (in this example the AdventureWorks database). Select the tables that you want to migrate (in this example the Production.ScrapReason table). Select the option Migrate Schema:
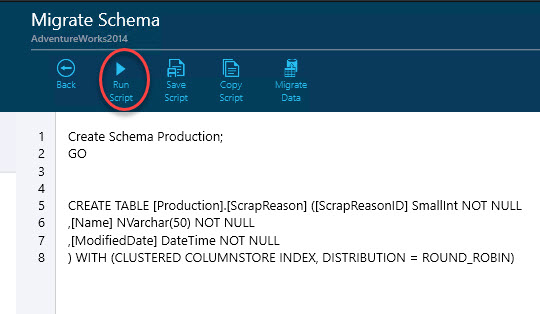
When we migrate a schema, the T-SQL code is generated automatically. The schema production will be created and also the sentences to create the table. Press the Run Script icon:
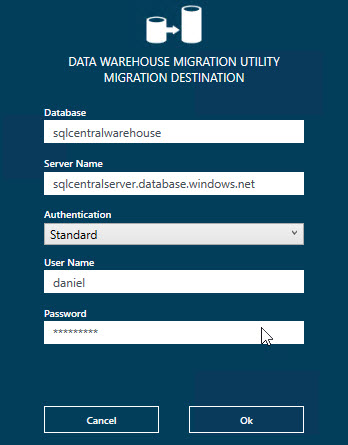
You will need to enter your ASDW connection information. Once you enter the information, press OK:
If there is an error, the program can show you the Error Log to verify the problem:
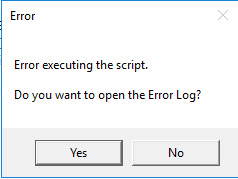
Some typical problems are the following:
- You need to enable the Firewall rule in Azure to access to your local machine (check the chapter 8, enable a firewall rule section)
- The objects are already created.
If everything is OK, you will be able to see in the SSMS, when you connect to ASDW the Schema created:
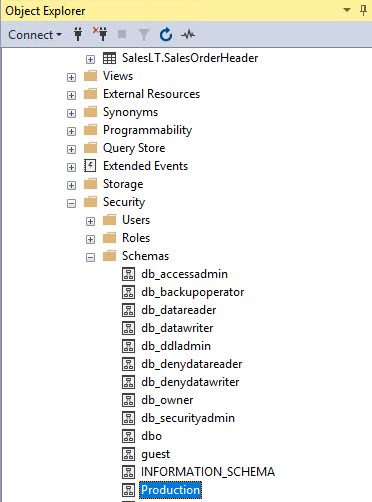
You will also be able to see the table created:
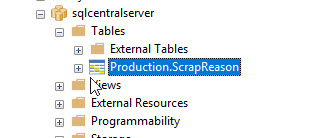
The schema and table were created, but it is an empty table. To migrate data, click the Migrate Data icon:
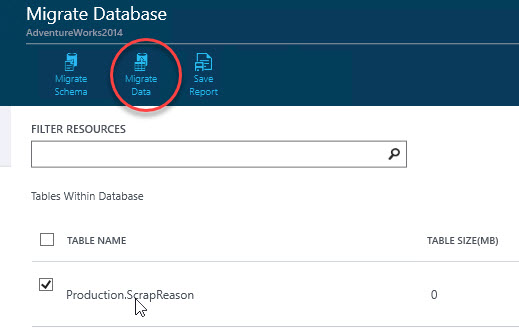
Press the option Run Migration:
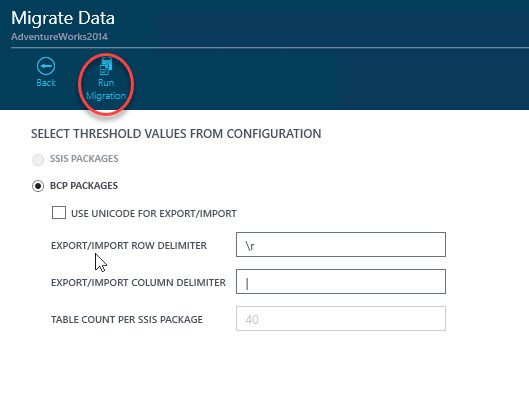
The wizard will show the path of the packages. Press next:
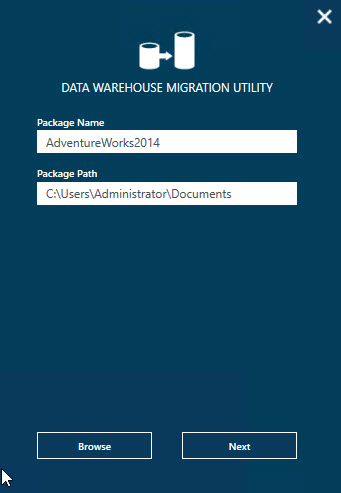
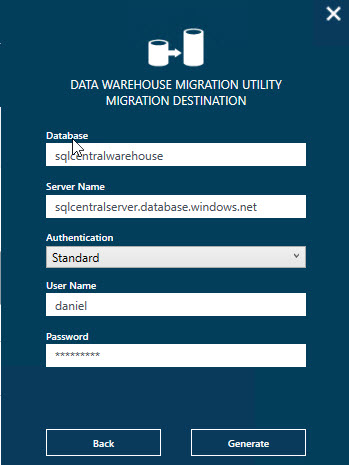
You will need to specify your ASDW credentials and press generate:
If you go to the path, you will notice that you have 2 batch files. One to Export data and another to import data:
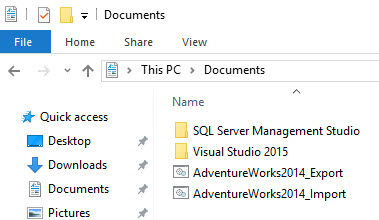
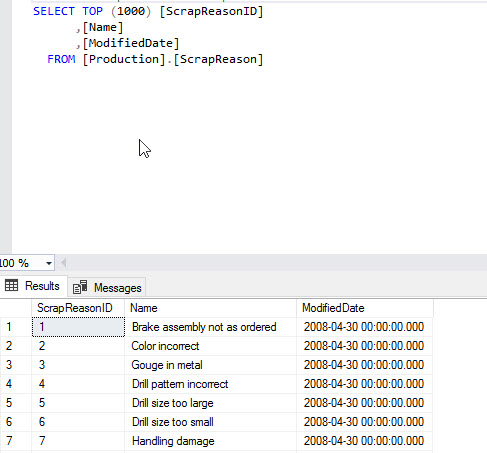
The AdventureWorks2014_import is a bcp command to import data to ASDW from the Production.ScrapReason.txt file that is created when you generate the package:
bcp "sqlcentralwarehouse.Production.ScrapReason" in "Production.ScrapReason.txt" -S "sqlcentralserver.database.windows.net" -U "daniel@sqlcentralserver.database.windows.net" -P "MysecretPsw123$" -r "\r" -t "|" -q -e "Production.ScrapReason.log" -c
Conclusion
In this article, we learned how to use the Data Warehouse Migration Utility. We learned that it generates the schema and tables first and then it invokes bcp commands to import the data in ASDW.


