Introduction
In this article, we will learn how to create a Power BI report using a REST API. REST API is an Application Program Interface that uses HTTP requests to get data. Usually, the data is sent in JSON format. For example, you can use REST API to get data from Facebook or update information in your Facebook account using REST API. REST API is used by several applications like Twitter, Azure, AWS, Shopify, etc.
We will provide a brief introduction to REST API, and once, we learn how to work with it, we will teach how to create a Power BI report using REST API data.
Audience
This article is oriented toward newbies in REST API and Power BI.
Requirements to create a Power BI report using REST API data
- First, you need to have Power BI Desktop installed.
- Secondly, internet access in the machine with Power BI installed.
REST API introduction
Basically, most of the services on the web include an API that you can use to read, and update data. For example, Zendesk, Zoho, Hubspot, Google Sheets, Google BigQuery, OneDrive, and Jira. You could also get the weather, statistics about COVID, sports, etc. using a REST API. In addition, the authentication methods may be different for each API and not all the APIs are supported in Power BI, however, some work and we could get nice reports using this information.
HTTP Methods in REST API
In a REST API there are 5 main verbs or methods to handle data.
| HTTP Method | Description |
| POST | It is used to create new objects or send data. |
| GET | Reads or retrieves data. |
| PUT | Updates or replaces data. |
| PATCH | Updates or modifies data. |
| DELETE | Deletes data. |
A Basic REST API Example
First, we will try a simple example with the GET method. We will just send an HTTP request and we will be able to read data. In the browser, we will use the following HTTP request.
https://api.publicapis.org/categories
The result displayed by the HTTP is in JSON format.
{"count":51,"categories":["Animals","Anime","Anti-Malware","Art \u0026 Design","Authentication \u0026 Authorization","Blockchain","Books","Business","Calendar","Cloud Storage \u0026 File Sharing","Continuous Integration","Cryptocurrency","Currency Exchange","Data Validation","Development","Dictionaries","Documents \u0026 Productivity","Email","Entertainment","Environment","Events","Finance","Food \u0026 Drink","Games \u0026 Comics","Geocoding","Government","Health","Jobs","Machine Learning","Music","News","Open Data","Open Source Projects","Patent","Personality","Phone","Photography","Programming","Science \u0026 Math","Security","Shopping","Social","Sports \u0026 Fitness","Test Data","Text Analysis","Tracking","Transportation","URL Shorteners","Vehicle","Video","Weather"]}The JSON is a JavaScript Object Notation which is a simple format to store and transport data. It is easier than XML and it is replacing XML to retrieve data. If you want to read the JSON data, you can use a JSON formatted. We will use jsonformatter.curiousconcept.com, which is a free tool online.
Copy and paste your JSON code there and press the process button.
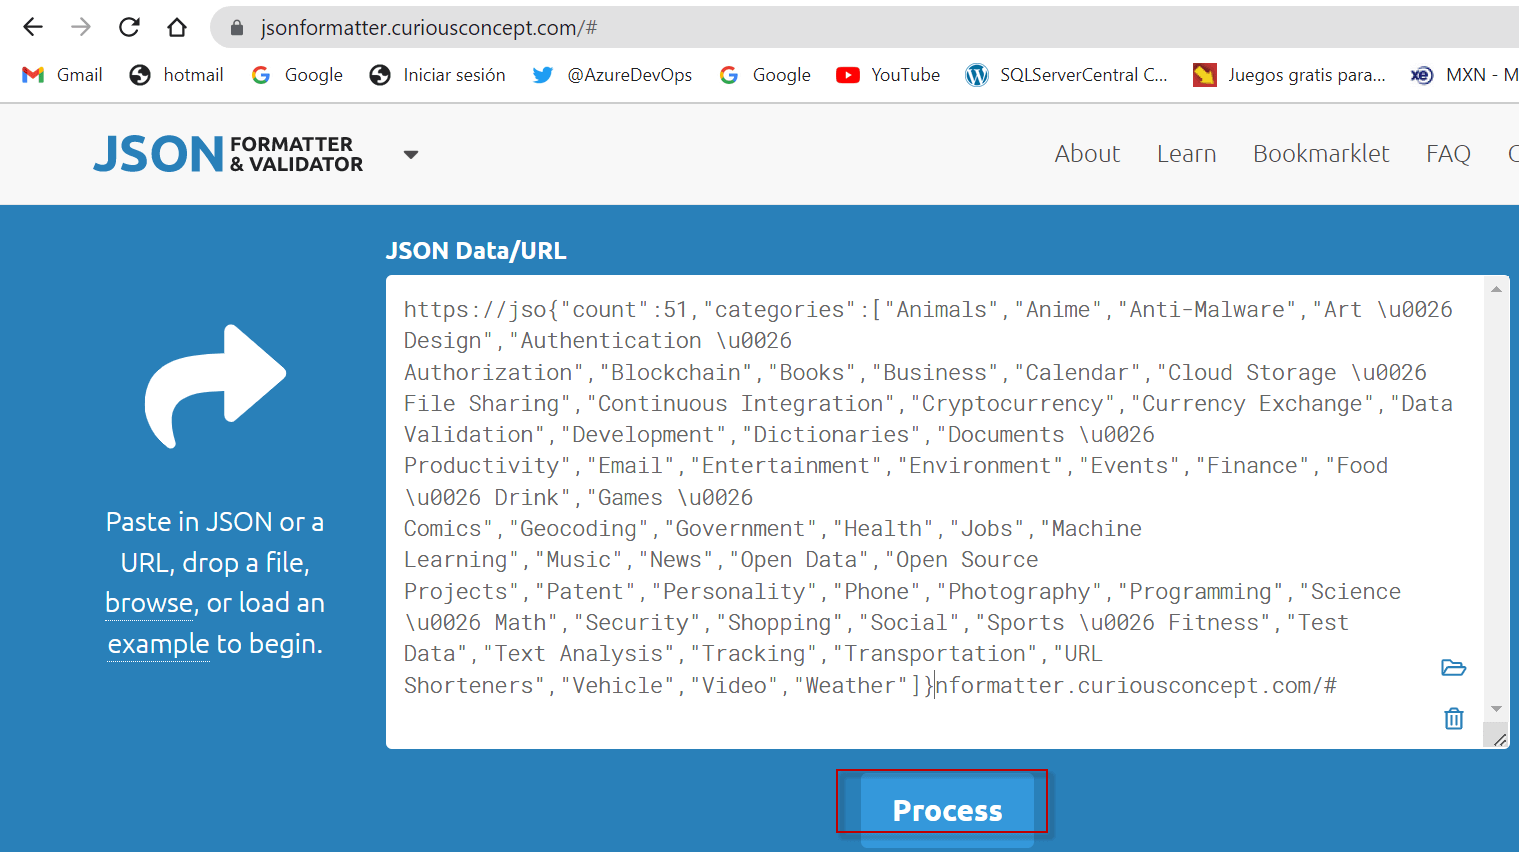
Finally, you will have a more legible JSON file with the categories of the REST API page.
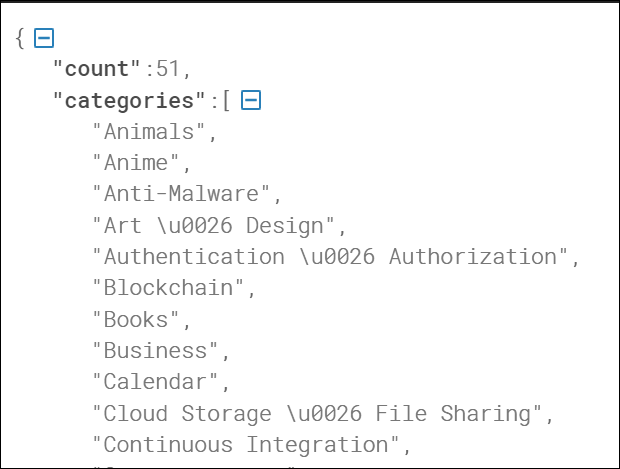
So, basically, to call the API, we use a GET request and look for the categories using a public API from api.publicapis.org.
JSON Syntax
First, we have the basic syntax for JSON which includes the open and close brackets. We then use the key and the value separated by a colon.
{"count":51}In this example, count saves the total number of categories.
Secondly, followed by a comma, we have all the categories in an array. The categories are separated by commas.
"categories":[
"Animals",
"Anime",
"Anti-Malware",
"Art \u0026 Design",
"Authentication \u0026 Authorization",
"Blockchain",
"Books",
"Business",
"Calendar",
"Cloud Storage \u0026 File Sharing",
"Continuous Integration",
"Cryptocurrency",
"Currency Exchange",
"Data Validation",
"Development",
"Dictionaries",
"Documents \u0026 Productivity",
"Email",
"Entertainment",
"Environment",
"Events",
"Finance",
"Food \u0026 Drink",
"Games \u0026 Comics",
"Geocoding",
"Government",
"Health",
"Jobs",
"Machine Learning",
"Music",
"News",
"Open Data",
"Open Source Projects",
"Patent",
"Personality",
"Phone",
"Photography",
"Programming",
"Science \u0026 Math",
"Security",
"Shopping",
"Social",
"Sports \u0026 Fitness",
"Test Data",
"Text Analysis",
"Tracking",
"Transportation",
"URL Shorteners",
"Vehicle",
"Video",
"Weather"
]
How to get data Power BI report using REST API data
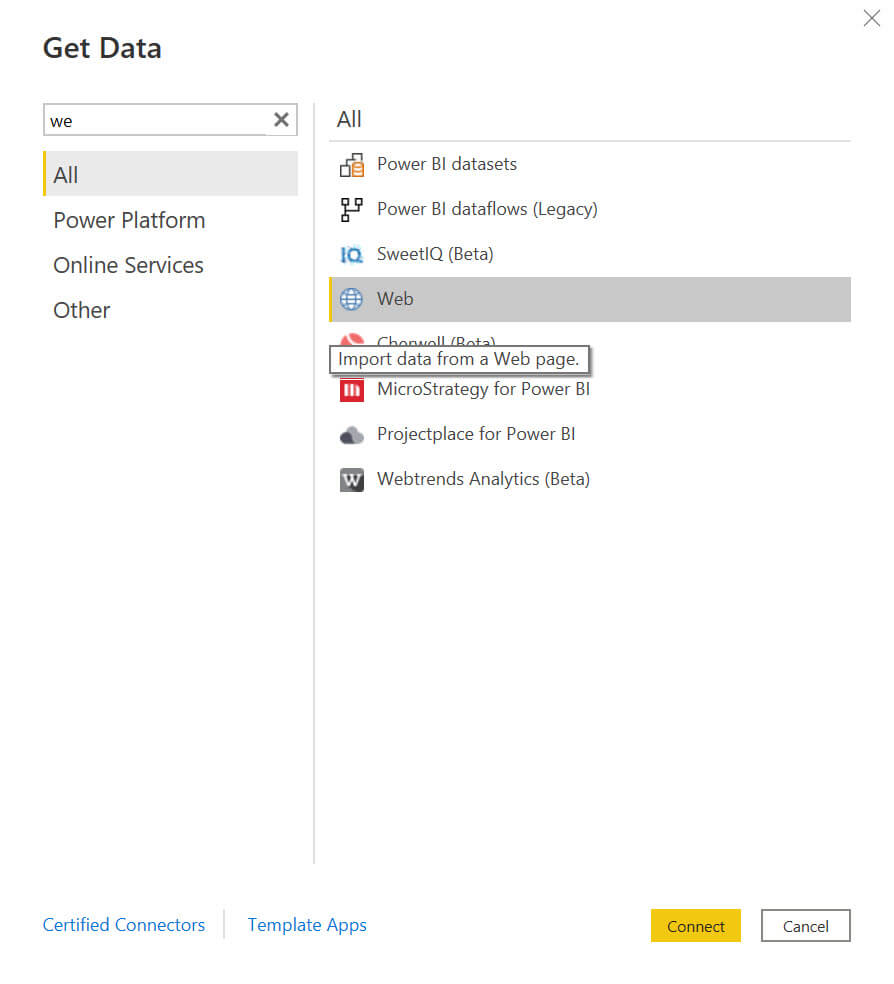
First, open Power BI Desktop and press Get Data.

Secondly, select the Web option.
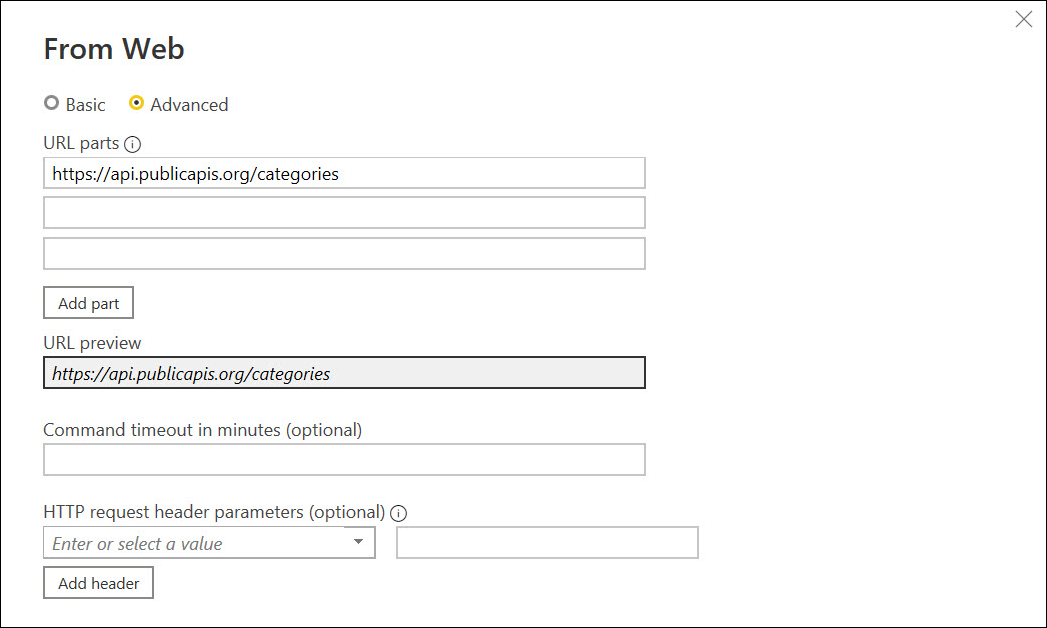
Thirdly, select the basic option and write the REST API URL. In this case, we only need the Basic option because this REST API example does not require credentials. The Advanced option can be used if you need more parameters and information to authenticate.
Use the following URL: https://api.publicapis.org/categories

Also, if you need Advanced options, you can press the Add header button and add some keys to the header.
In addition, you will be able to see the data in Power BI.
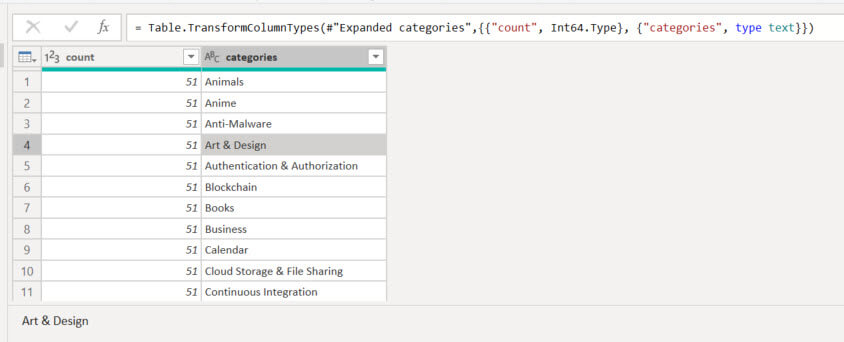
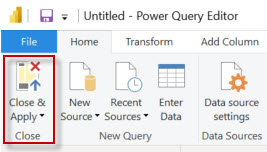
Next, select the Close & Apply option.
Finally, if everything is OK, in Fields you will be able to see the categories and the count fields that store the total number of categories.

How to create a Power BI report using REST API data
First, in Power BI Visualizations, select a table.
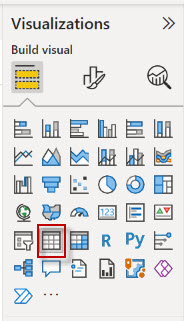
Secondly, drag and drop the categories field in the table. You will have a table like this one:
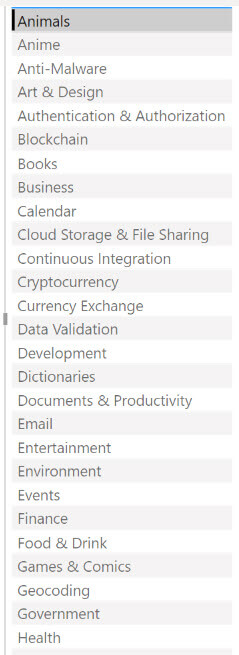
Thirdly, drag and drop the card from Visualizations to the report.

Finally, drag and drop the count field in the card.
 Conclusion to create a Power BI report using REST API data
In this article, we learned what is REST API, we learn to read a JSON file which is the usual format for REST API responses. Also, we learned how to connect to REST API using Power BI and we created a simple report.


 Conclusion to create a Power BI report using REST API data