In this article, we will learn how to set up Azure SQL VM AOAG based on Windows Server 2019 Failover Cluster step-by-step, it is a detailed supplement to the Microsoft official articles and it is a beginner's guide for people who have no experience to do that, please read this article closely with Mircosoft's guide: https://docs.microsoft.com/en-us/azure/azure-sql/virtual-machines/windows/availability-group-manually-configure-prerequisites-tutorial-multi-subnet?view=azuresql
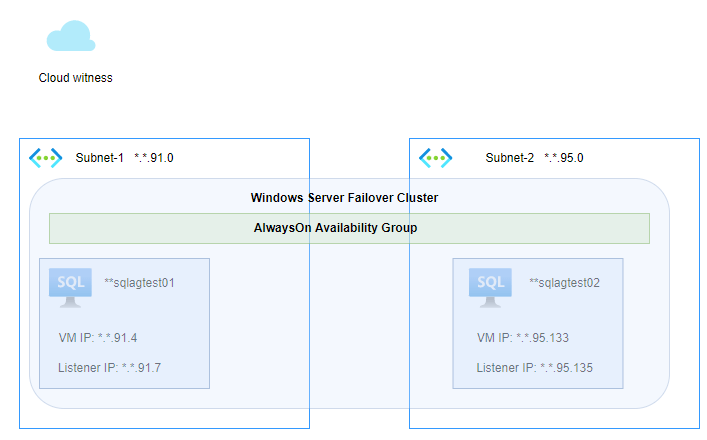
Architecture
There are two subnets created in Azure, and each node in the cluster with two IP addresses, one for VM itself and another for the AG listener:
Prerequisites
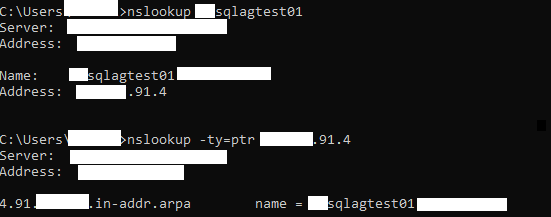
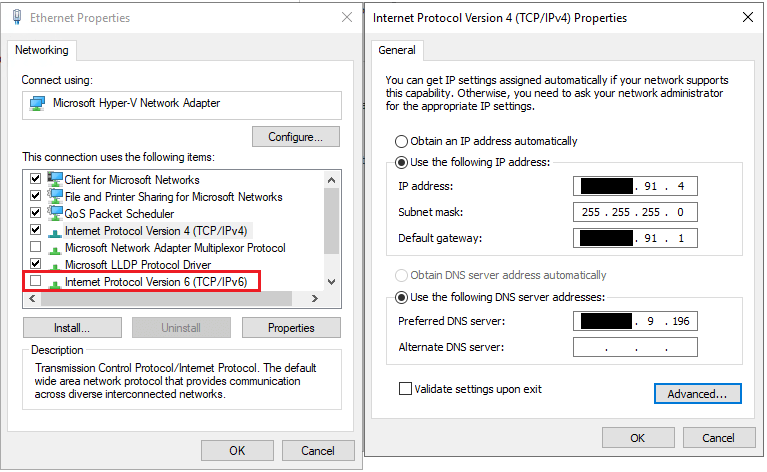
When you finished the step "Join the servers to the domain" in Microsoft articles, please check the following configuration on both nodes:
- DNS resolution
2. Set static IP configuration of Azure SQL VM and disabled IPv6 on NIC
Notes: Prerequisites are very important! You can't configure the cluster successfully if you do not do it!
Step up Cluster:
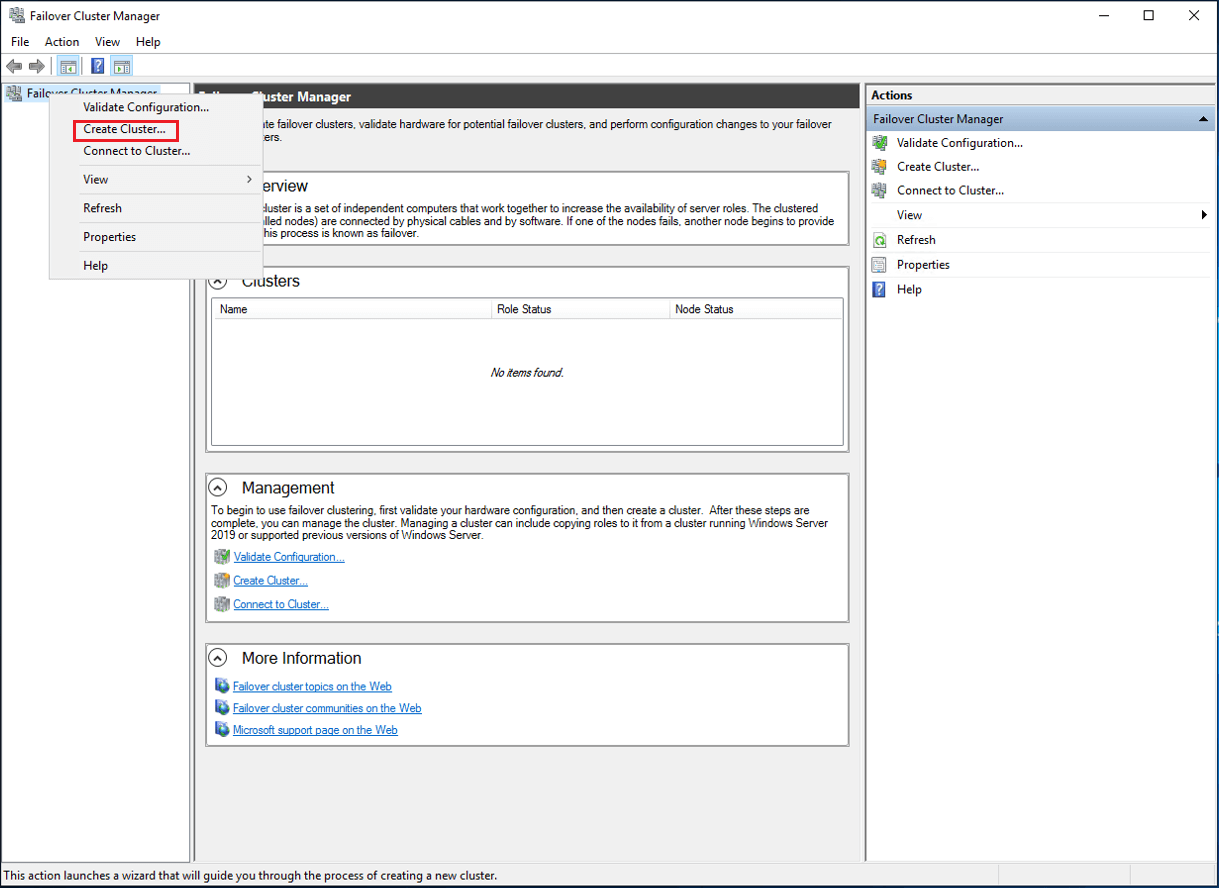
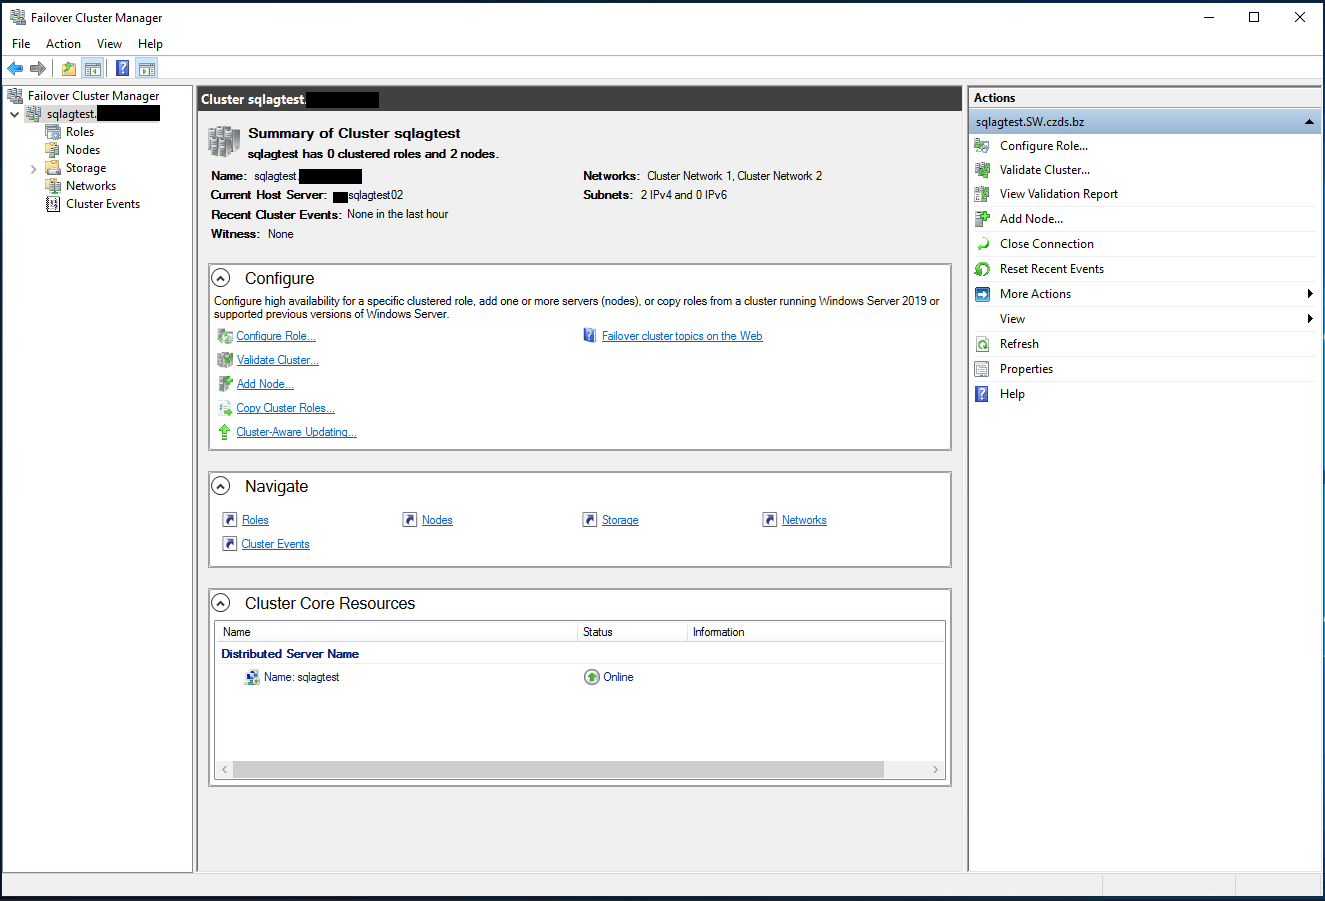
Step 1: Go to Failover Cluster Manager, and click on "Create Cluster"
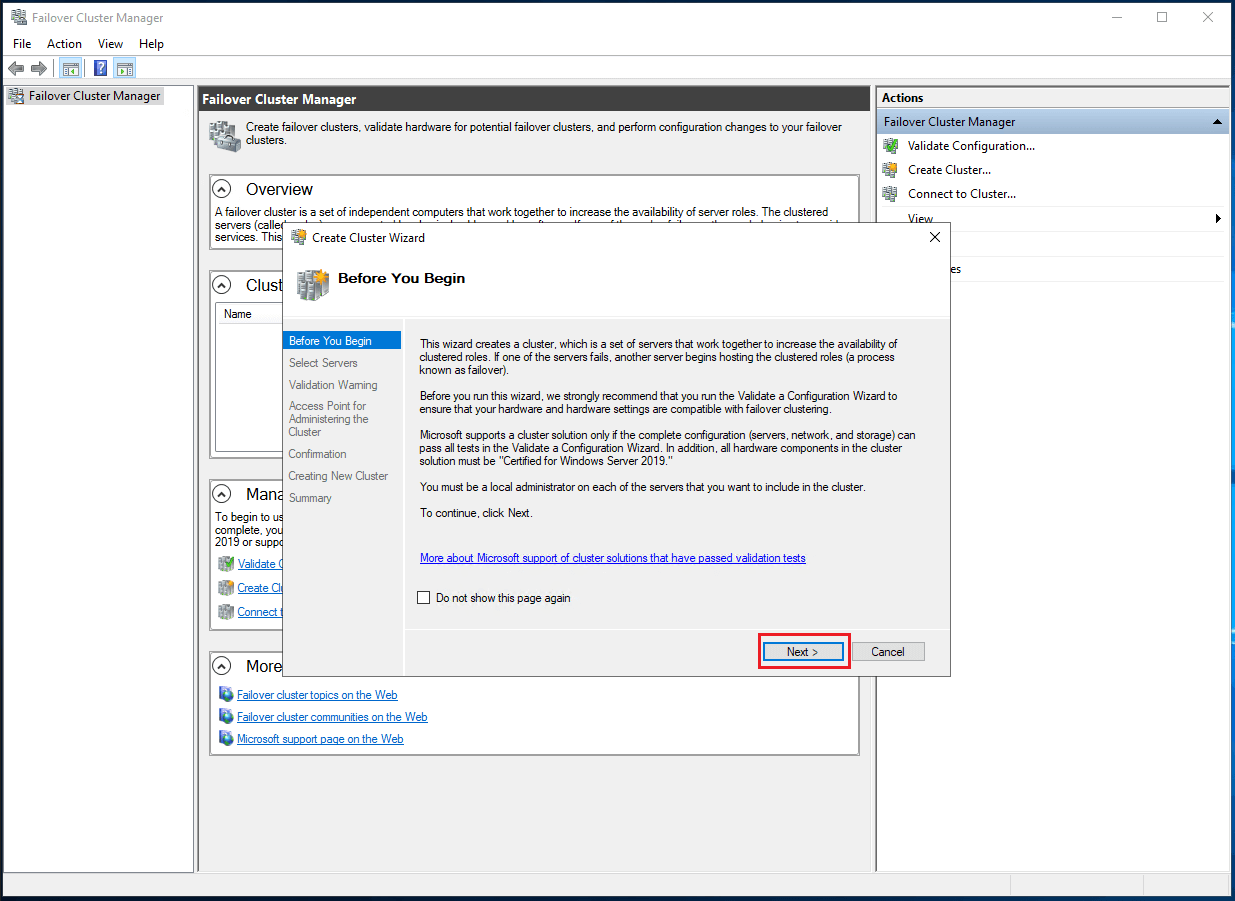
Step 2: Open the wizard, and click on "Next"
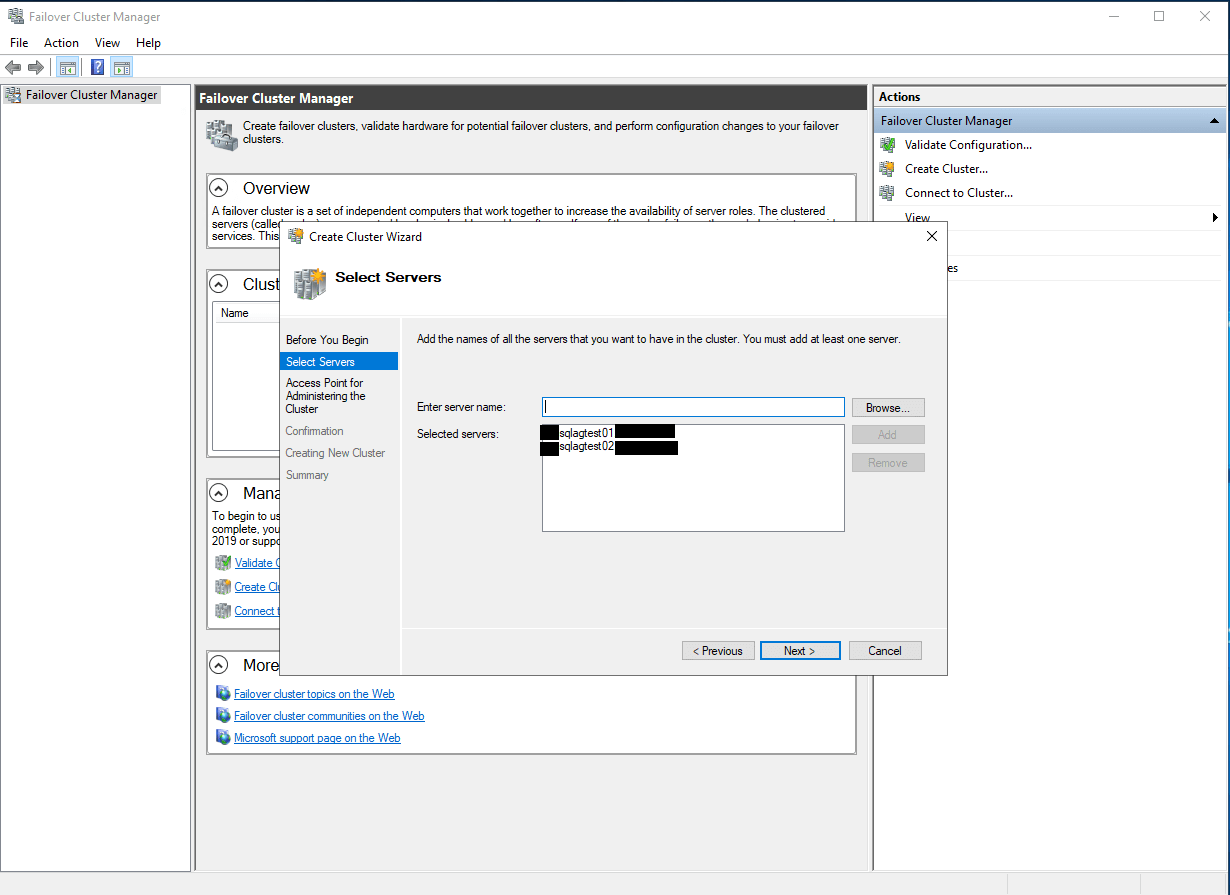
Step 3: Select servers which need to add to the cluster:
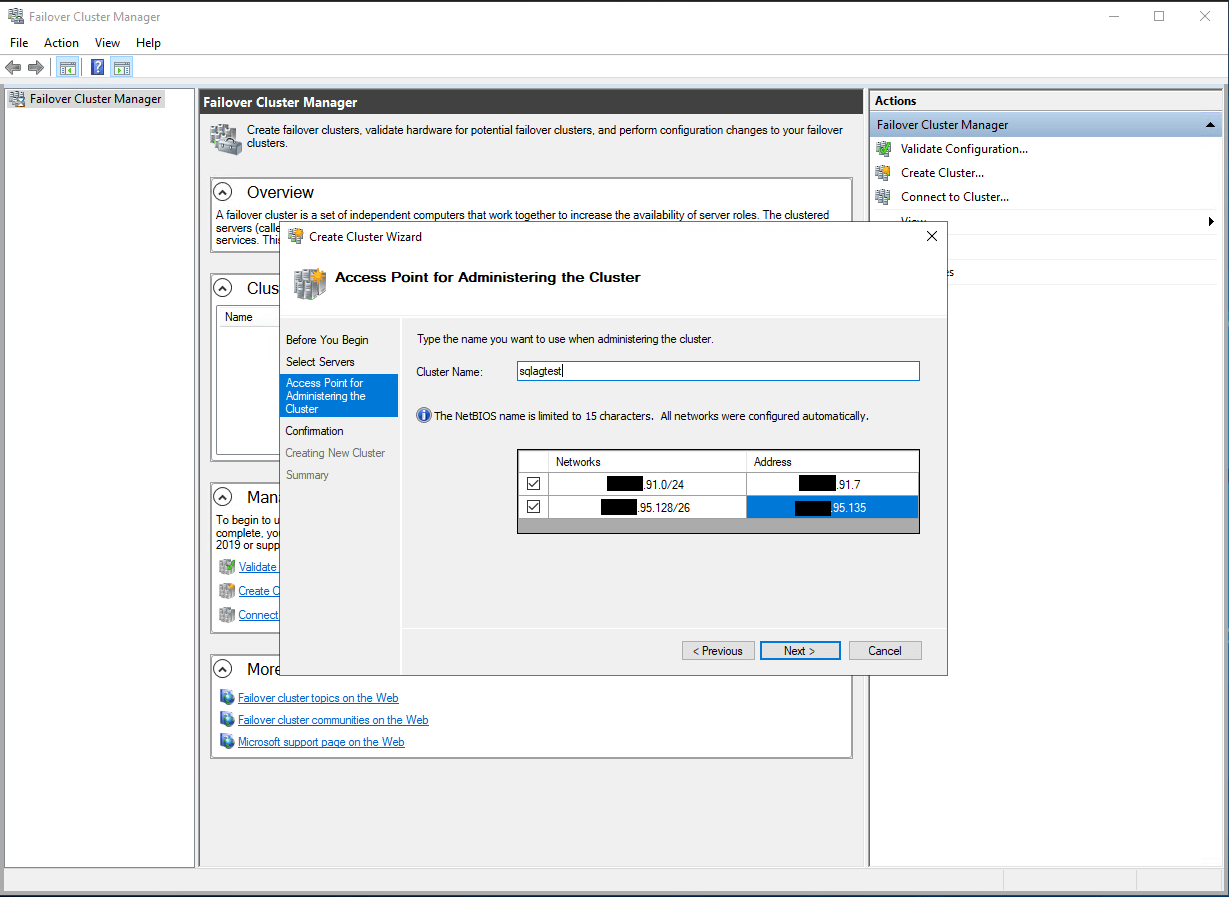
Step 4: Input access point.
Notes:
1) Please input the IP addresses of AG listeners! Don't worry that these IP addresses can not be used for AG listeners because this will not happen, since Windows Server 2019 Failover cluster uses the Distributed Server Name instead of the Cluster Network Name, so the inputted IP addresses are not exclusive to the cluster.
2) If your first time creating the cluster on the server it probably uses Cluster Network Name but not Distributed Server Name, in this case, you can just delete the cluster then you can create it again, the new cluster you create will automatically convert to using Distributed Server Name!
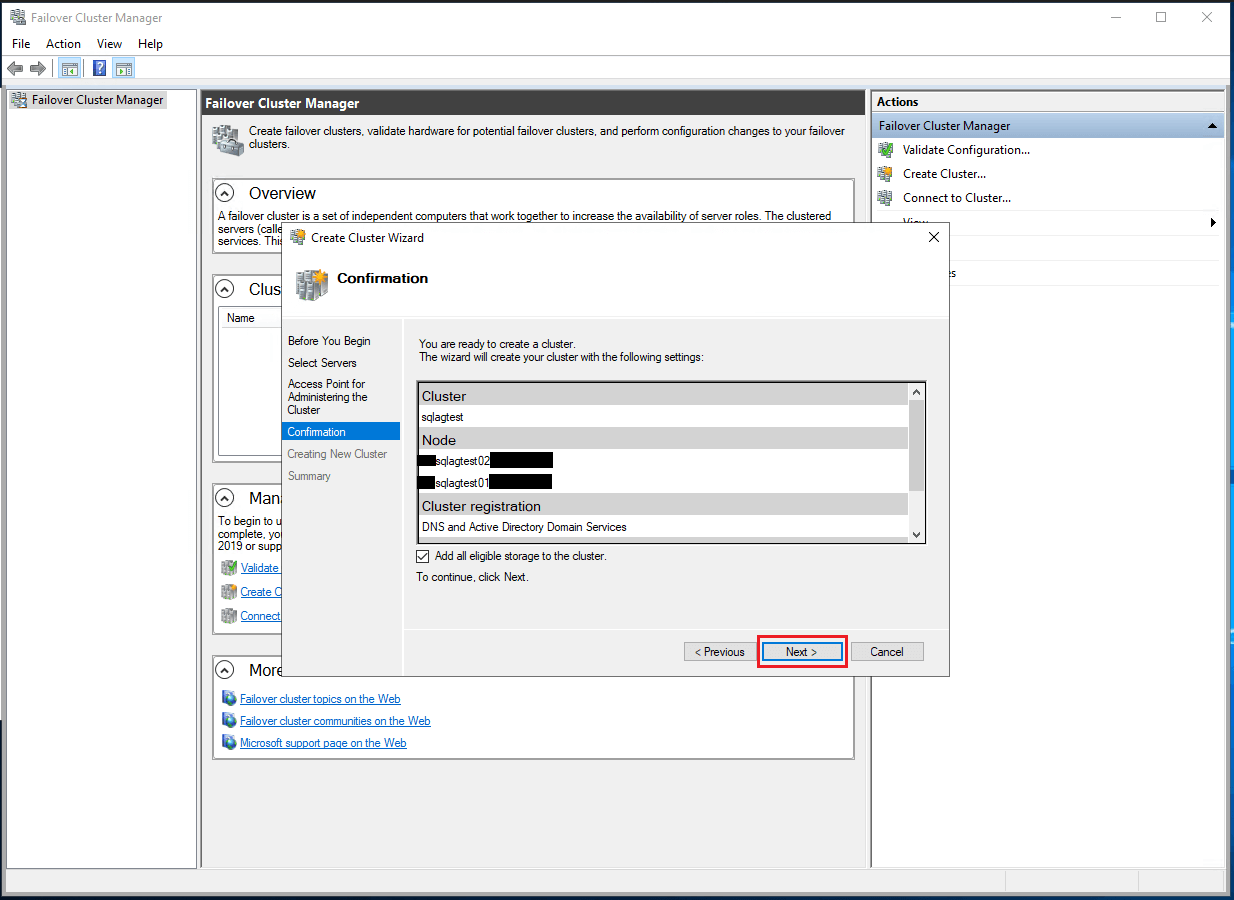
Step 5: Confirm the configuration and click on "Next"
Validation of the cluster DNS resolution
Step 6: Create the Cloud witness
Please refer to Microsoft's guide: https://docs.microsoft.com/en-us/windows-server/failover-clustering/deploy-cloud-witness
Run this Powershell script on one node in the cluster:
[Net.ServicePointManager]::SecurityProtocol=[Net.SecurityProtocolType]::Tls12

Set-ClusterQuorum -CloudWitness -AccountName "youraccountname" -AccessKey "youraccesskey"
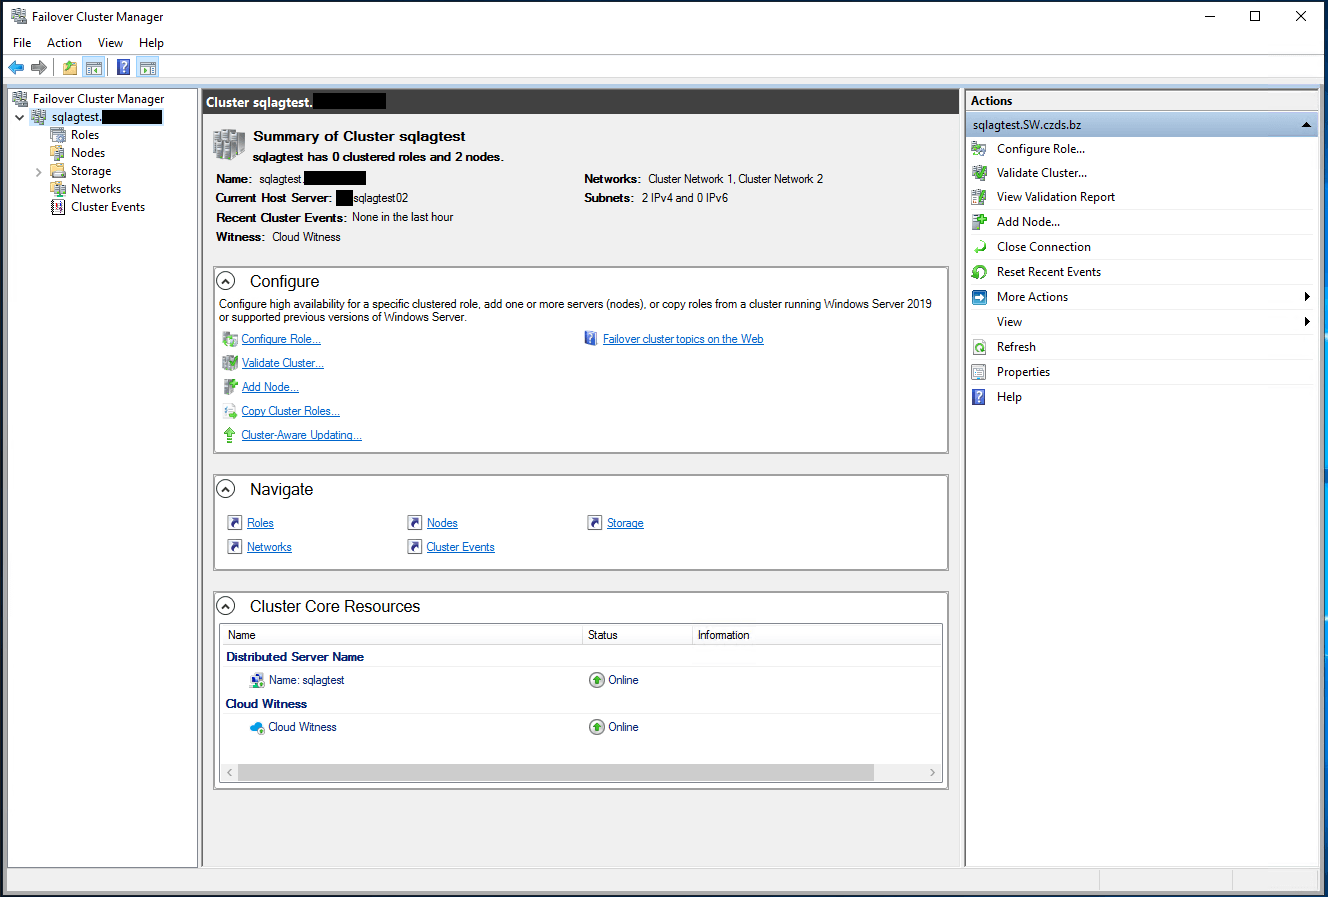
As the result, you will see the WSFC status:
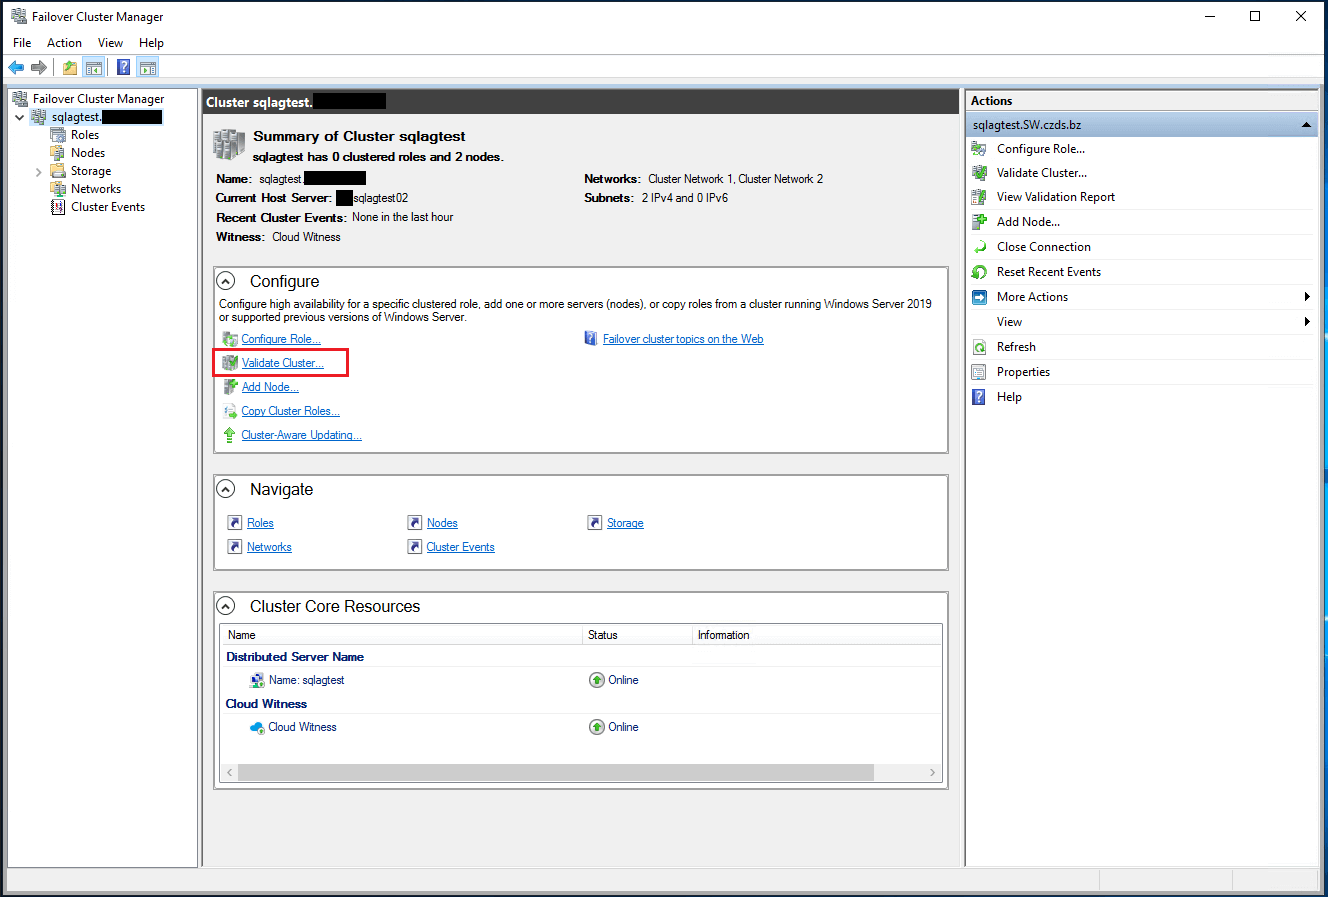
Validation of the cluster failover:
Set up AOAG:
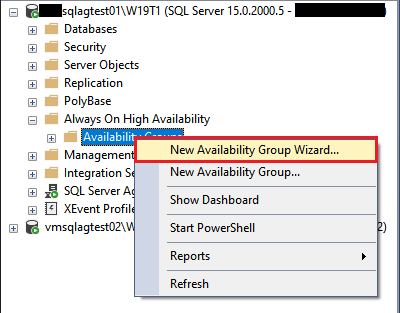
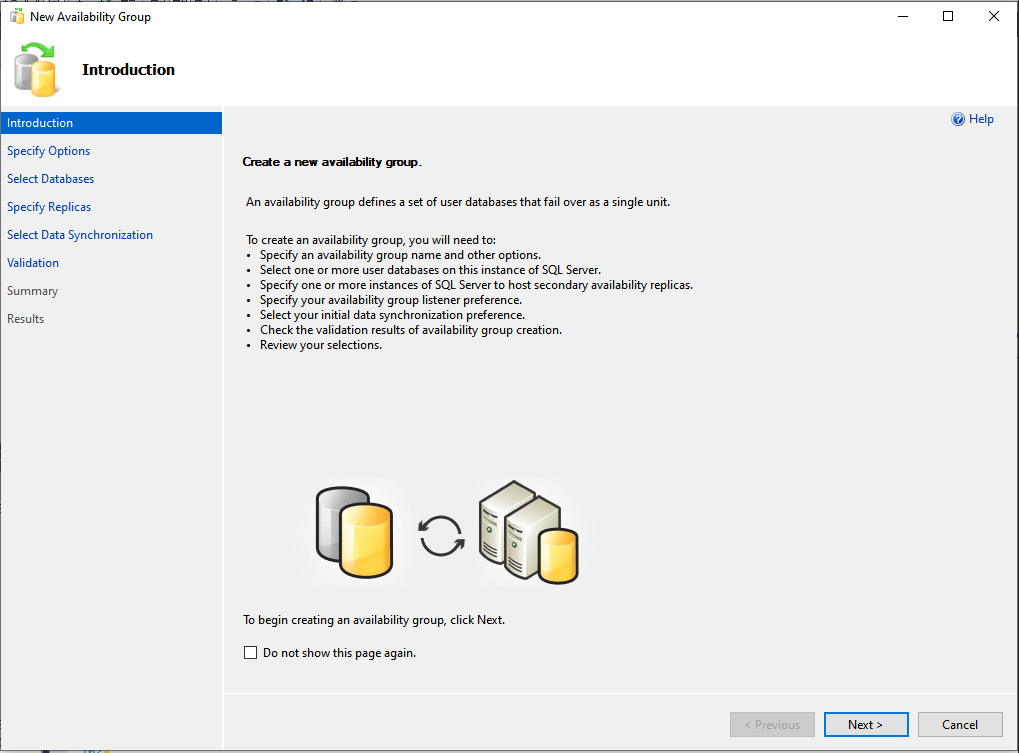
Step 1: Go to the "New Availability Group Wizard":
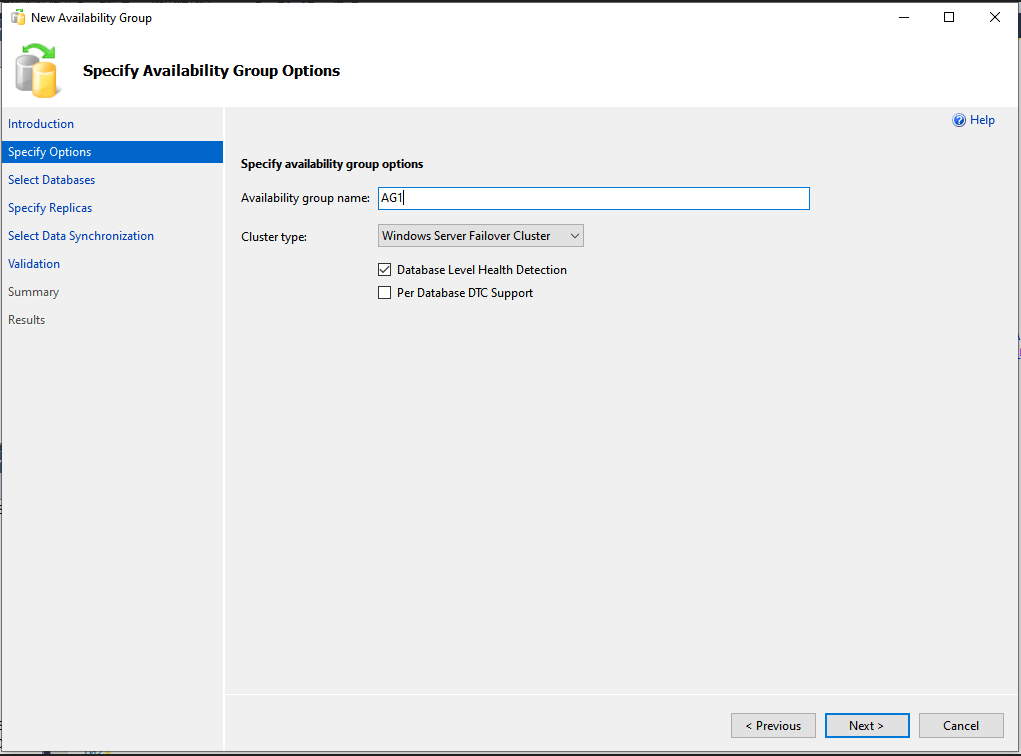
Step 2: Input the Availability group name and choose cluster type:
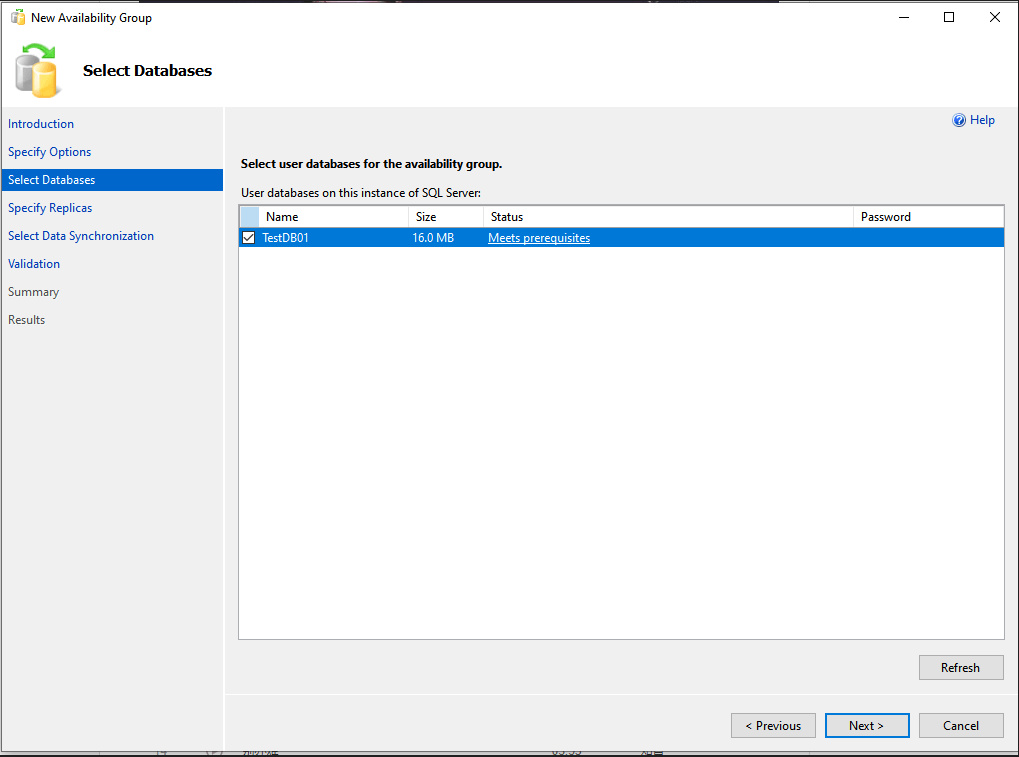
Step 3: Choose the databases which need to add to the availability group:
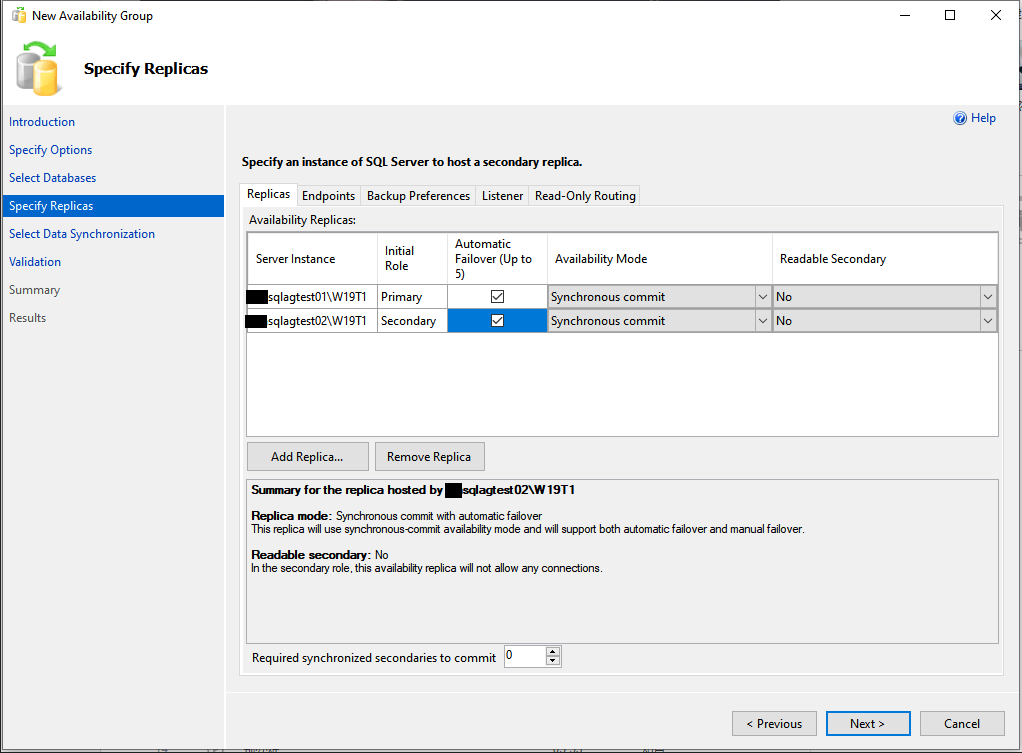
Step 4: add the secondary replica and set the
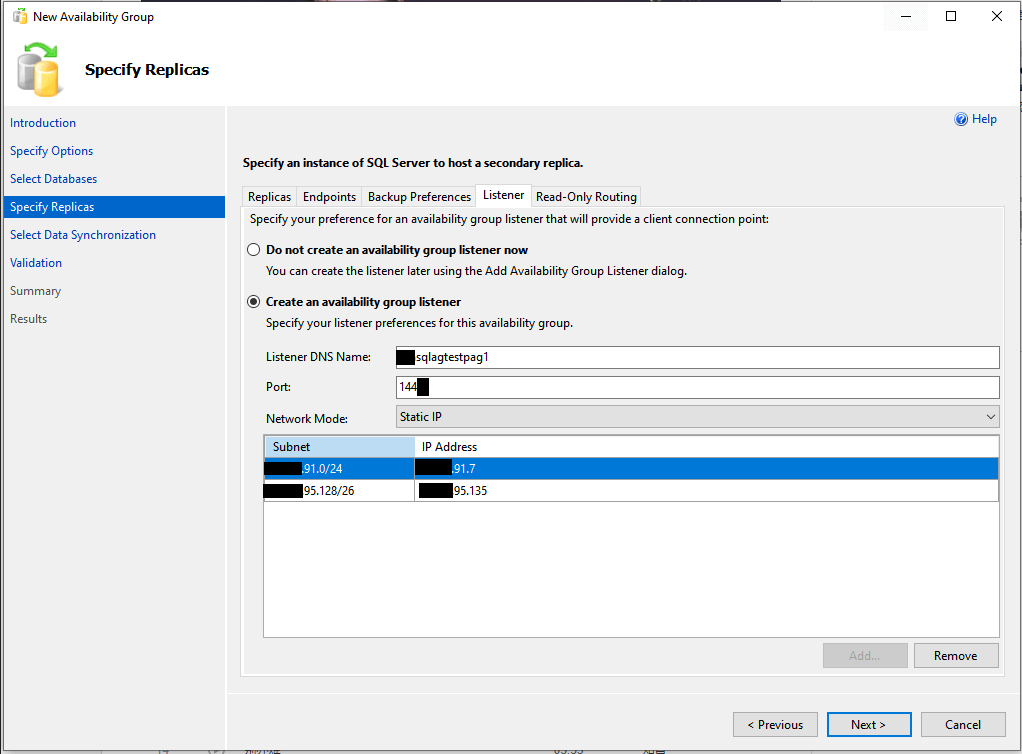
Step 5: Create the DNS name for the AG listener:
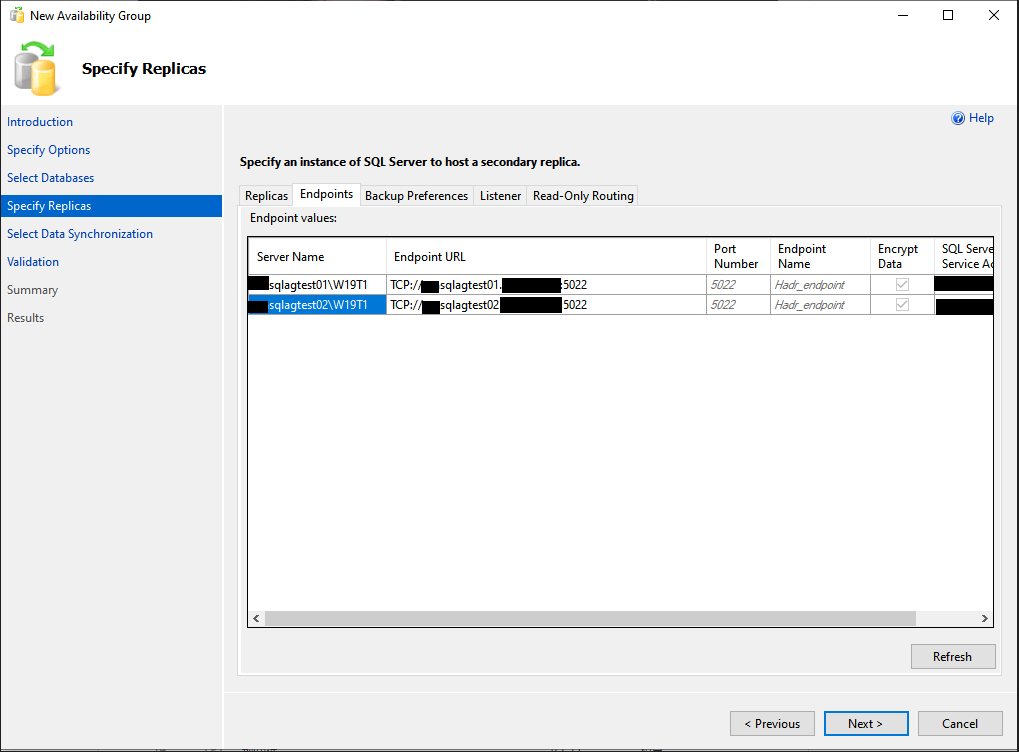
Step 6: Set the endpoint for both replicas:
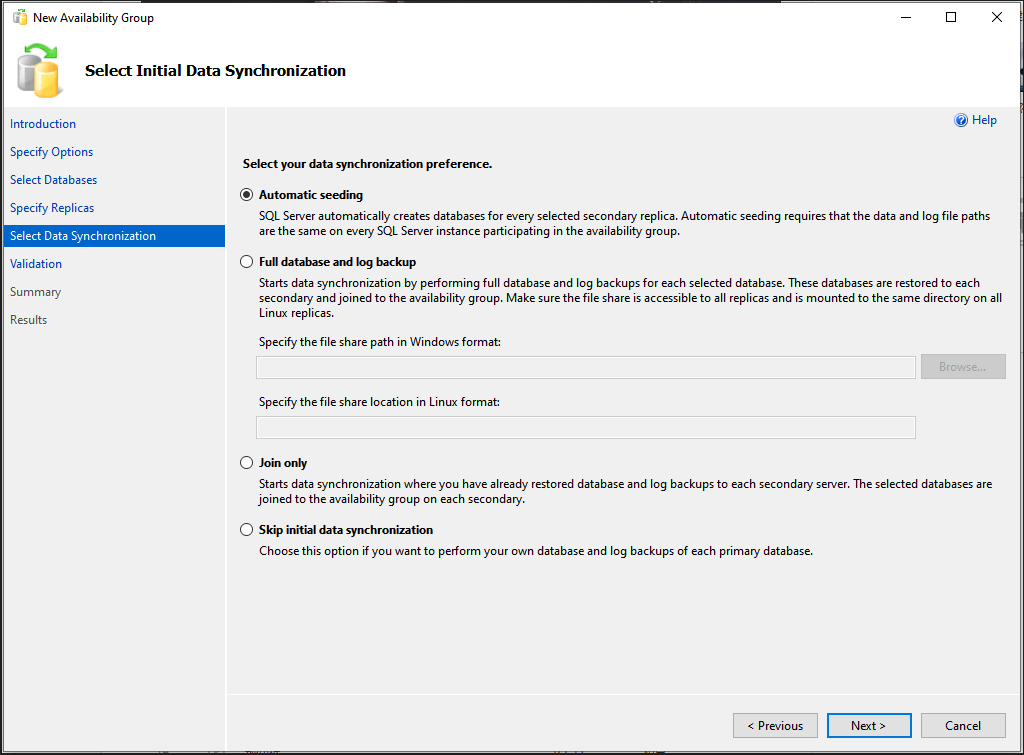
Step 7: Select the data synchronization preference:
Notes: If you choose to use "Automatic seeding", please make sure you have the same data and log file paths on both replicas.
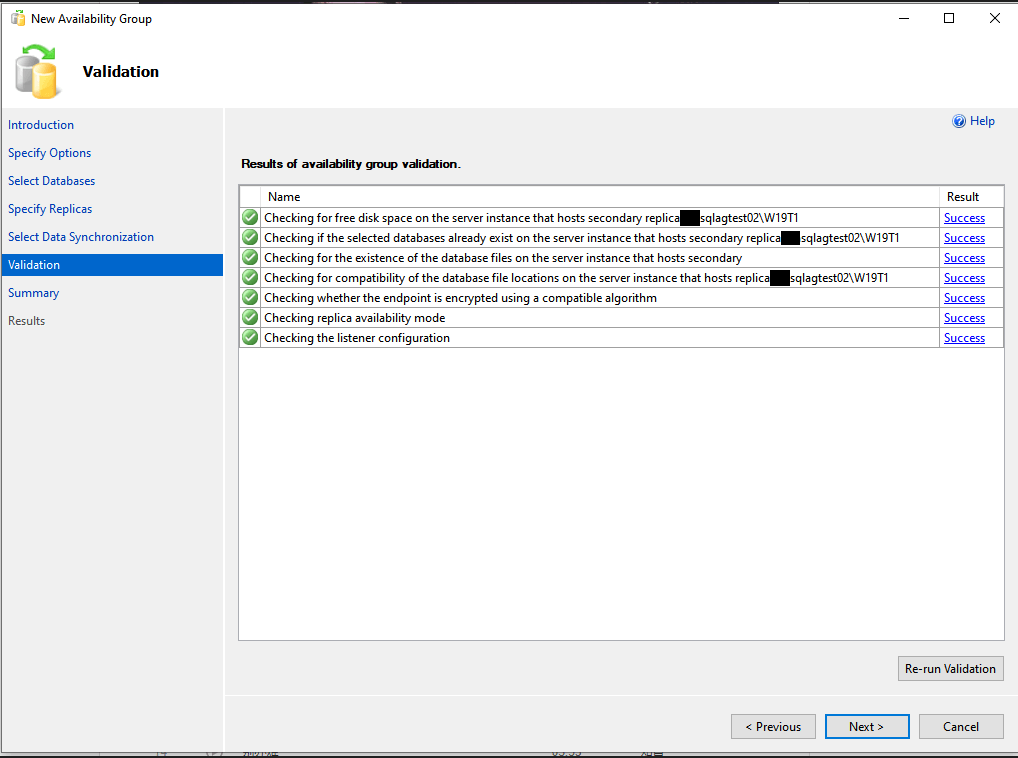
Step 8: Validate the AG configuration:
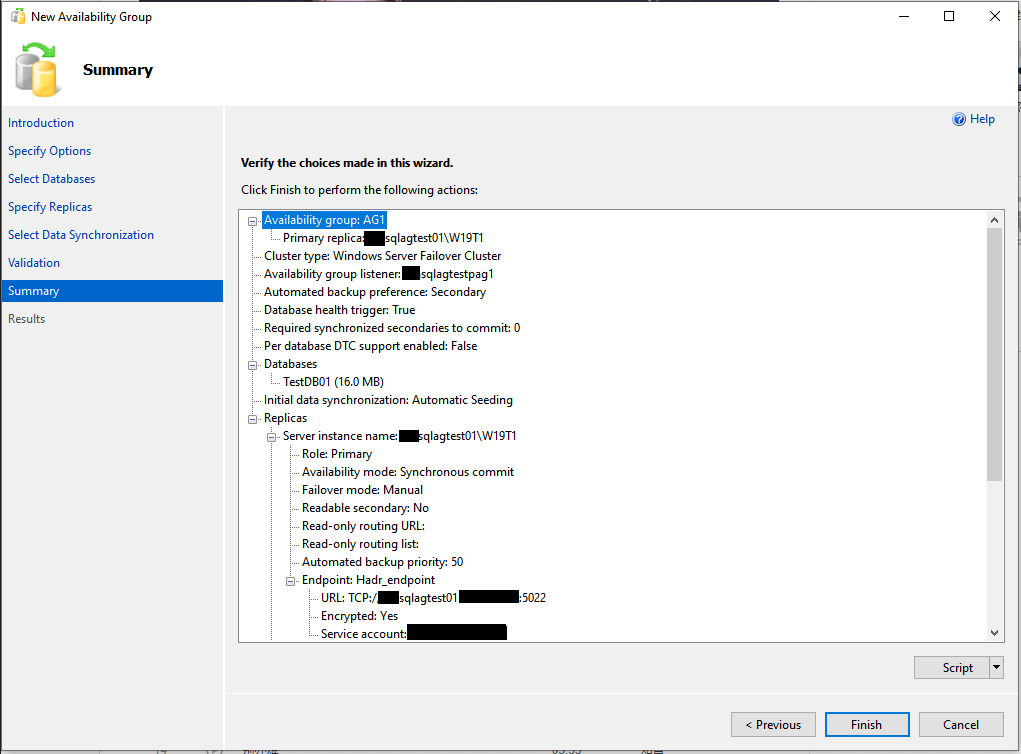
Step 9: Select "Finish" to execute the configure tasks:
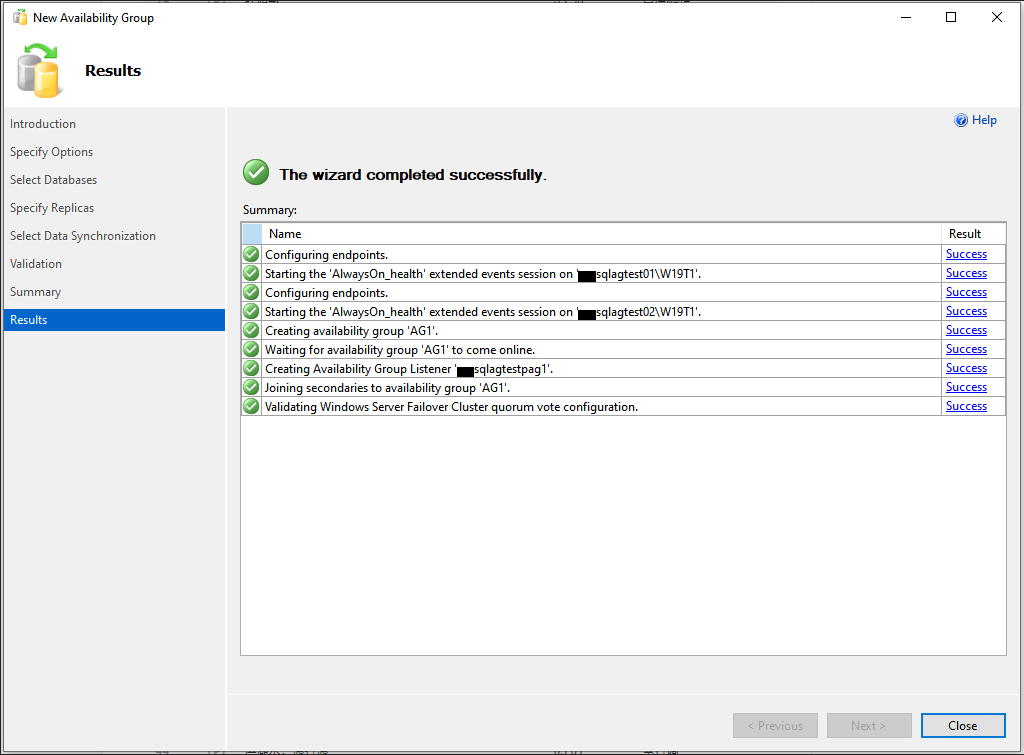
Here you can get the configuration results:
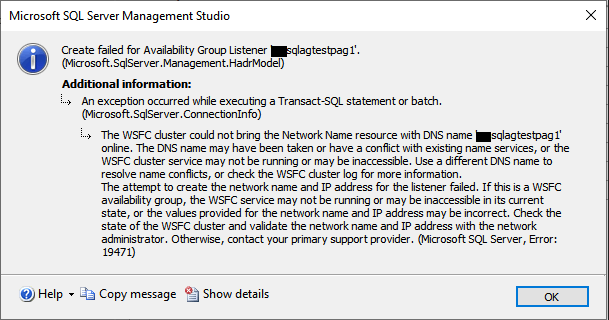
Notes: If you failed with the following error, usually it means the cluster without permission to create the DNS record, please check it with your AD administrator.
Also you can refer this KB from Microsoft:


