By default, Azure Data Studio (ADS) does not allow creating jobs, scheduling them, and creating alerts. However, there is a plugin, named SQL Server Agent, that can be installed. You can also use the Admin Pack for SQL Server that includes the SQL Server Agent extension. In this article, you will learn:
- How to install and use the extension
- Compare with SSMS and explain the limitations and advantages of this extension
- Show Notebook jobs
- Take a look at the UI to create jobs, job steps, alerts, and more.
Installing the Admin Pack for SQL Server
First of all, we need to install the Admin Pack for SQL Server. Go to Extensions and use the search textbox write admin to look for the Admin Pack for SQL Server. At the time that we wrote the article, version 0.0.2 was the last one available.
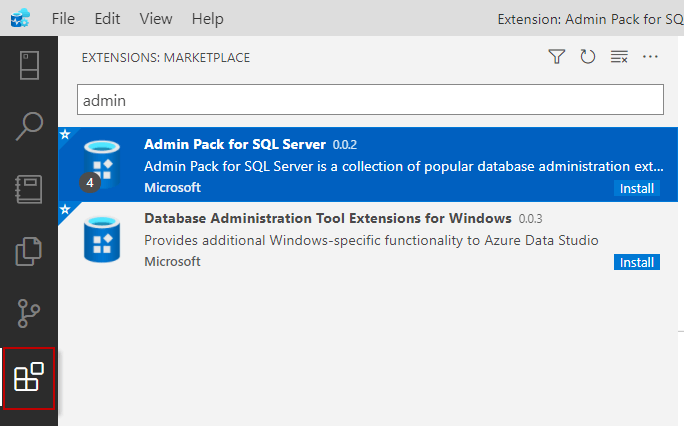
Click this and install it.
Secondly, if you do not have a connection, create a new connection in ADS to control the jobs.
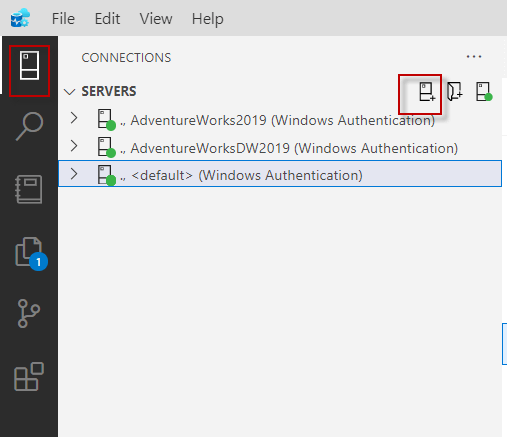
Create a connection to the SQL Server Database where you want to create the jobs.

Thirdly, on the connection created, right-click and click on the Manage option.

Next, select the SQL Agent option and select New Job.
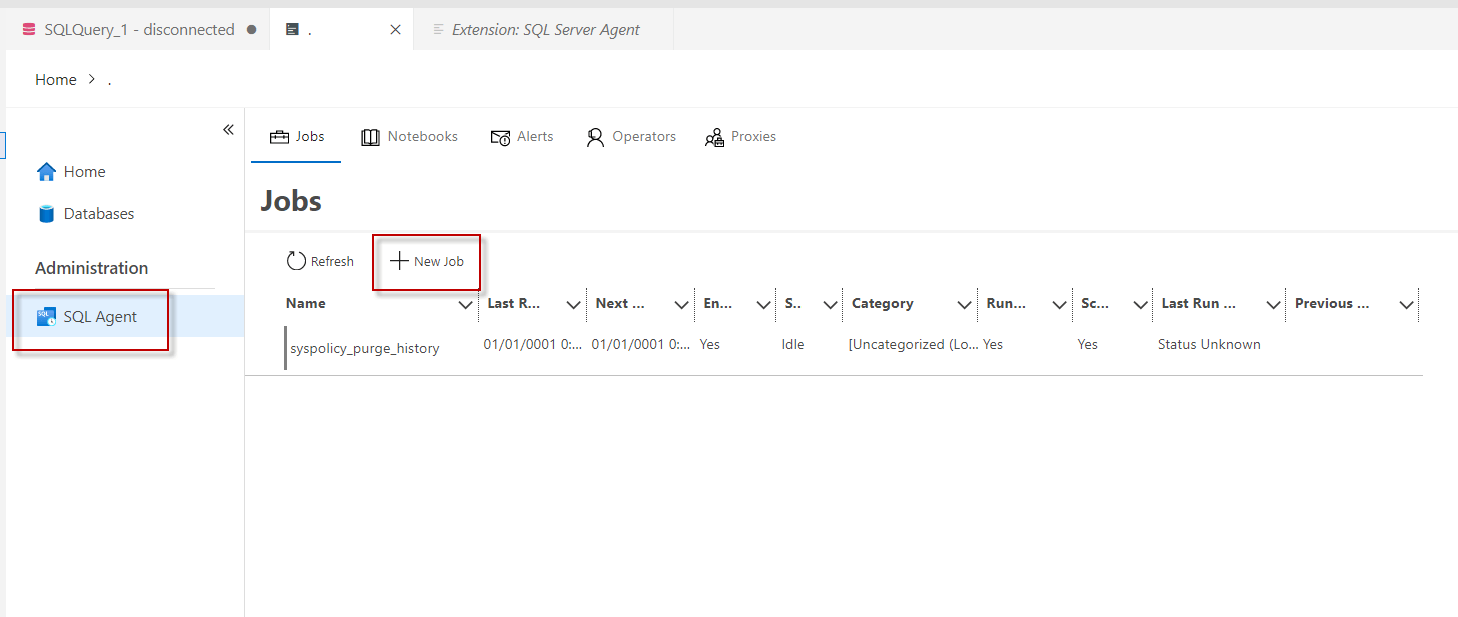
Working with SQL jobs in Azure Data Studio
The General section is not different than the options in SSMS. The name, owner, category, and description can be set.
Something that I did not like about ADS is that it does not tell me if the SQL Agent service is down or not. In SSMS, you can easily notice that.
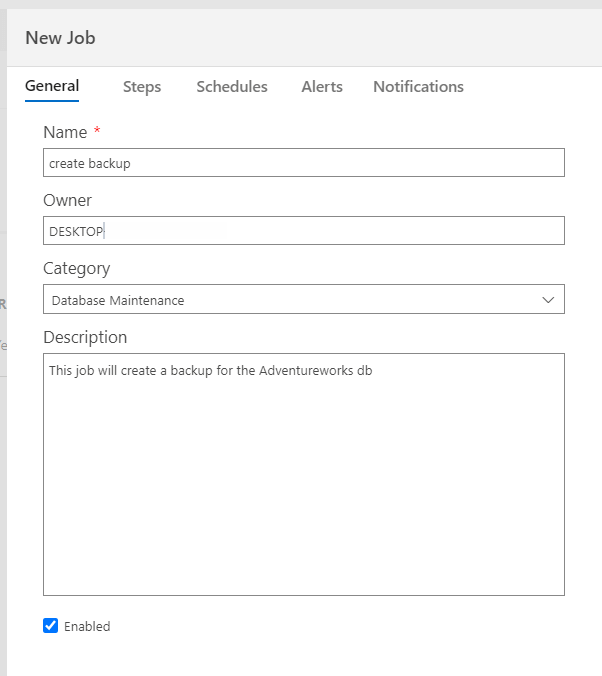
Also, in the steps, you can create, edit and delete steps or change the order of the steps.
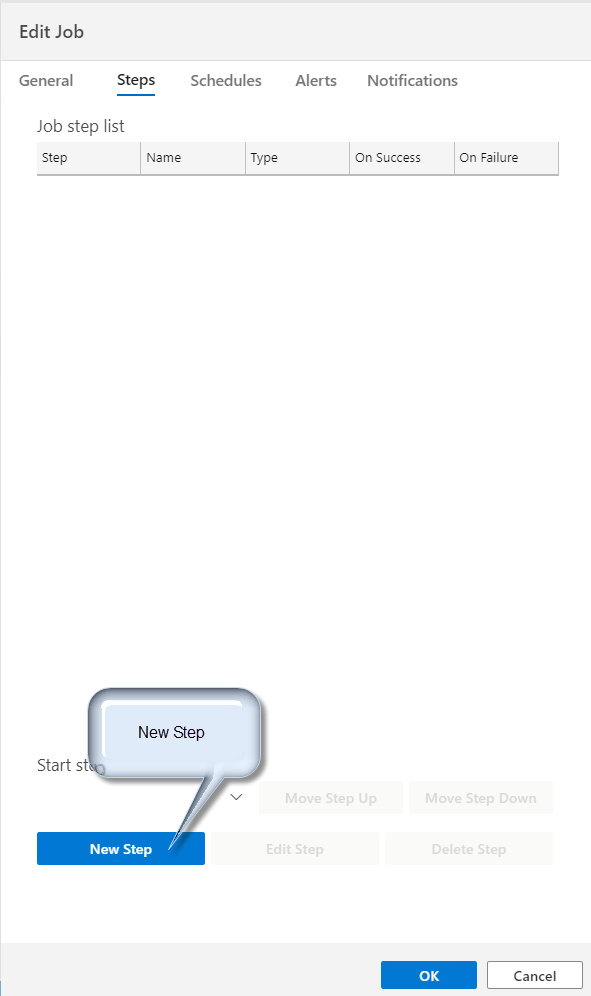
In addition, you can create steps of types T-SQL, PowerShell, or run the CMD.
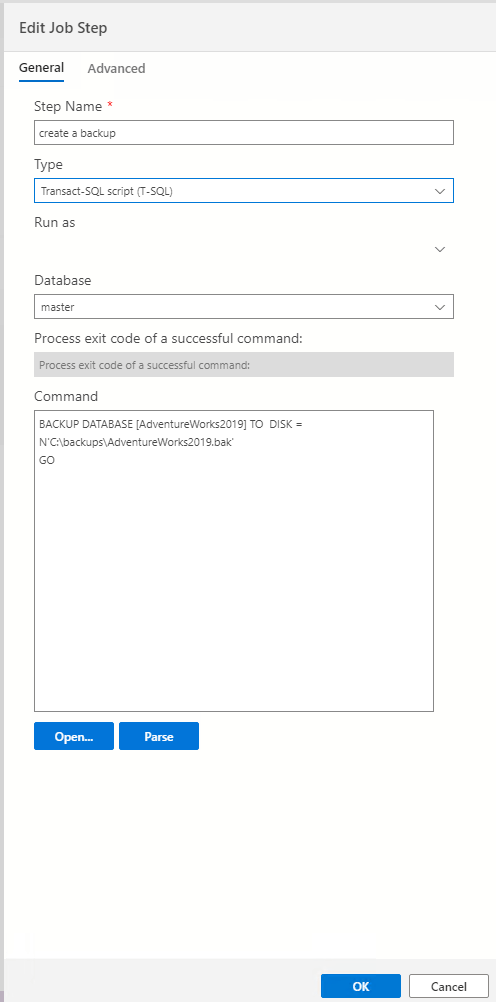
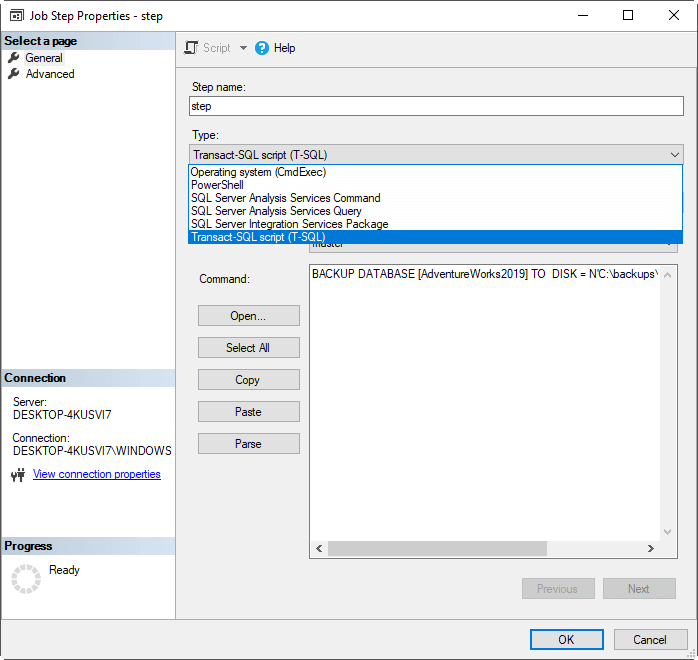
Compared with SSMS, it is limited because you do not have the option to run SSIS packages or run SQL Server Analysis Services Commands and Queries.
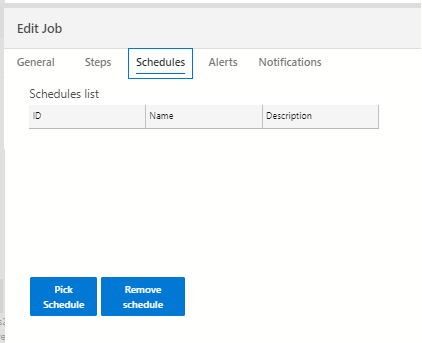
Another limitation is that you cannot visually create a schedule. You can only pick an existing one. However, this may change in the future as well as the other limitations.
In addition, you can create alerts in ADS.
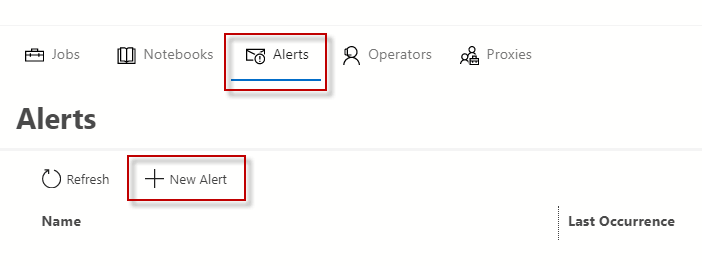
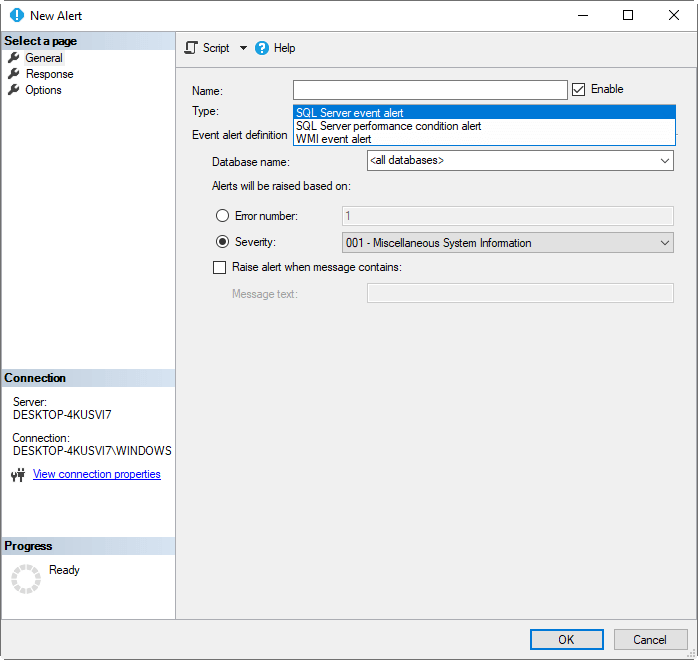
The functionality is similar to the SSMS.
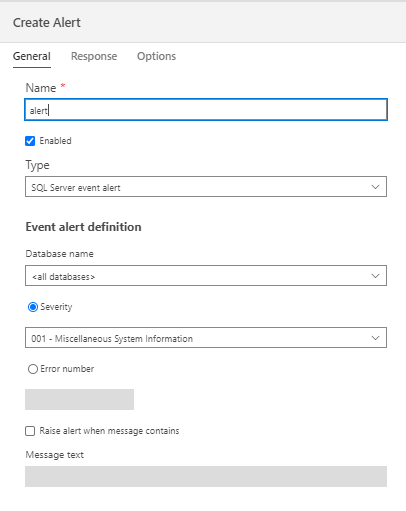
However, in SSMS, you can create SQL Server alerts, SQL Server Performance condition alerts, and WMI alerts whereas you can only create SQL Server event alerts on ADS.
In the proxies section, you can create a proxy, but there is no option to specify the subsystems. You also cannot create proxies in ADS.

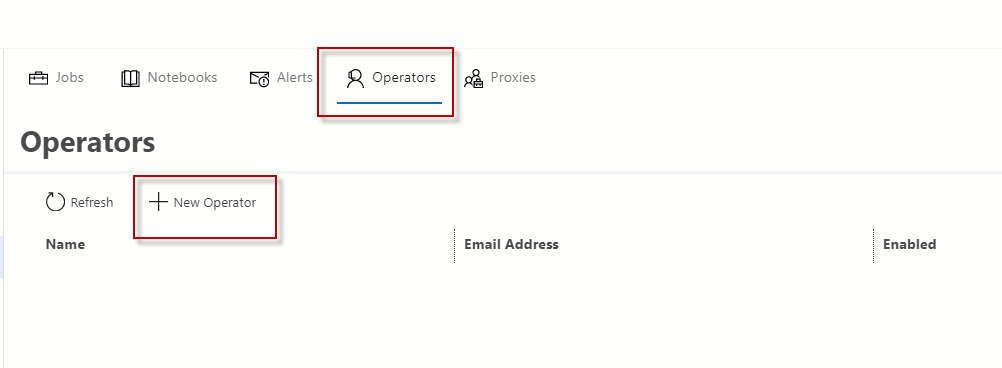
You also have the option to have operators.
Notebook
The Notebooks, as the name says, are notes that you take to your code. You can add links, text, bold to your code in order to document it. Let's say that it is a nicer way to document your code than the ugly comments used in T-SQL and other languages. With the Notebook, it is easier to share, document, understand and teach code. We created a pretty nice article for you about Notebooks here: Using Notebooks in Azure Data Studio
To create a NoteBook you need to go to File>New Notebook
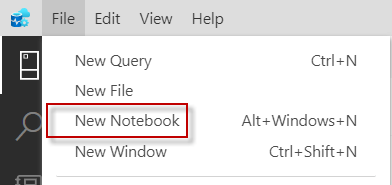
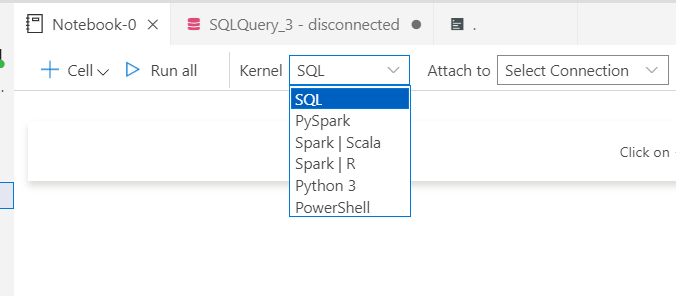
You can create Notebooks for SQL, PySpark, Spark, Python, PowerShell, and more.
You have 2 options. Text cell and code cell.
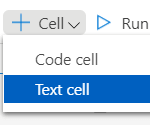
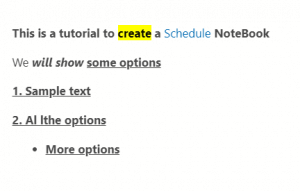
Text cell will allow you to write text, bold, link your comments and notes about your code.
On the other hand, a code cell allows you to add the code.
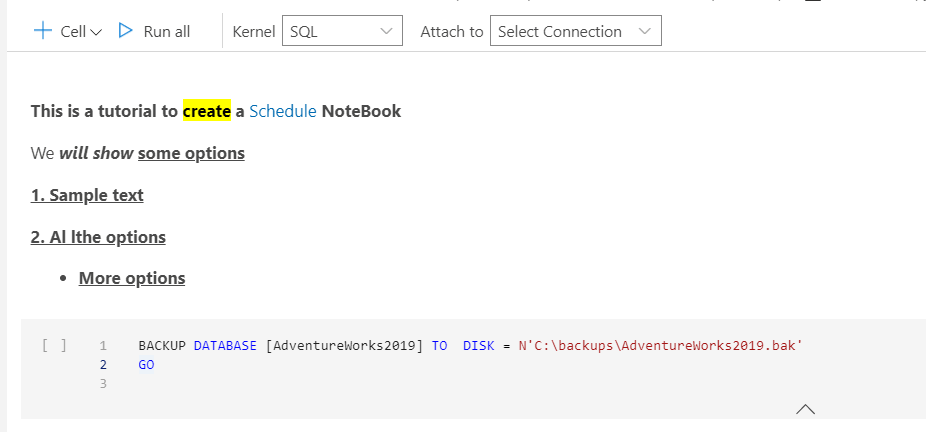
Once saved and created your Notebook, you can return to the job. The Notebook is the best thing about ADS and the jobs. You can schedule and add Notebooks here, but not in SSMS. In my opinion, the only advantage to using jobs in ADS is to work with Notebooks
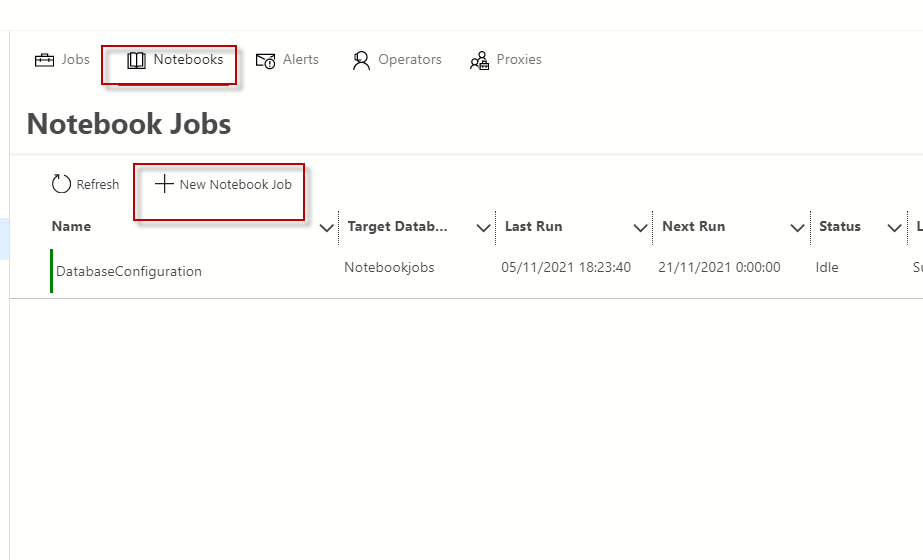 create new notebook
You need to specify the path of the Notebook file saved before and then you need to specify in which database will be stored and where it will be executed.
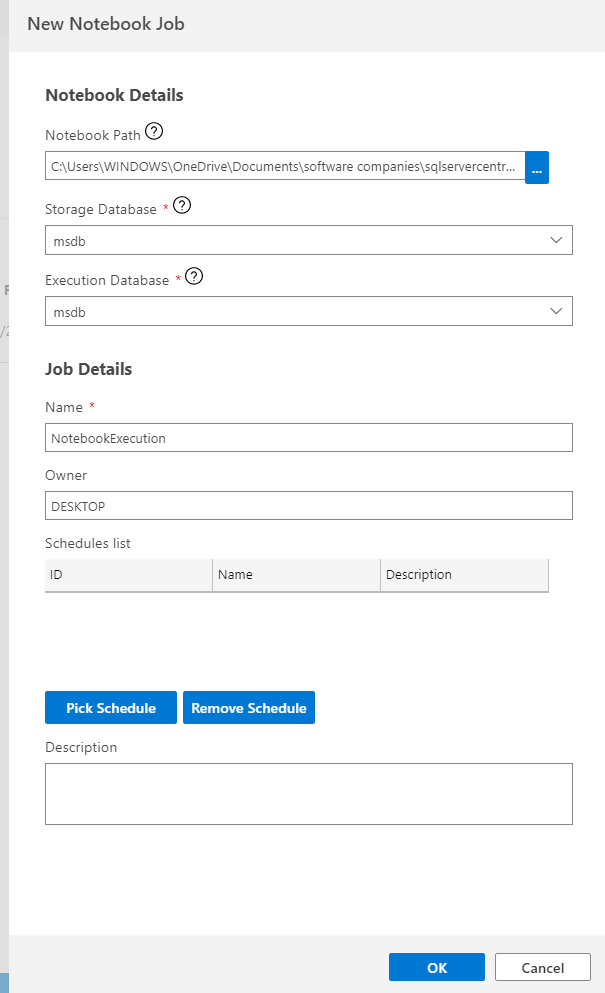 Notebook details
You can schedule Notebook jobs and see the history in ADS.
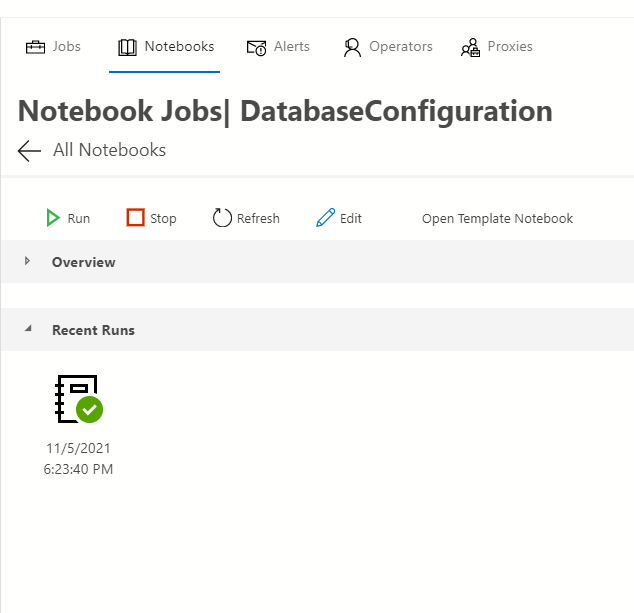 SQL jobs in Azure Data Studio
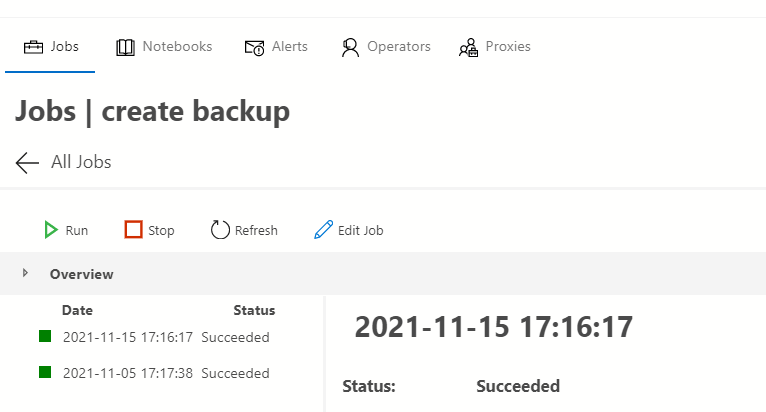
View SQL Jobs in Azure Data Studio
It is also possible to see the jobs that run and failed, run, stop, refresh or edit them.
 Job schedule
Conclusion
To conclude, we can say that the Admin Pack for SQL Server has several limitations to the functionality in SSMS. Handling SQL Jobs in Azure Data Studio is a straightforward process for SSMS users. However, you do have limitations to invoke SSIS packages, run XMLA commands, run MDX queries, and create WMI alerts.
On the other hand, we have the Notebooks in Azure Data Studio which are really cool to share code in Github or in a company with several members. With Notebooks, it is easier to explain the code, provide examples, and document the functionality.
References
For more information, refer to this link: List of Azure Data Studio Extensions


