We previously looked at Archiving Azure SQL Database to a BACPAC and in today’s post we are going to address how to look at that data by restoring or importing it to a local SQL Server.
As discussed in the previous post this discussion arose in a conversation with a customer who needed to keep monthly archives of their data for a 10 year time period to comply with industry regulations and protect against legal action. This customer is looking to use Azure SQL Database and the built in backup functionality does not cover this entire time period. The concern was around being able to easily restore the archive to a local SQL Server should they decide at some point in the future to no longer use the PaaS solution. Let’s be real though, who would want to leave Azure SQL Database, it’s awesome.
First half of the requirement: archiving the data from Azure SQL Database is complete.
Up next, the other half: taking the archive and access the data using SQL Server
The Data
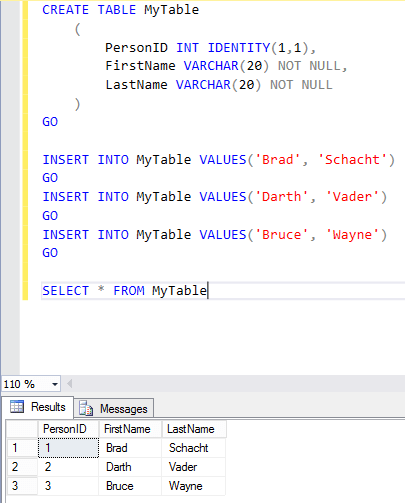
In the previous post I created a small sample dataset with just three rows of data. You can see that represented in the screenshot below. I have also downloaded the BACPAC from my Azure storage account in preparation for restoring it locally.
Importing the BACPAC
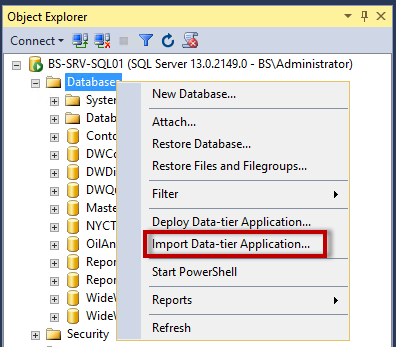
To start, open SQL Server Management Studio (SSMS) and connect to a local instance of SQL Server. Right-click on the instance name and select Import Data-tier Application.
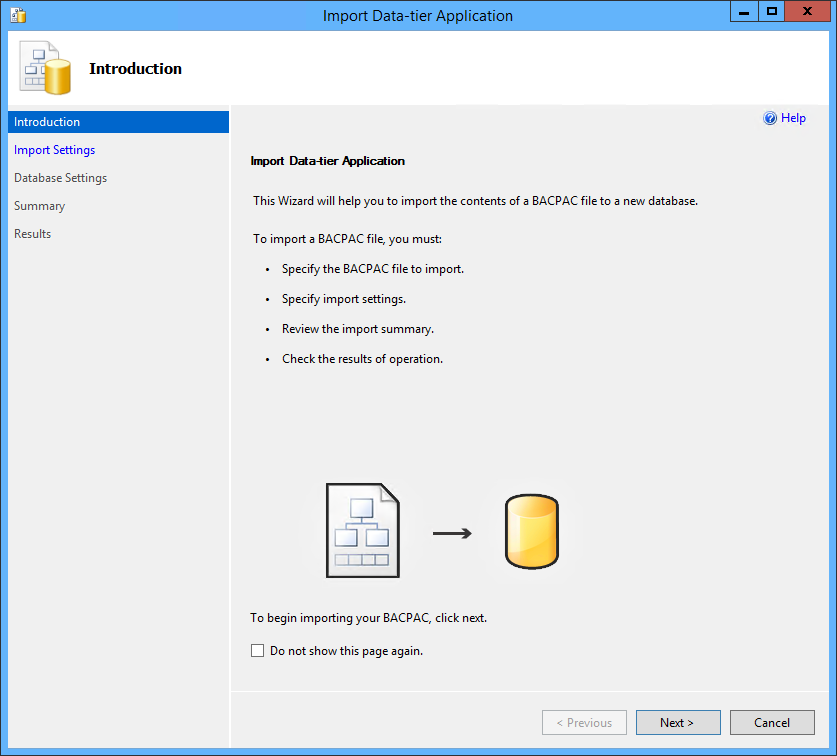
Simply click Next to go back the welcome screen of the import wizard.
Click browse and locate the BACPAC file on your local computer. Click Next.
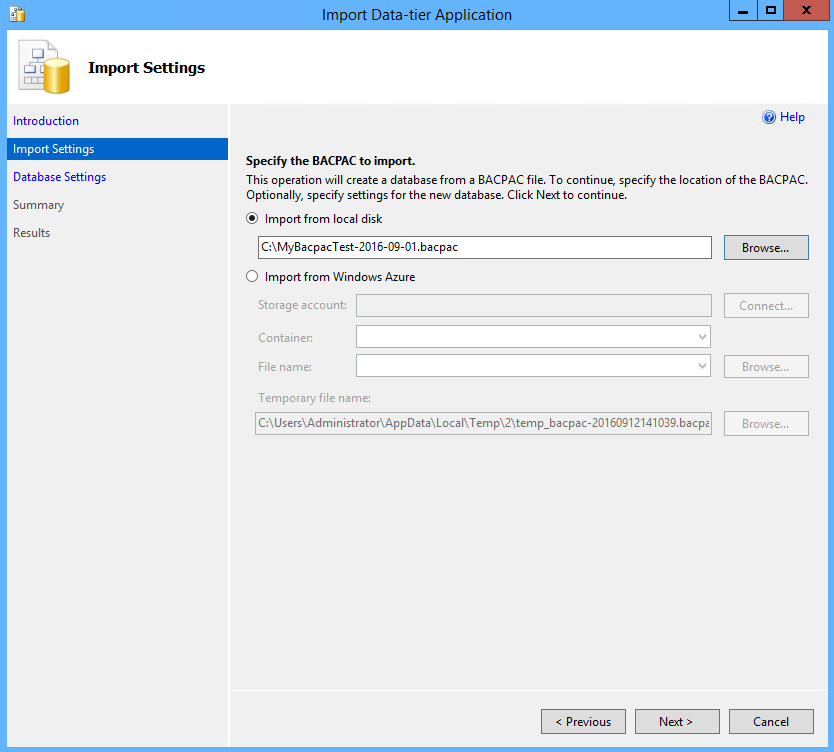
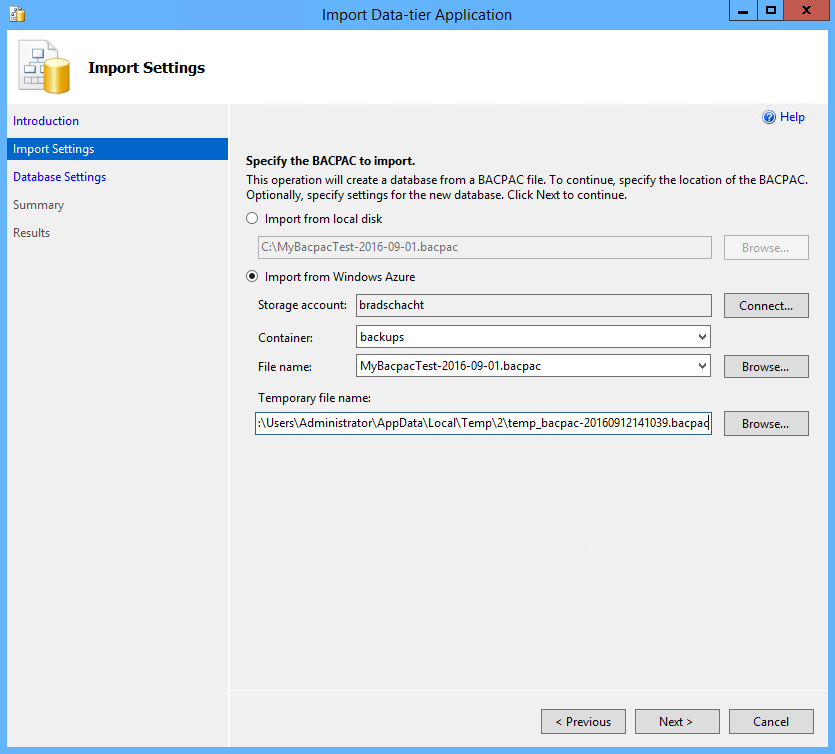
Alternately, change the radio button to Import from Windows Azure and click Connect. You will be prompted to enter your storage account name and access key and then locate the BACPAC in your storage account. This will be downloaded as part of the import process to a temporary directory that can also be specified in the wizard.
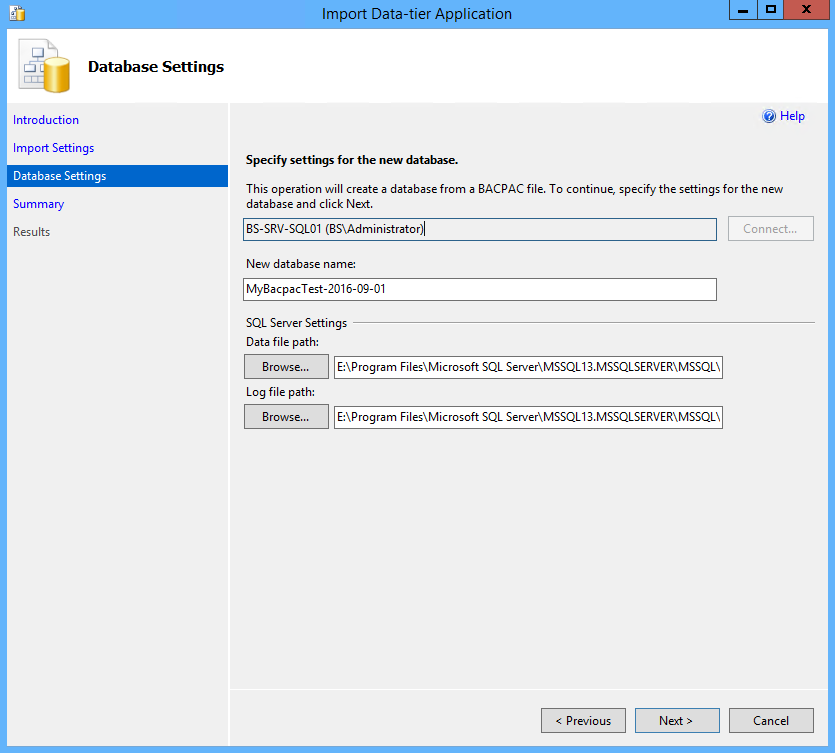
On the database settings page of the wizard the database name, data file storage path and log file storage paths can be modified. The default locations for the data and log files will be pulled from the model database. Click Next.
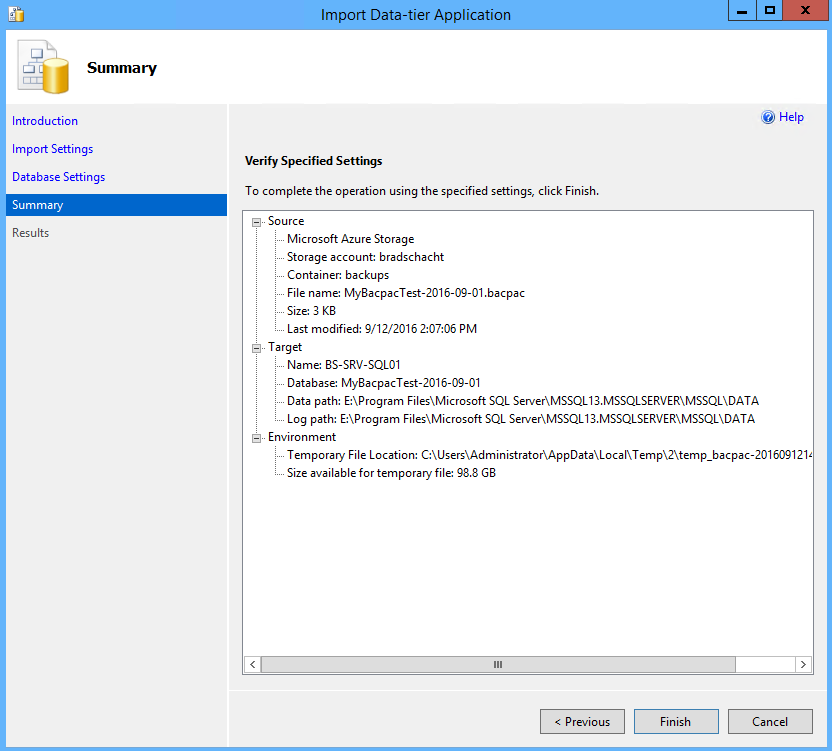
Click Finish on the Summary page to being the import.
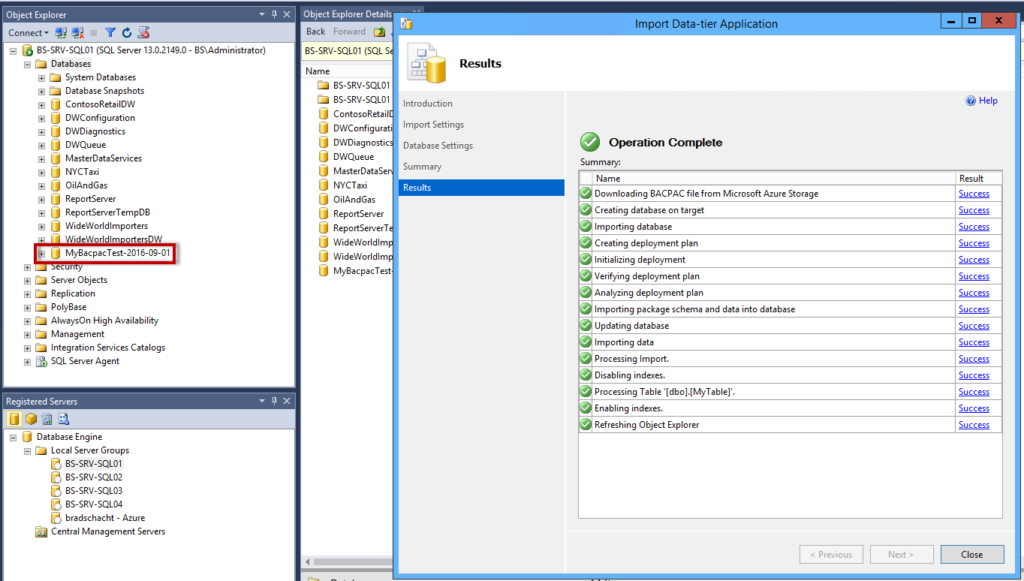
Each step and the status of the operation will be displayed. Assuming all green check marks click Close on the wizard. If there are any errors click the link in the Result column to see the details behind the failure. There should also be a new database in the SQL Server object explorer carrying the same name specified on the Database Settings page of the import wizard.
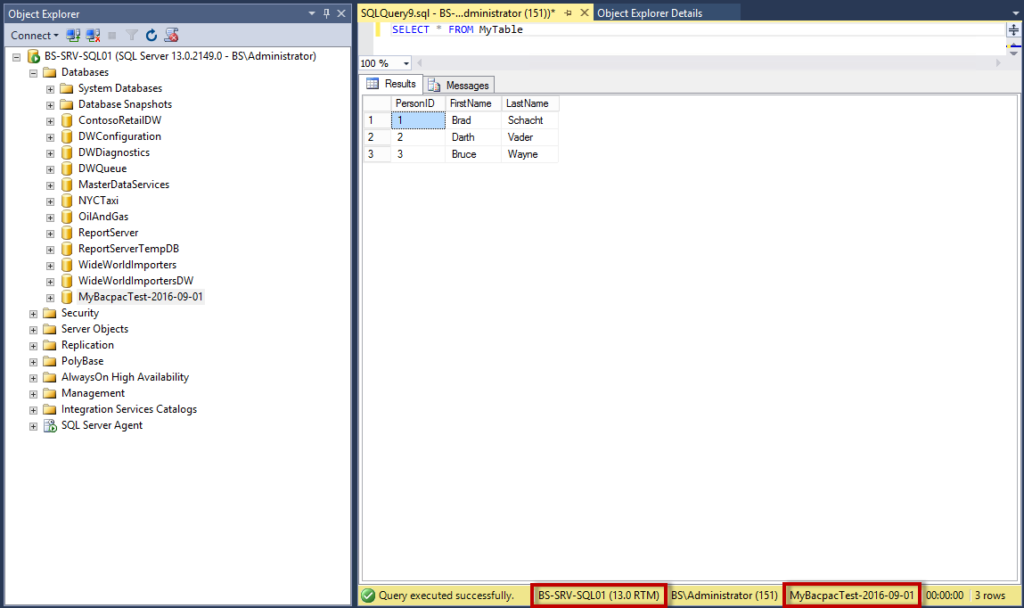
Running a quick select statement validates the data was imported successfully and shows the same three records that were created in the original Azure SQL Database that was archived in the previous post.
This satisfies the full set of requirements given by the customer:
- Full backup of the data, archived monthly for 10 years – this can be stored in Azure blob storage and/or downloaded and stored locally
- Ability to restore the archive at any time – a BACPAC can be imported to Azure SQL Database or to a local SQL Server
- Maintain data access should the customer decide to no longer leverage Azure SQL Database – BACPAC files can be imported to a local SQL Server instance


