UPDATE: The other half of this scenario has been posted. Check out Importing a BACPAC to SQL Server.
Azure SQL Database is a managed database platform as a service (Paas) offering available from Microsoft in the Azure cloud. One of the advantages to Azure SQL Database is all the file management, server maintenance and backups are taken care of automatically. Point in time recovery is built directly into the service. The amount of time a user can go back and perform a point in time restore depends on the service tier selected. The following table shows the retention period per service tier and is accurate as of September 1, 2016.
| Database Tier | Point in Time Restore |
|---|---|
| Basic | 7 Days |
| Standard | 14 Days |
| Premium | 35 Days |
While meeting with a customer this past week the topic of archiving data came up. The concern was centered around regulatory compliance and legal actions. The customer needed to keep 10 years of history (monthly archives) on their data and it needed to be easily restored. Additionally, they wanted to be able to take the data with them should they decide to no longer use the PaaS service. Luckily Azure SQL Database and SQL Server provide an easy way to satisfy this requirement!
This post will explore the first half of the requirement: archiving data from Azure SQL Database
The next post (Importing a BACPAC to SQL Server) will address the second half of the requirement: taking the data and access the data using SQL Server.
Obviously the build in backup functionality is not enough to satisfy this customer’s needs even on the premium tier. In order to create full copy of the database and all the data we will create what is called a BACPAC. This file contains the database schema as well as data (stored in JSON format) and carries an extension of .bacpac. A BACPAC is point in time snapshot designed to export and import schema and data. This is the functionality we will use to archive data monthly for the 10 year retention period then in the next post we will show how to import the data into SQL Server should the customer need to access the data down the road for something like a legal case.
The Database
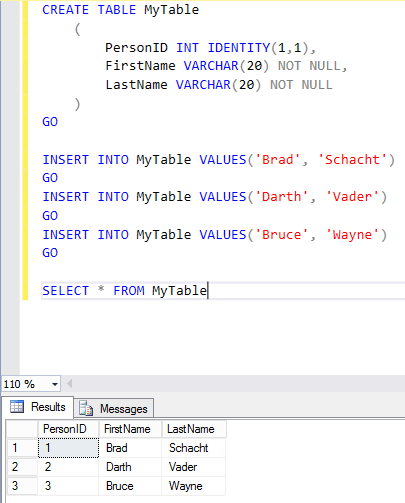
To start I have created an Azure SQL Database called MyBacpacTest. Inside this database there is one table with 3 rows of data. This is just to show that data is in fact being exported and still exists when we import the BACPAC into SQL Server later.
Creating the BACPAC
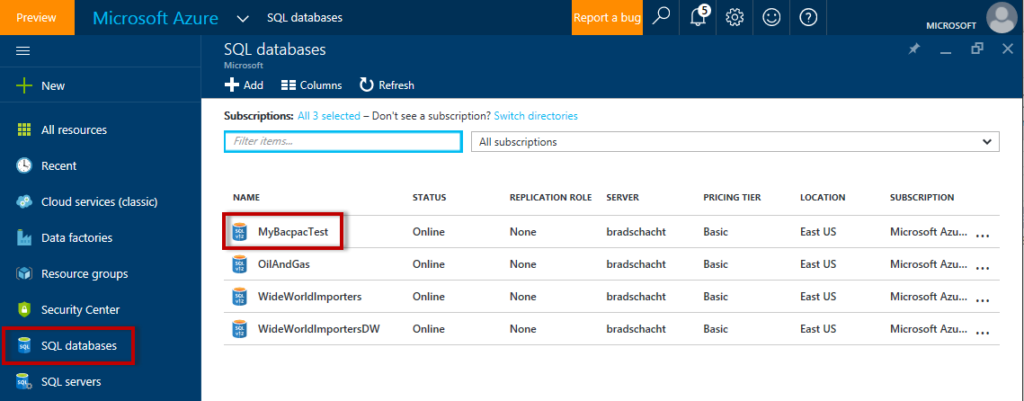
To start, open a web browser and access the Azure portal (https://portal.azure.com). After signing in navigate to the SQL Databases section and select the database you want to archive.
On the overview page click the Export button near the top of the page.

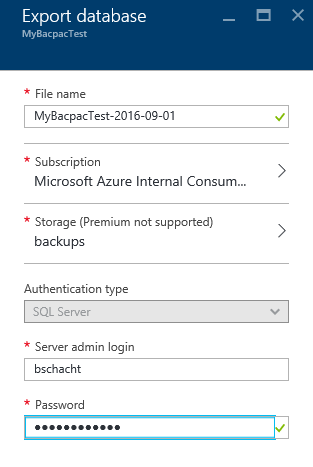
On the resulting page name the BACPAC. Select the subscription and storage location where the BACPAC file will be saved. Enter the credentials that will be used to access the Azure SQL Server. Click OK at the bottom of the pane and the export process will begin in the background.
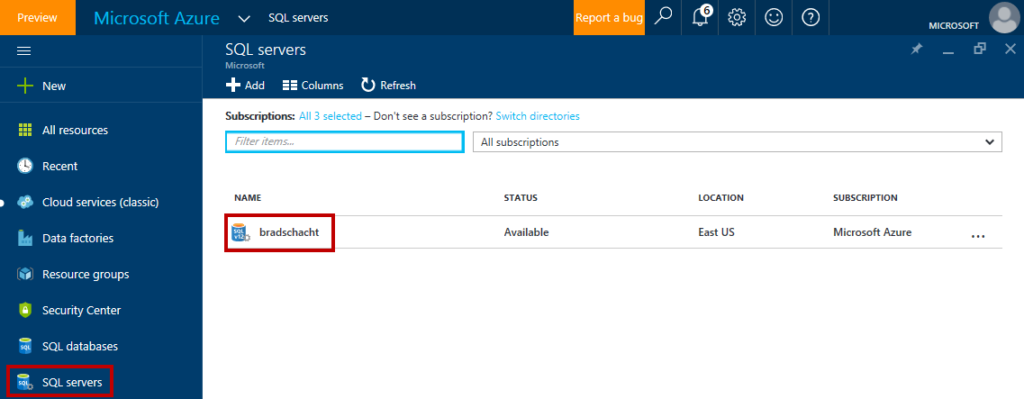
To monitor the progress of the export process navigate to the SQL Servers section of the Azure Portal and select the server where the database being exported resides.
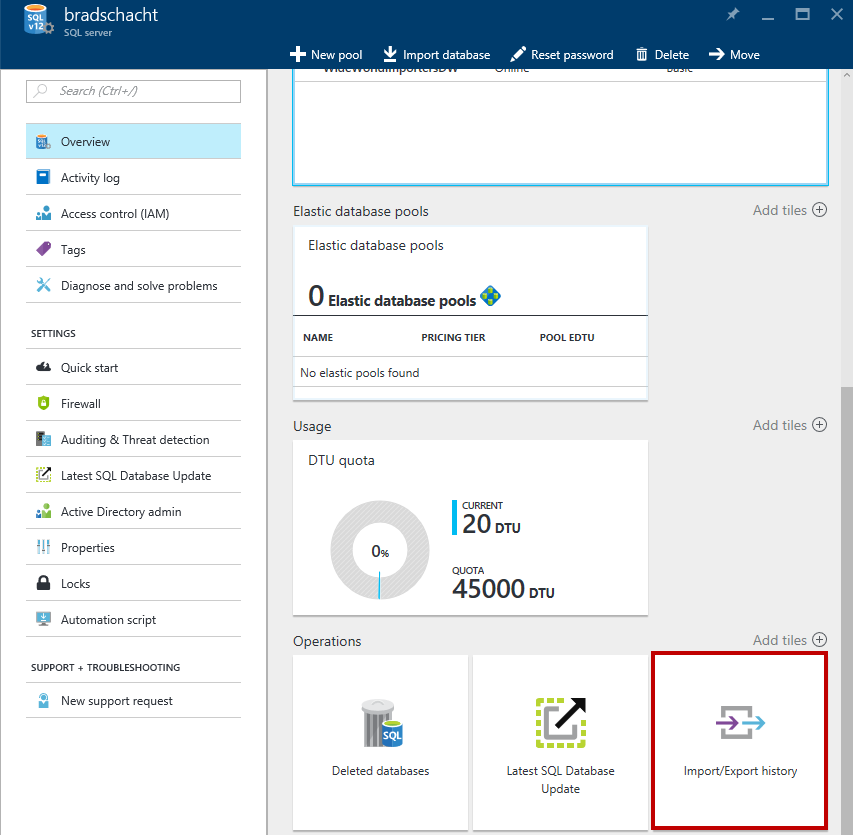
Scroll to the bottom of the overview pane and select Import/Export history.
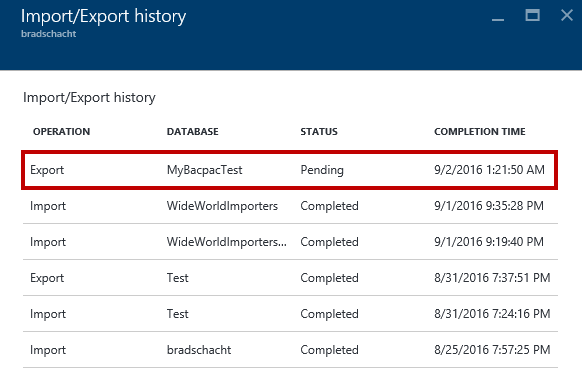
The resulting page will display a list of BACPAC import and export operations. The export that was just initiated will likely be listed as Pending or Running.
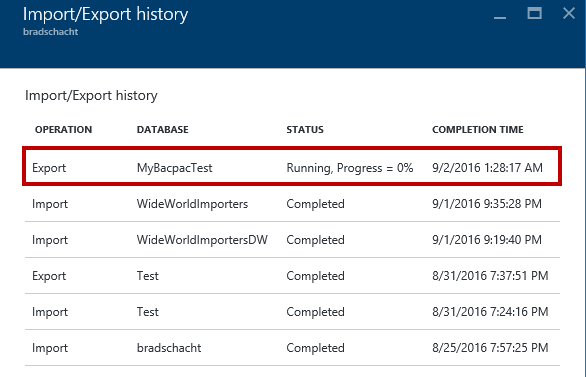
The progress can be tracked once the export changes from Pending to Running.
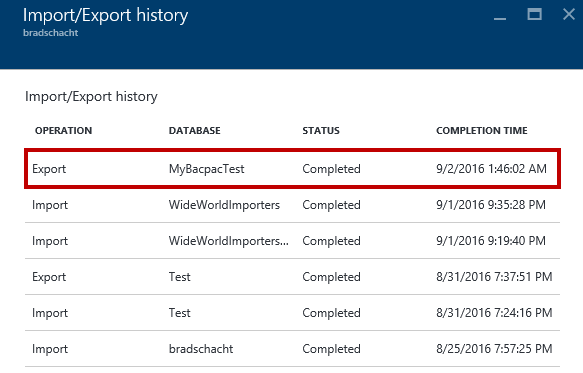
After the export has finished the status will change to Completed.
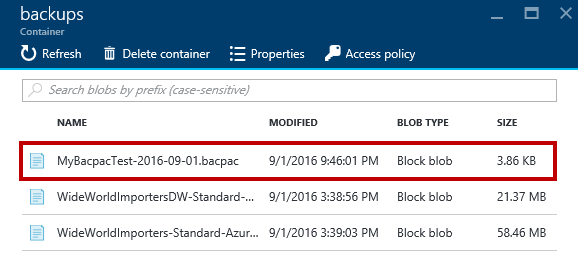
Navigate to the storage account and container previously specified in the export screen. Note the size of my file is 3.86kb since I only have a couple of records in a single table. Select the file to open the properties for this blob.
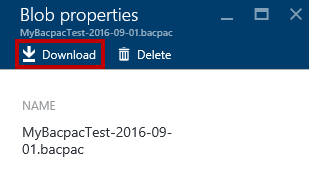
Optionally: On the properties pane click the Download button to download the BACPAC file to your computer. This file will be used in the next post in this two part series where we will restore the data to a SQL Server.
Changing the file extension from .bacpac to .zip allows us to see all the files and data that are stored inside the BACPAC. Drilling into the Data folder will reveal a directory for each table. Drilling down an additional layer will show a BCP file containing the data for the table.

Check out the other half of the series where we explore importing the BACPAC to SQL Server allowing you to explore the archive data at any time in the future without a requirement to go to Azure SQL Database.


