Introduction
This article will help you install the Docker Desktop for Mac. Before we show that, let us start by understanding what the Docker Desktop software can do for you.
To understand Docker, we need to understand what a container is. If you remember a few years ago, the only way of deploying application code to the production environment was to:
- remotely connect to the server
- set up all the necessary dependencies, providing all the global environment variables
- then pulling the code from the repository to the server
All these steps needed to completed very carefully, as they are all manual actions, and need to be followed one by one.
When a new engineer was onboarded, they had to install all the dependencies one by one on their machine, and following similar steps as above to configure their machine. This was a cumbersome process.
Fast forward in the computing world, and we have something known as containers. These are easily managed with a script that will set up all the required dependencies and global variables. Your environment will be up in minutes, if not seconds. The script has to be written once and can be used on any machine irrespective of the operating system. Isn't that awesome?
Docker is a tool that uses this technology of containerization and is one of the most popular tools when it comes to building a containerized application. You can use Docker to build images of your application and later use these images to run on your servers. Docker is a containerized service that allows your applications to run within an isolated environment. It helps to design and develop services that have minimal dependencies on each other. Using Docker, you can run multiple applications on the same host server with complete isolated environments for each of the environments.
Download and from DockerHub
In order to download Docker on a macOS, you can navigate to the official website for Docker and click on Download for Mac. You can download the DMG file on your local machine.
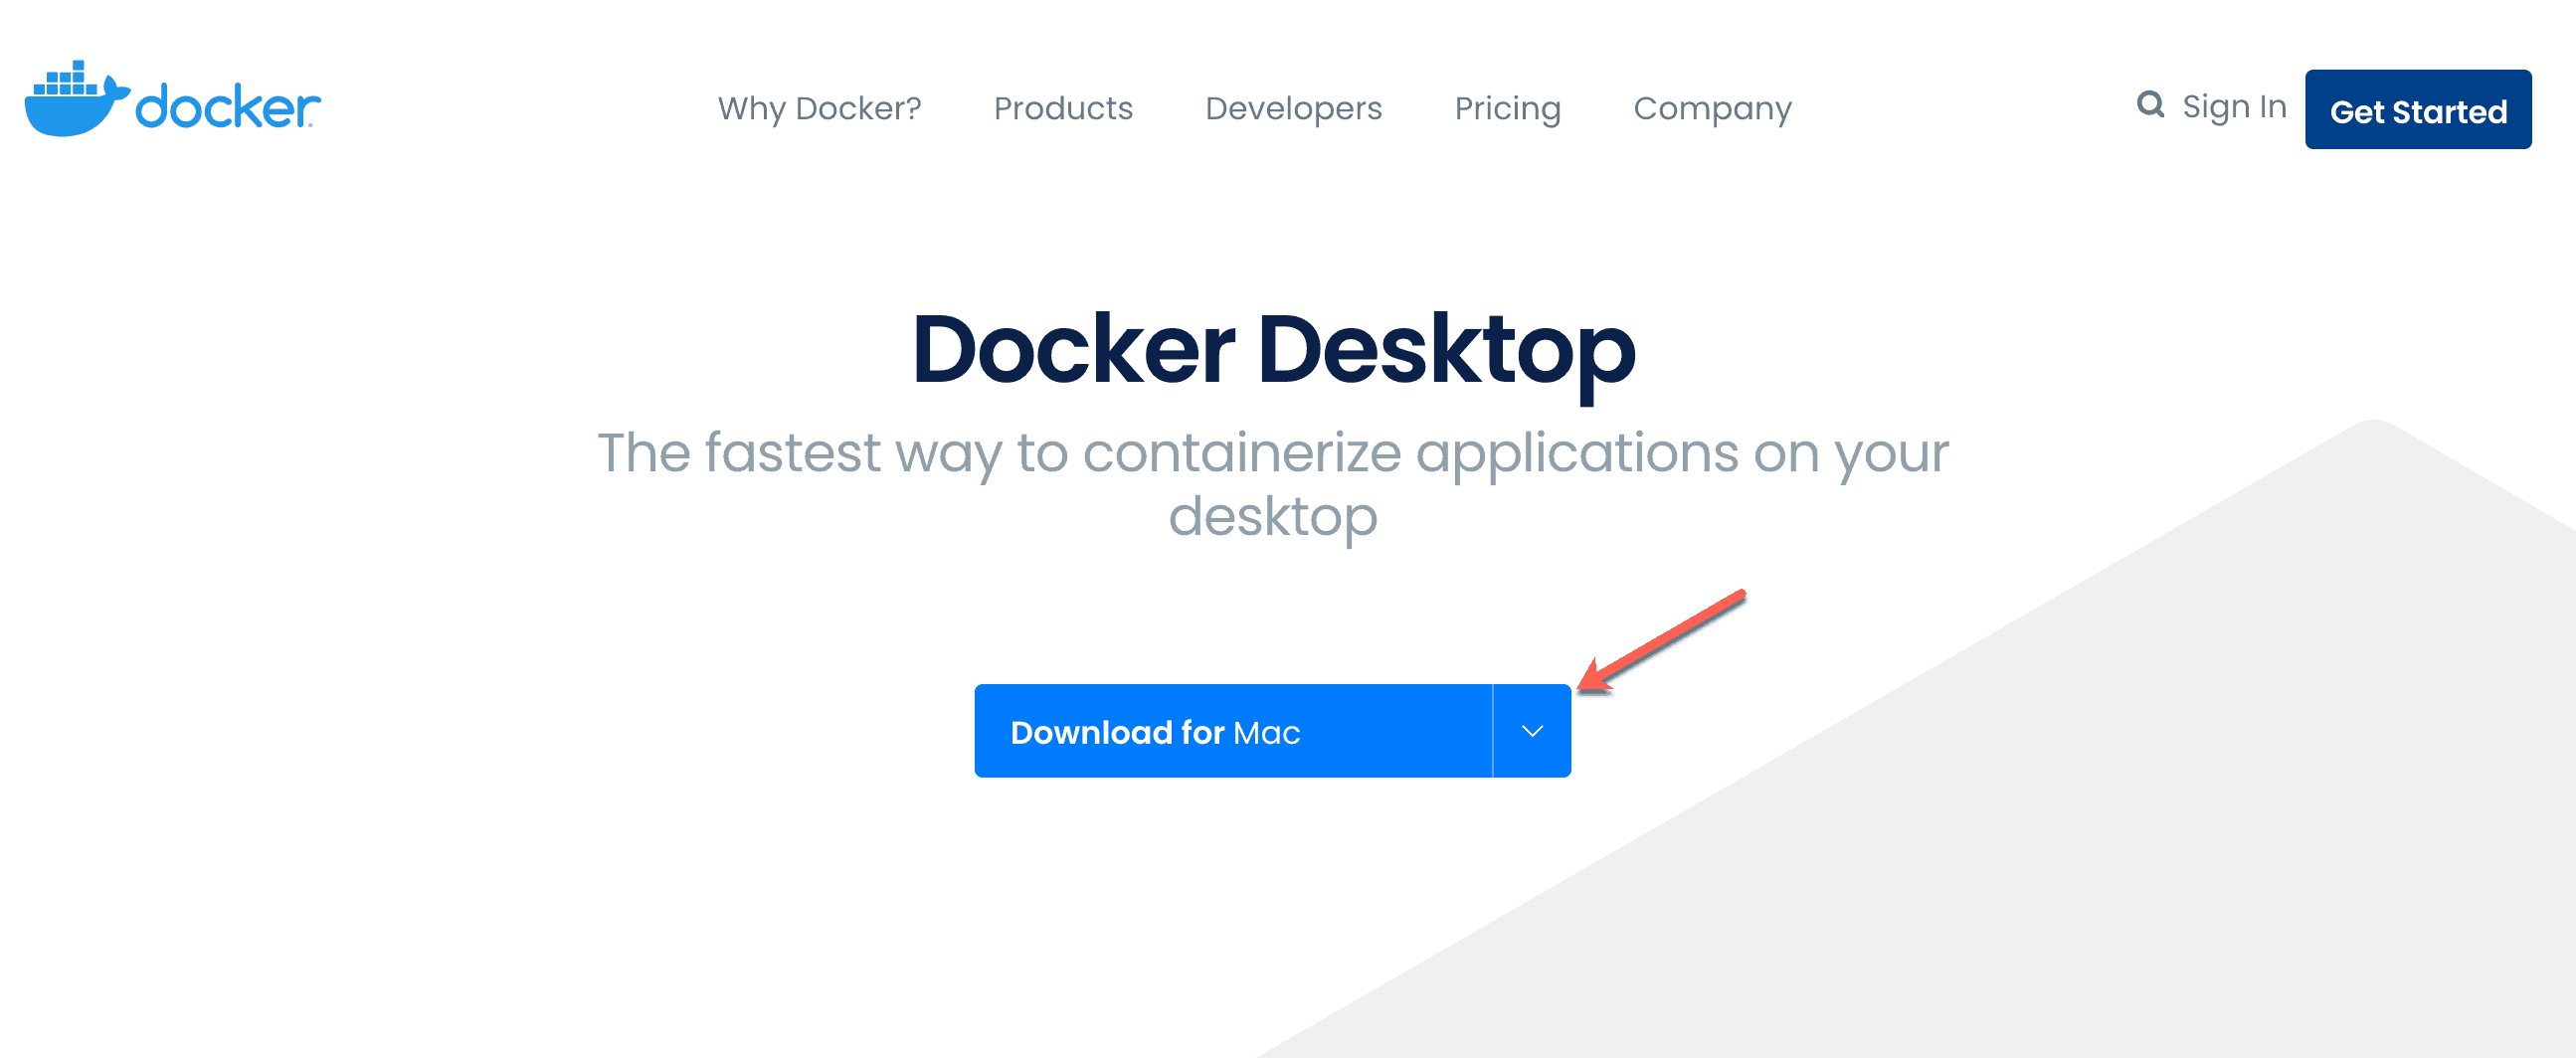
Once you click on the link, the dmg file will be downloaded to your machine and you can start with the installation. Proceed to your Downloads directory and search for the DMG file that has been downloaded. Start with the installation.
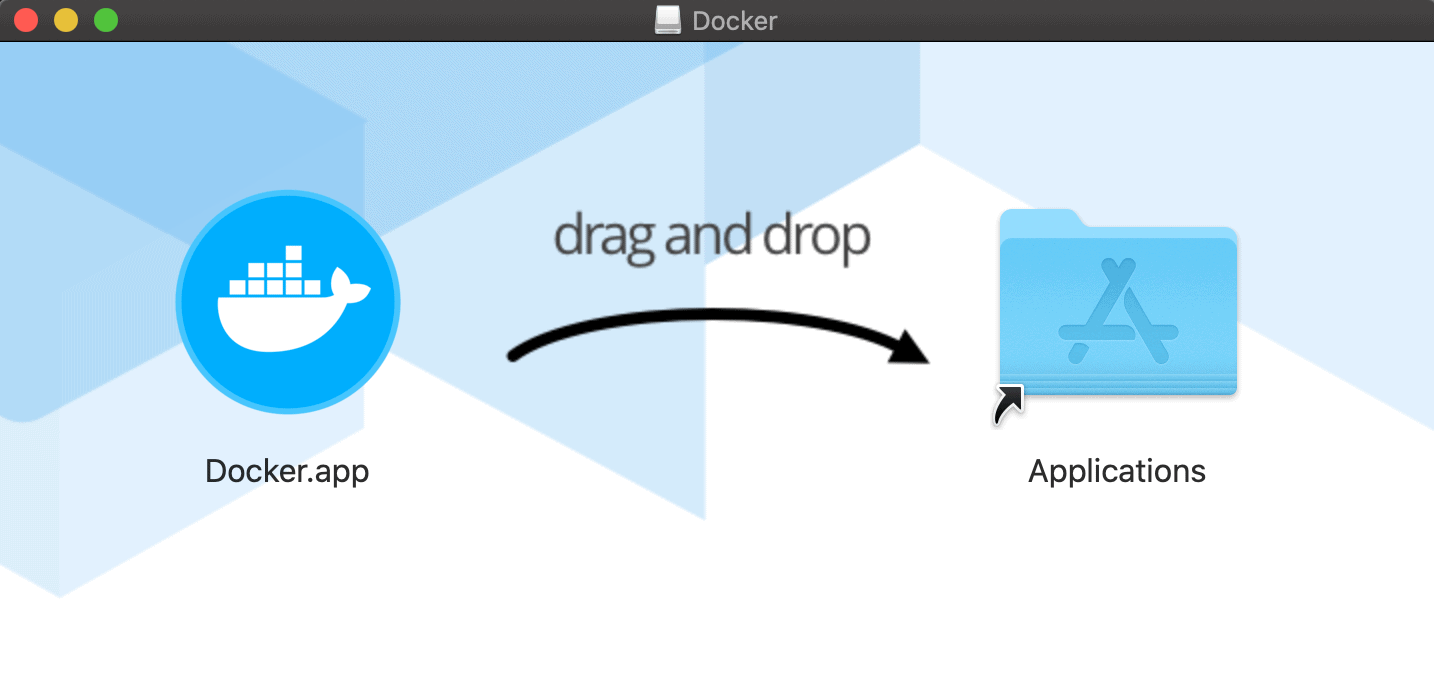
Based on your system settings, you might also need to provide specific privileges to Docker to access the system files and folders. This setting is dependent on how your privileges are set up on your system. You need to allow Docker to obtain all the permission to read and write files on the file system.

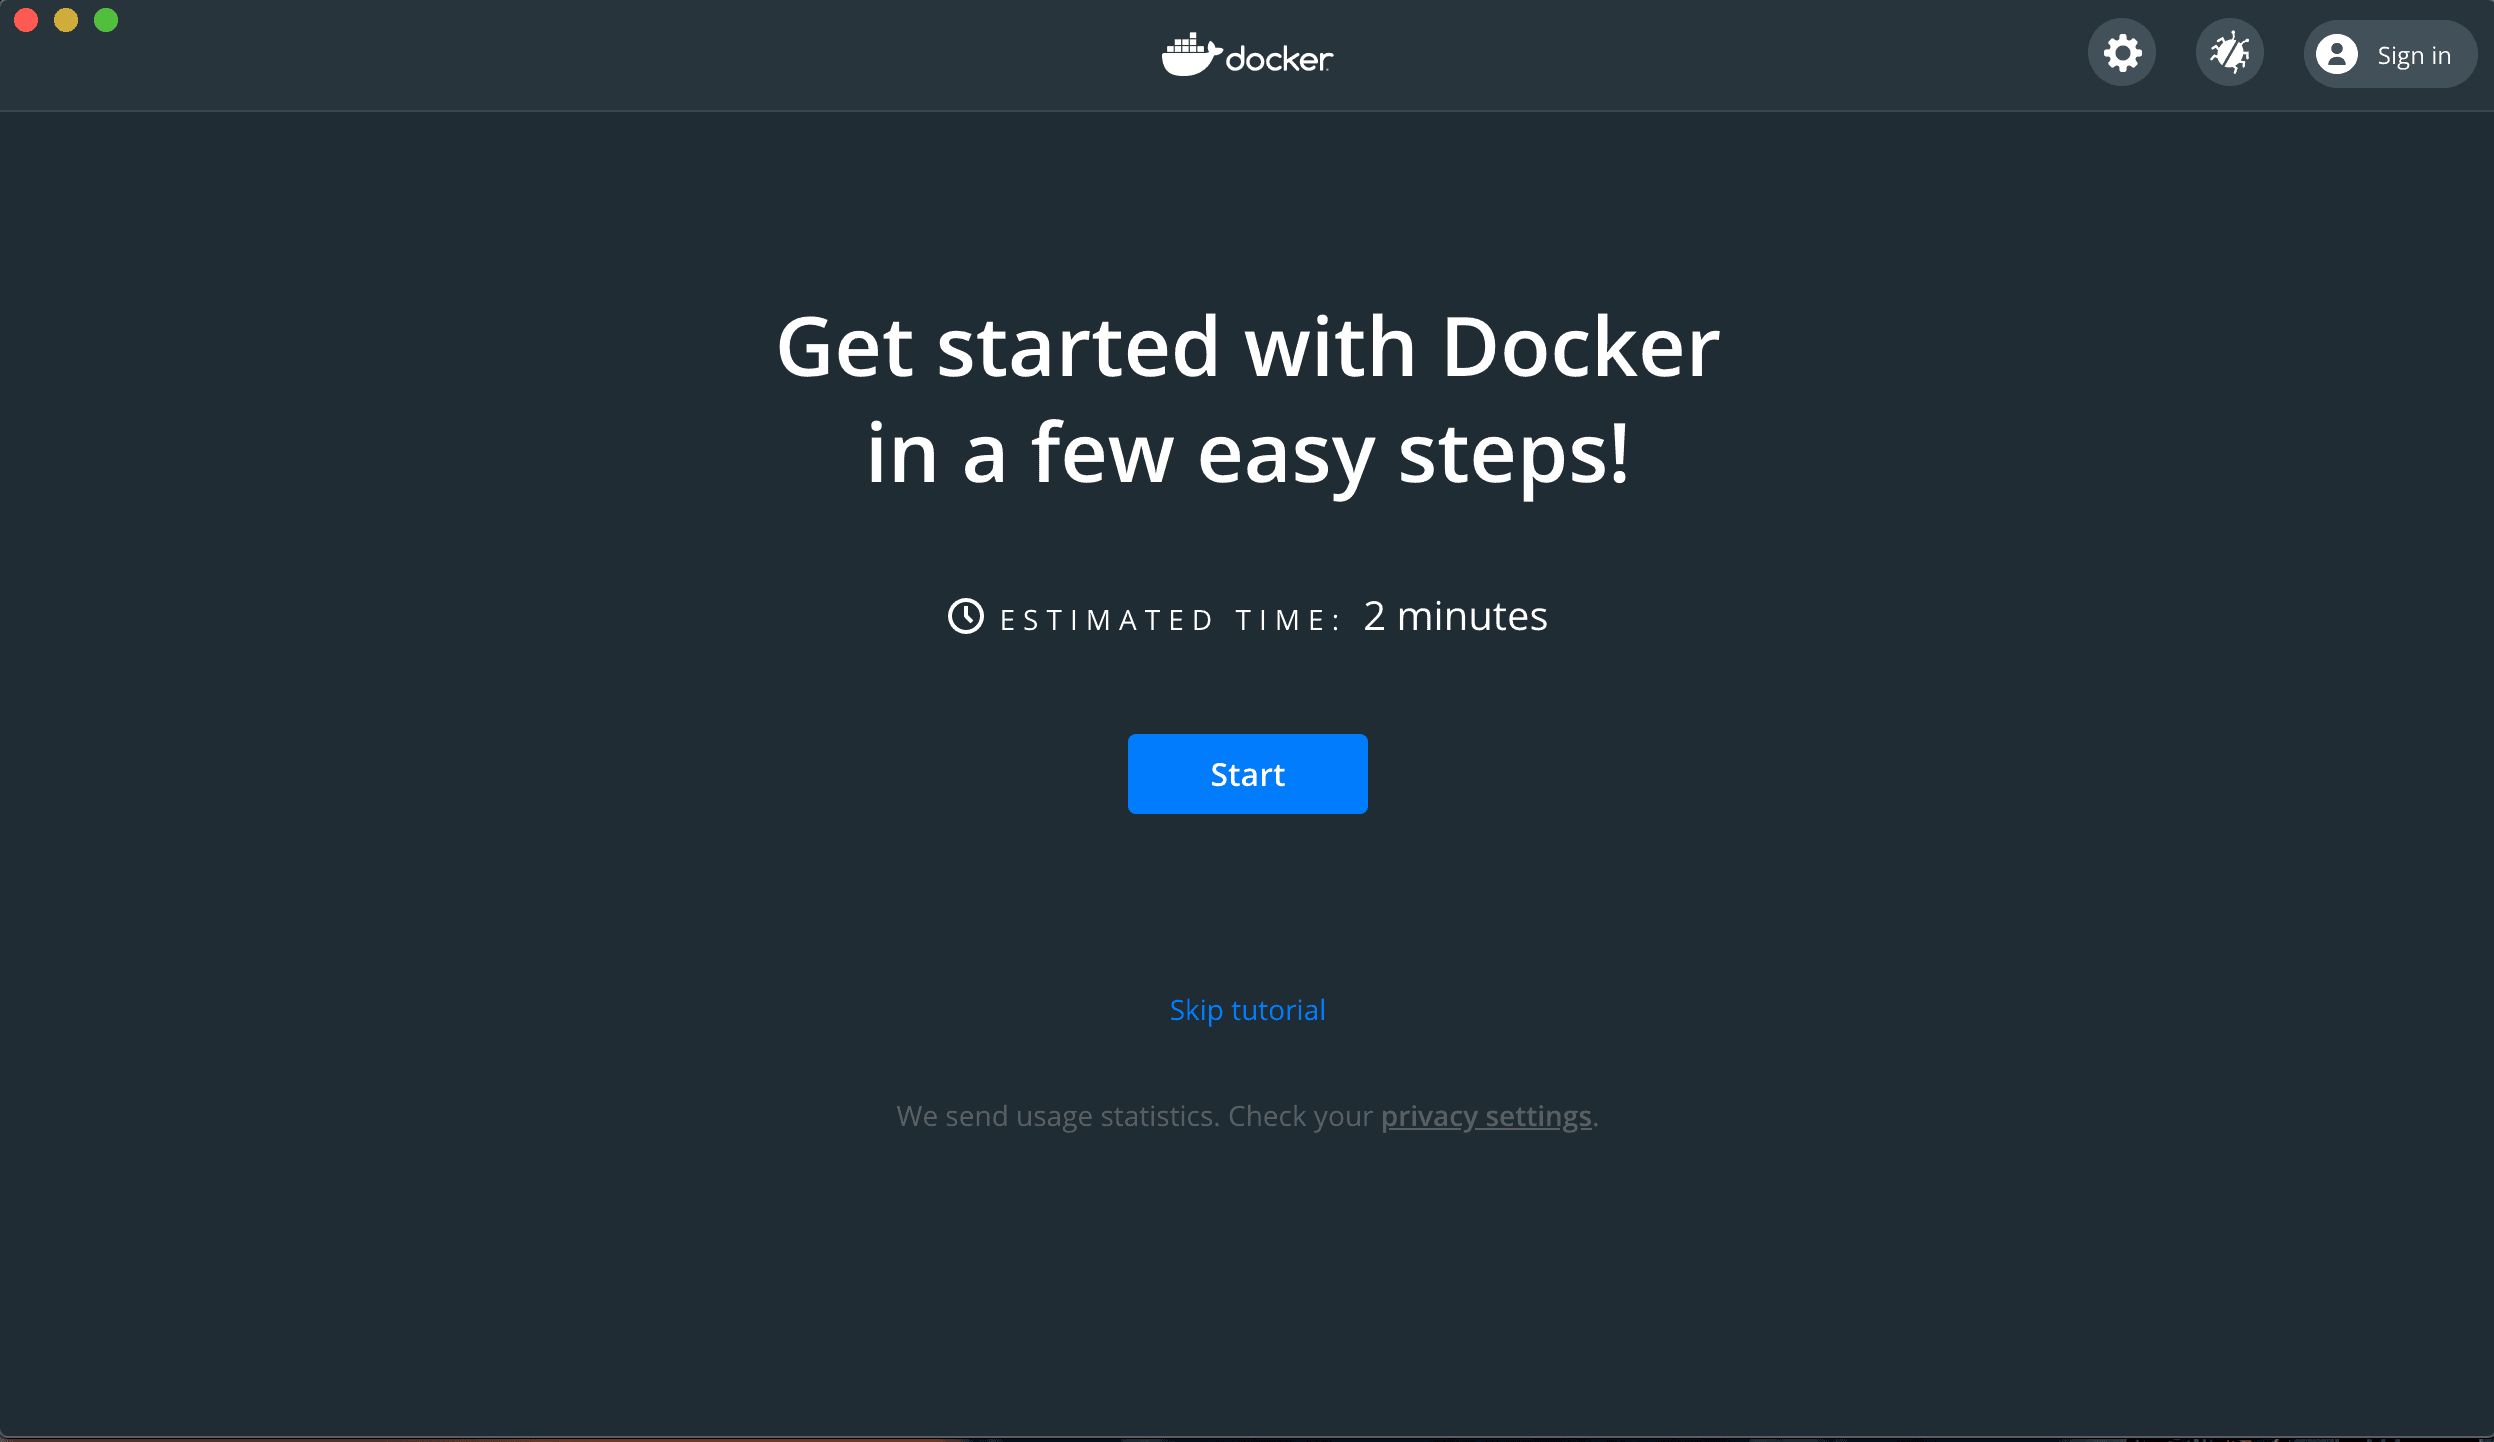
Once the required permissions are provided, you can start ahead with the installation of the application. Click on Start on the next screen that appears. This will start the docker service.
Once the Docker service is up and running, you can check it on the top status bar. You can see the Docker icon being visible on the status bar. You can click the icon and a panel will appear showing the status of the Docker service. Since your Docker application has already been up and running, you will see the message - "Docker Desktop is running".
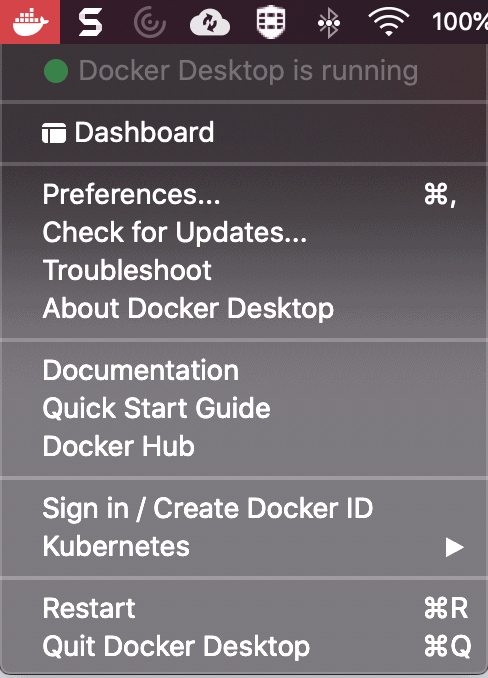
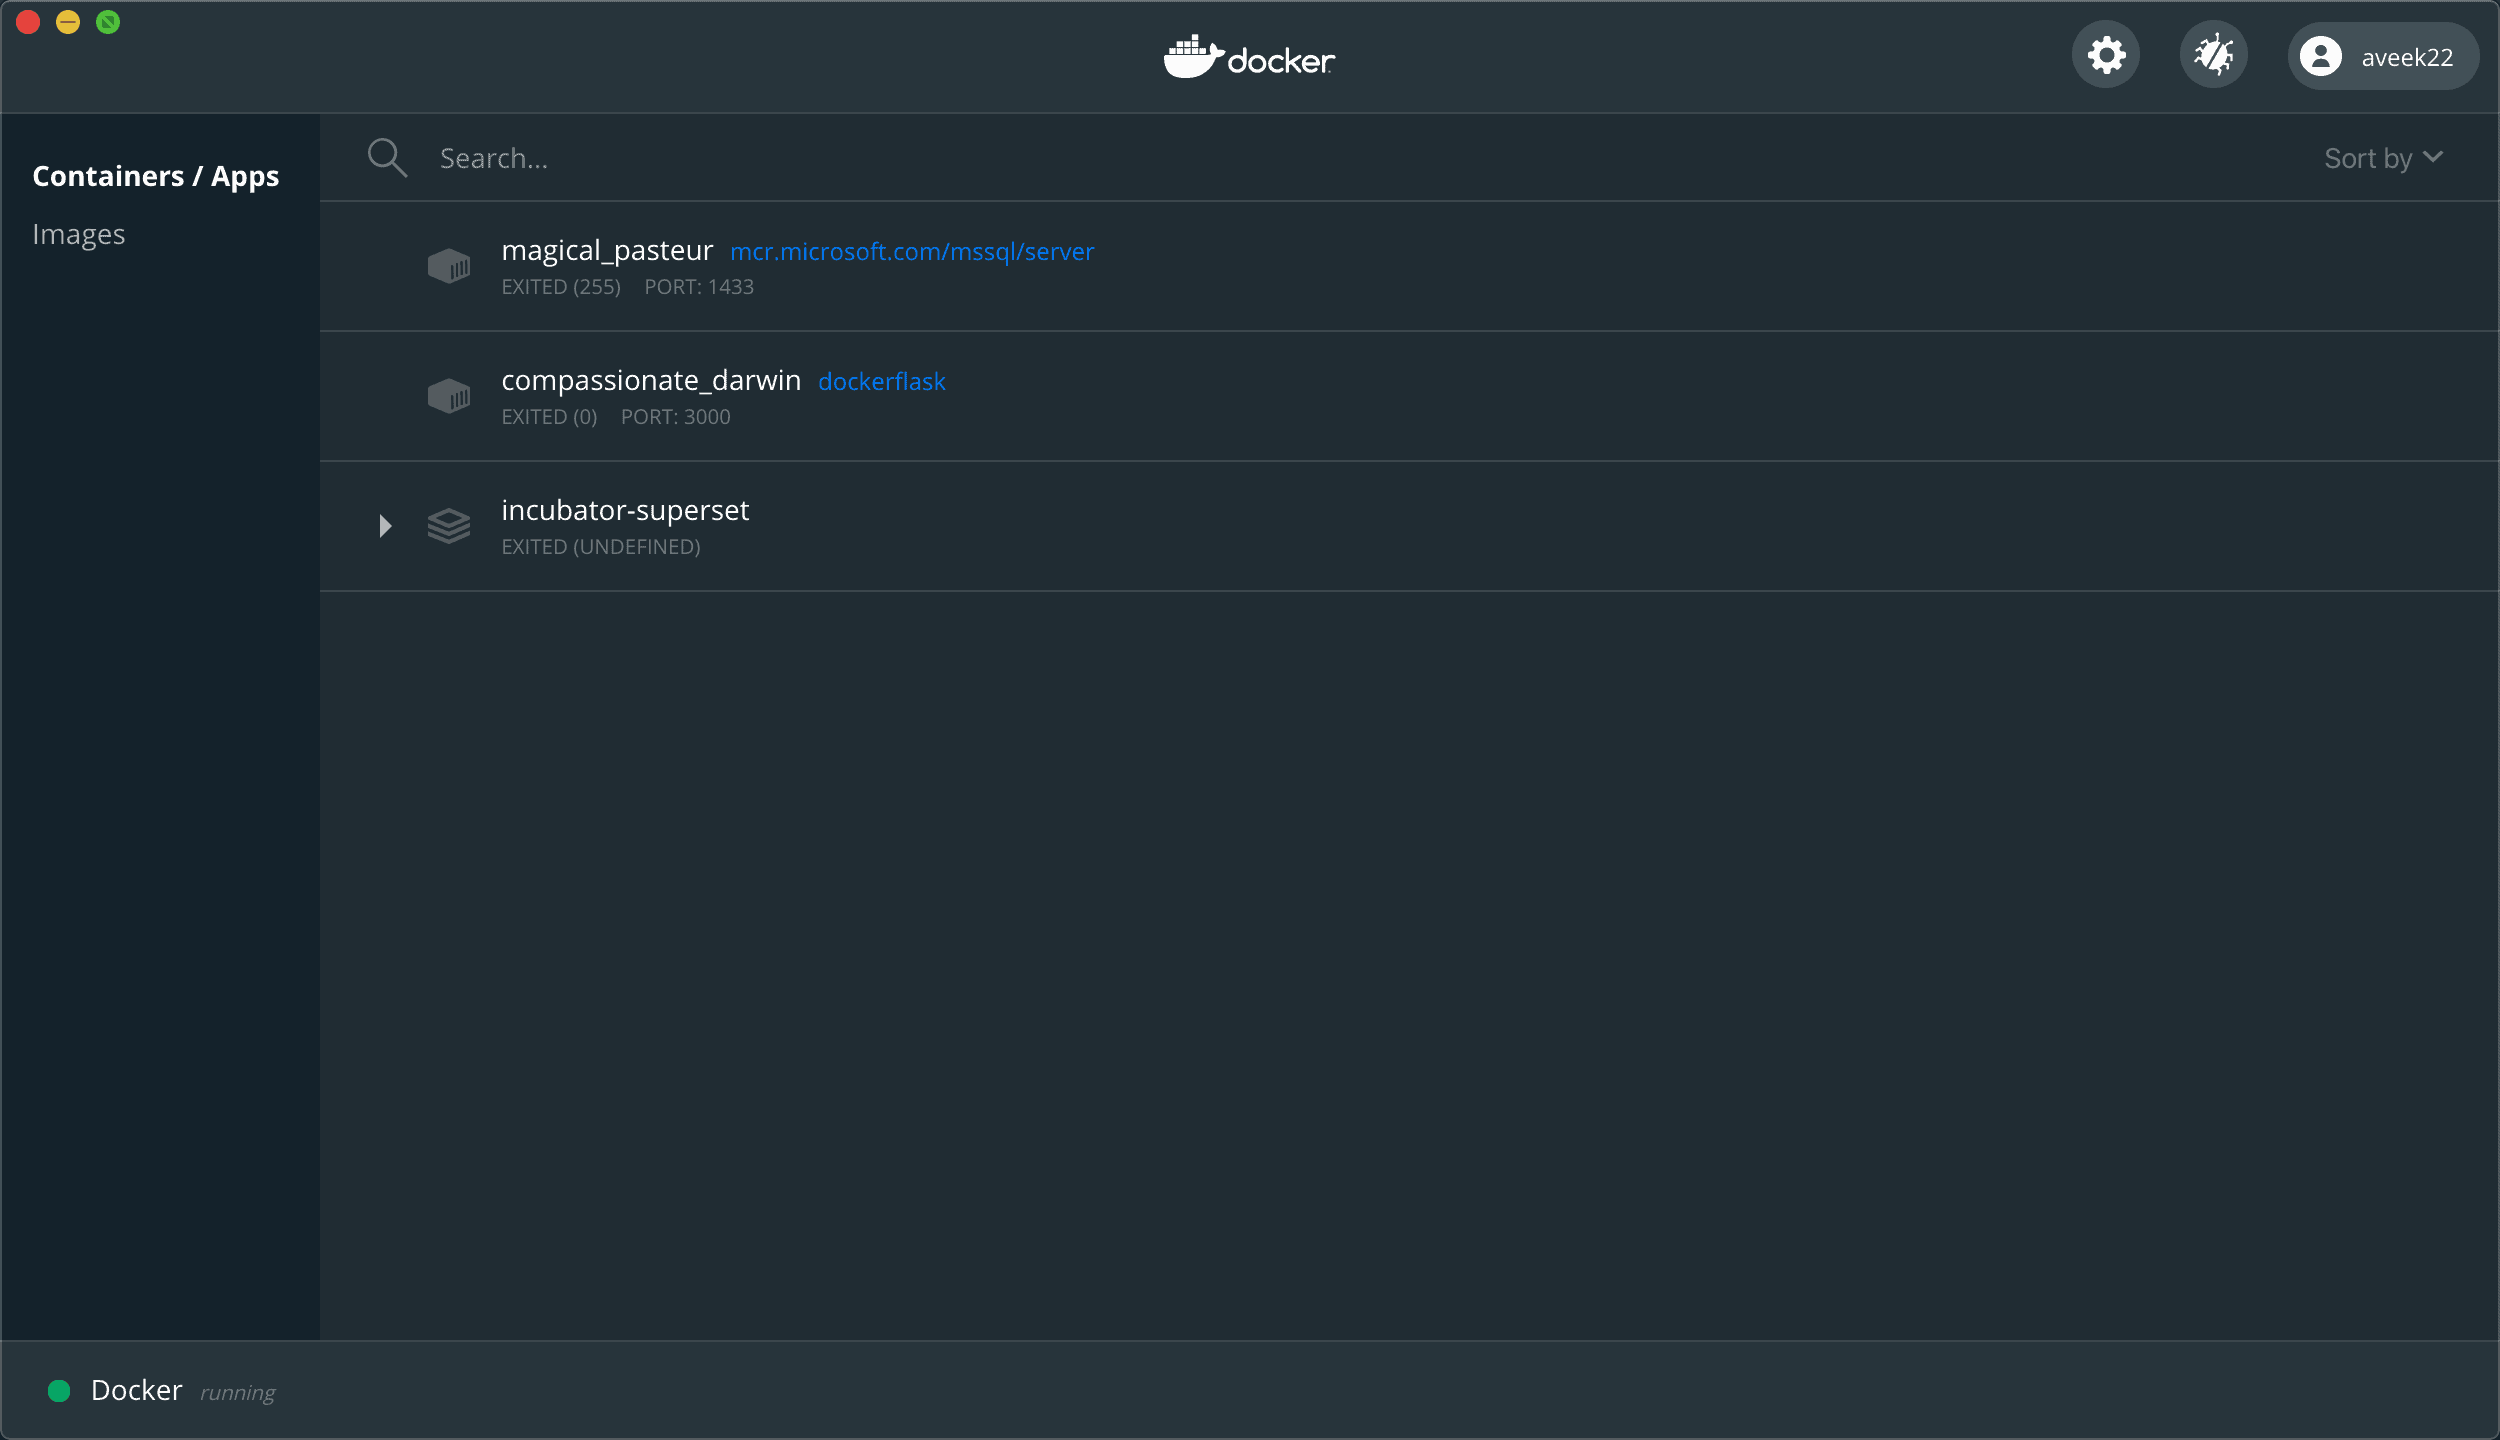
As you click on the Dashboard on the previous menu, the Docker Desktop dashboard appears on the screen where you can see all your listed Docker images and the containers that are running. Along with that, you can also see on which ports are the images linked to. This gives you an option to assign unused ports to new Docker images moving forward.
Using Docker in the Terminal
You can use Docker by using the Docker Desktop or by using the Terminal. Usually, the usage of Terminal is preferred by many developers as it is easier and faster in some ways. When you install Docker on your machine, it automatically adds an entry to the environment global path. You can just open up your terminal and type 'docker' to get started with Docker.
The first thing that you can check on the terminal is the version of Docker that you have installed. To do this, use the following command.
docker version
This will provide the latest version of information about Docker.
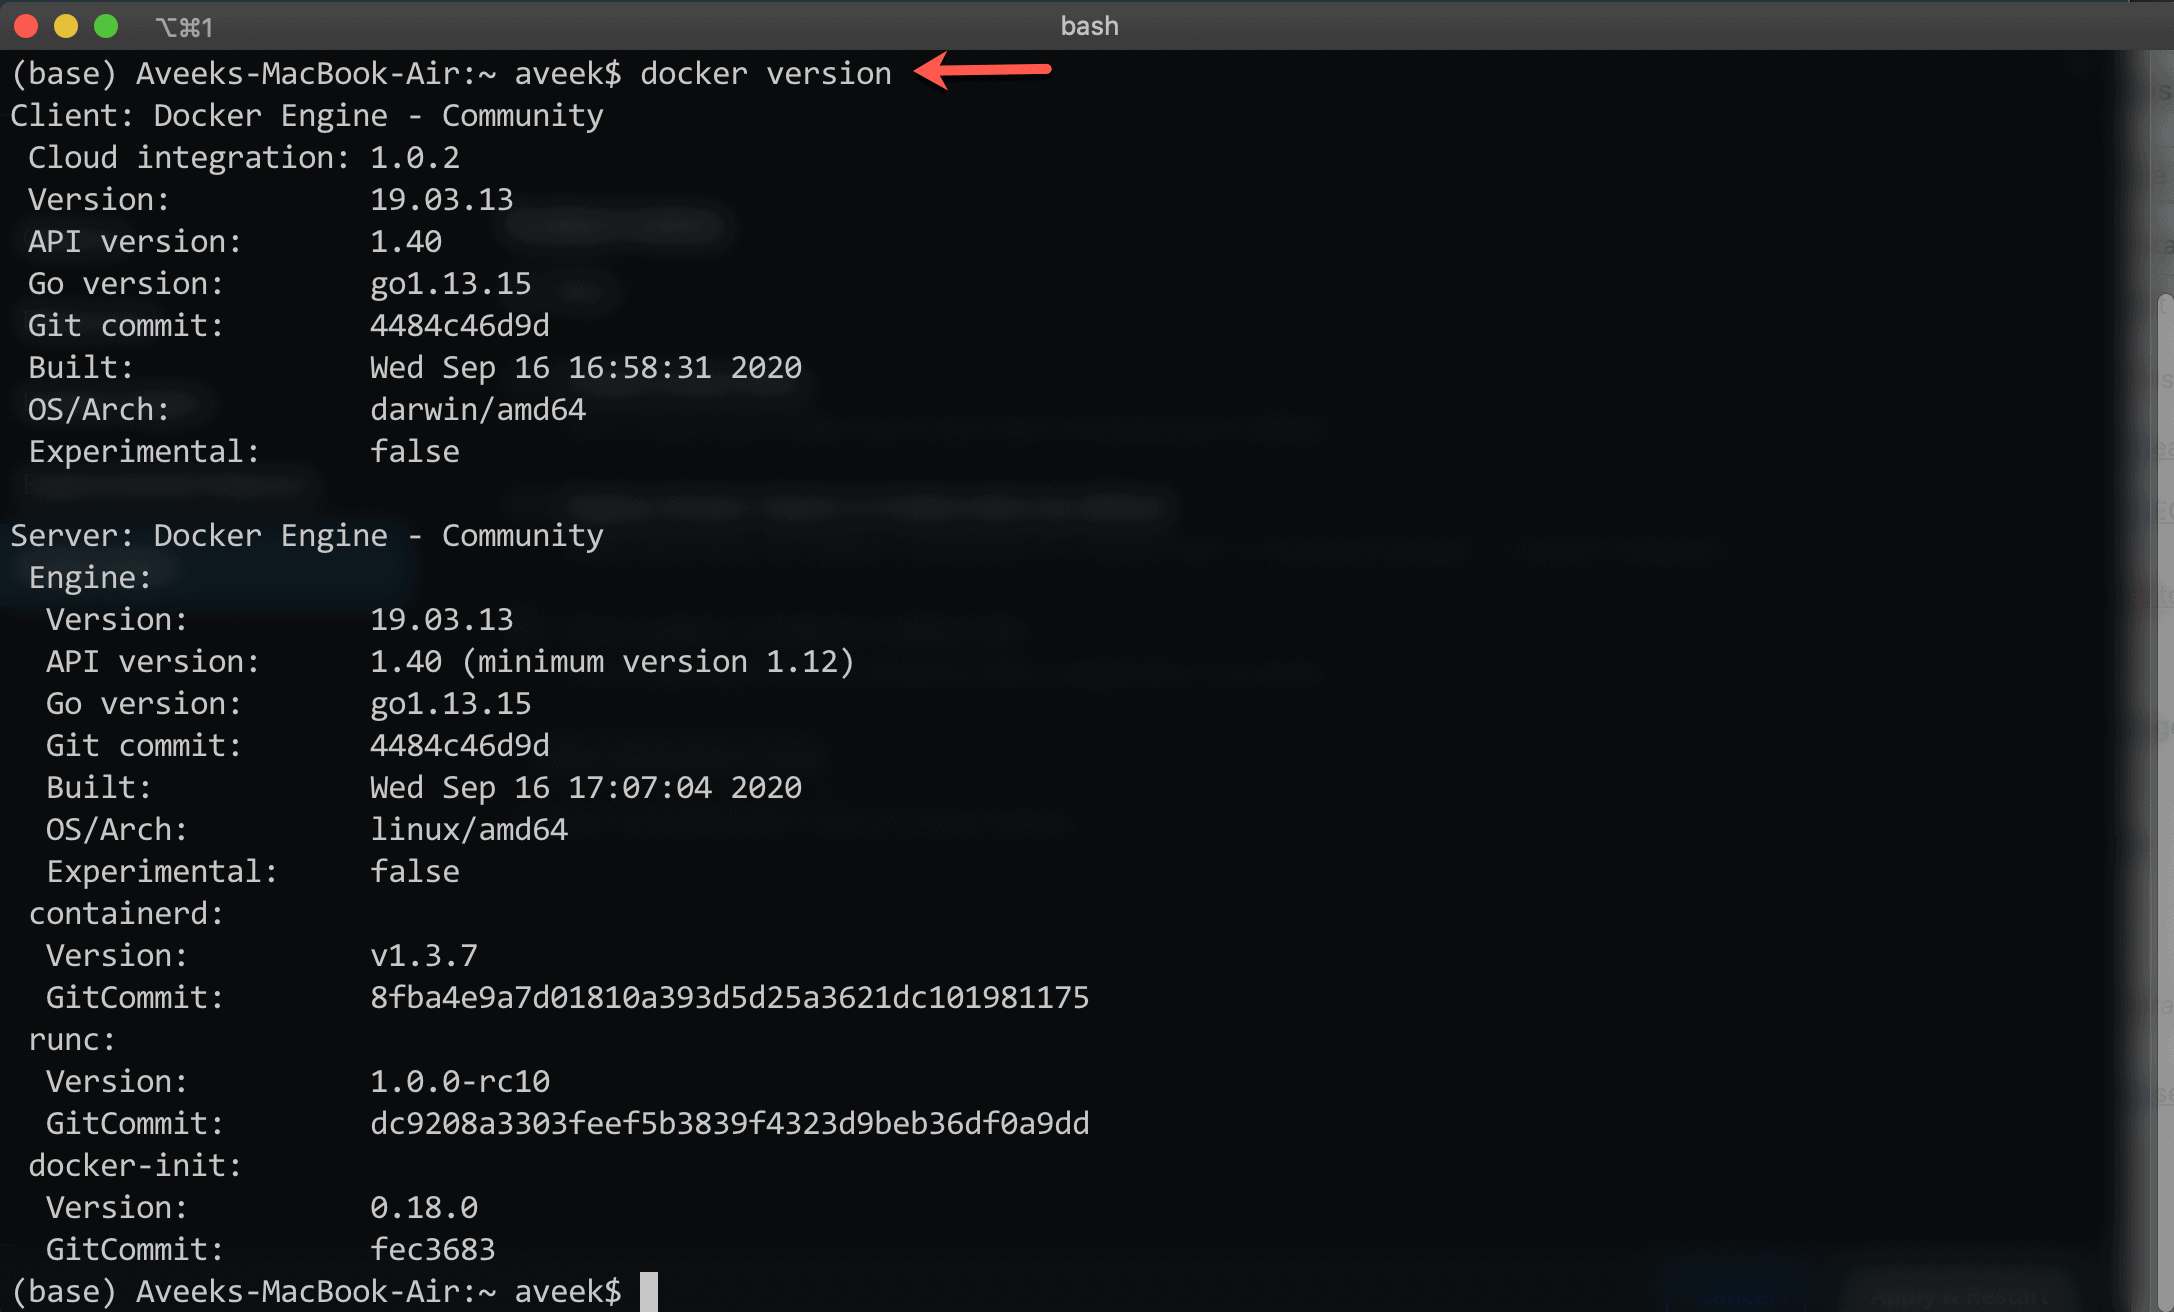
As you can see in the figure above, all the information regarding the currently installed version has been displayed on the terminal.
DockerHub is a cloud repository for Docker images where you can publish your images once they are built. You can consider Dockerhub as the GitHub of Docker images. Once your Docker image is ready, you can publish your image to DockerHub for other users to consume it.
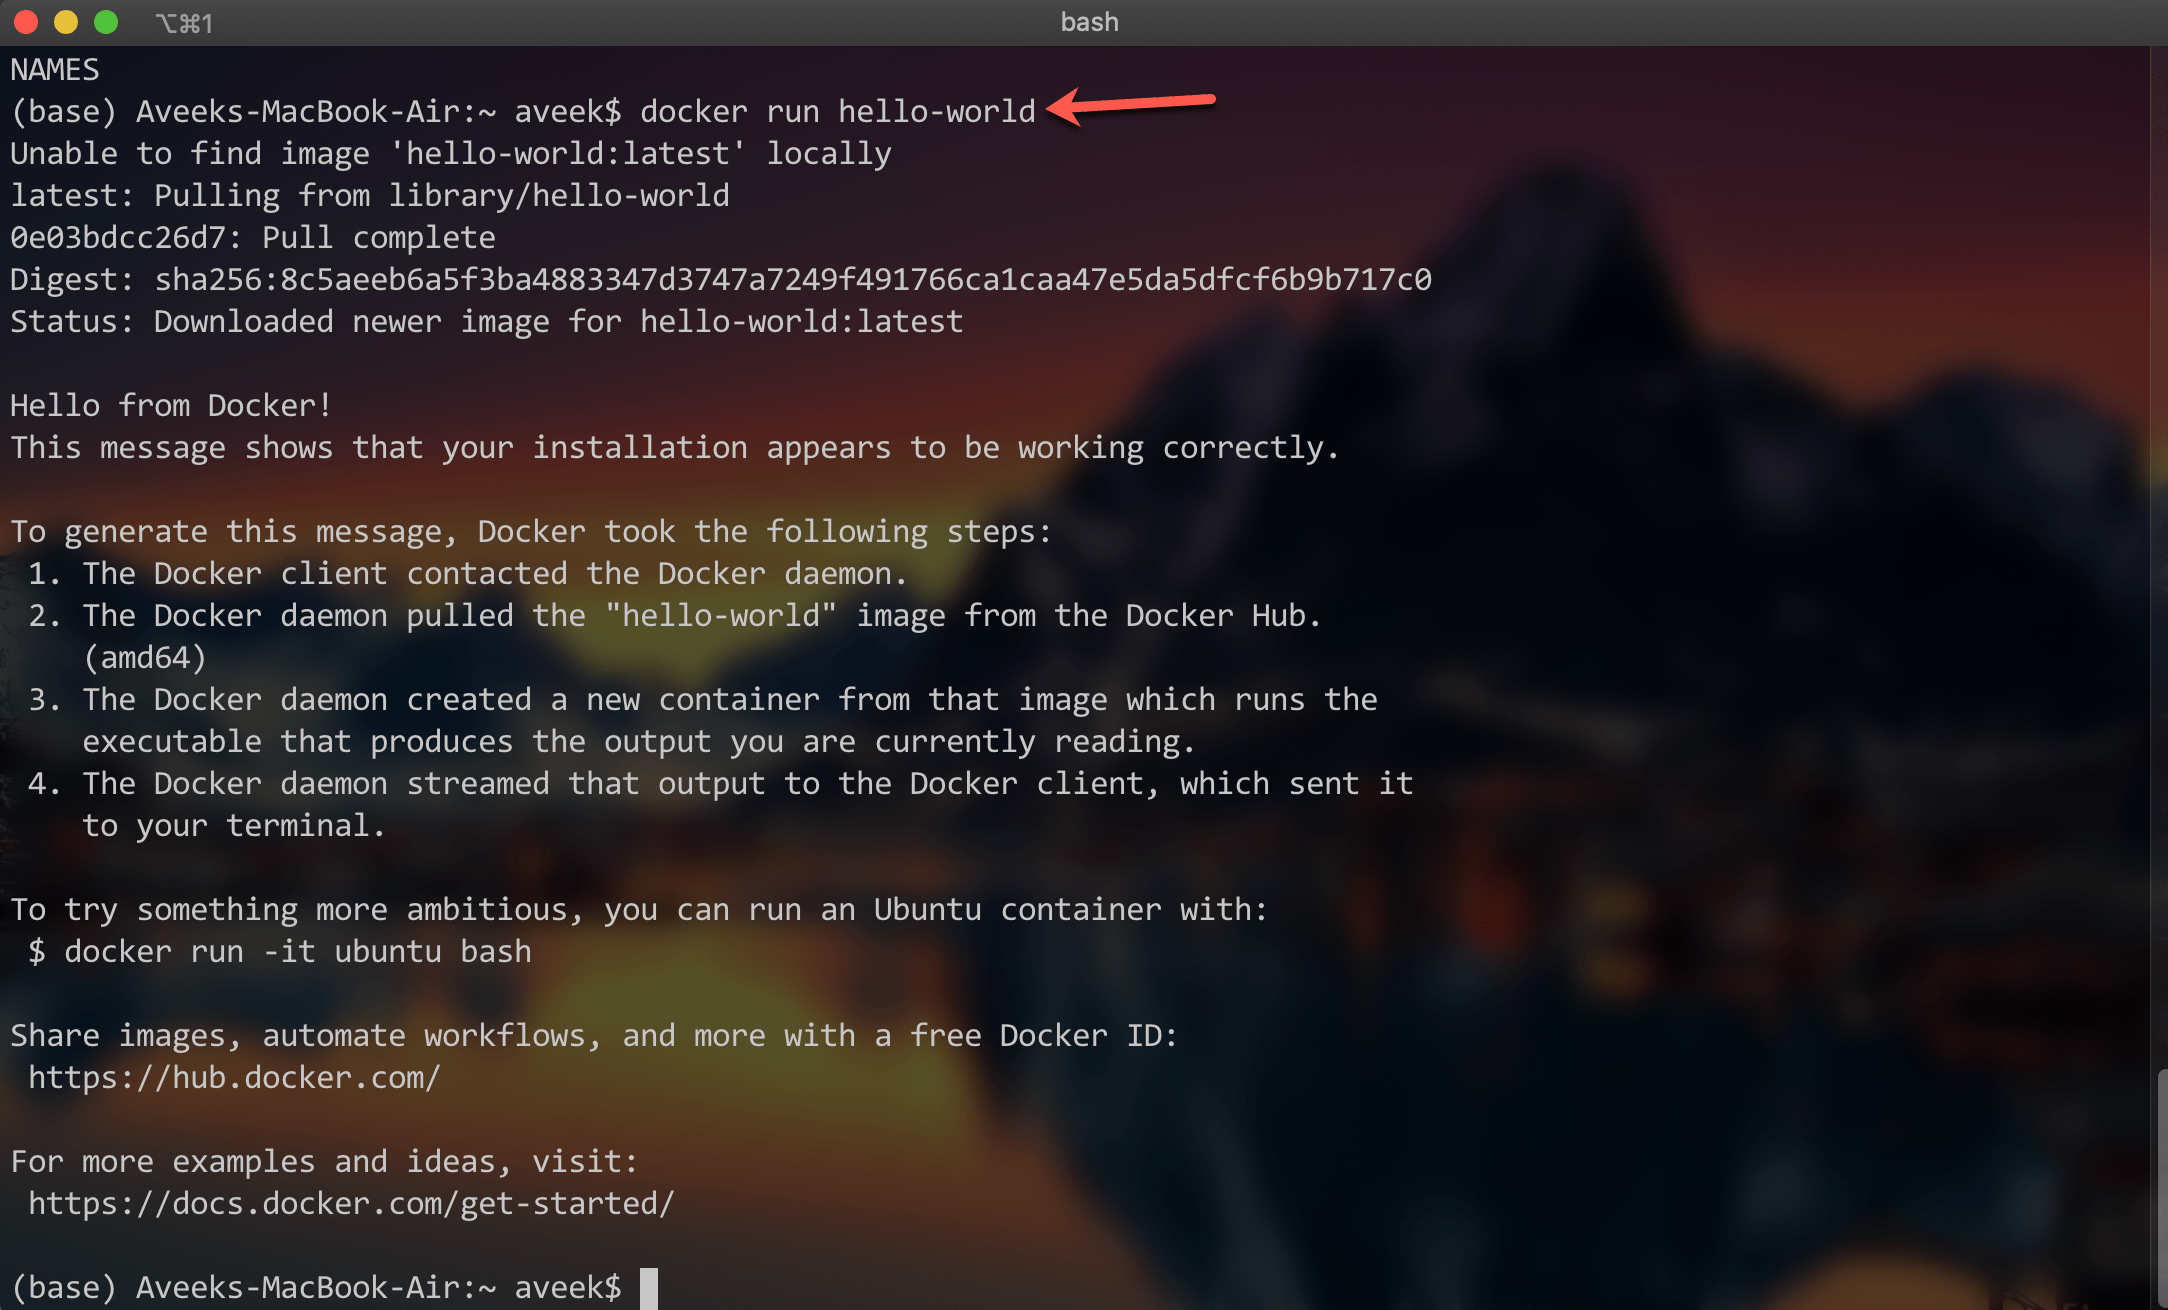
To get started with Docker images, let us start by using the default image provided by DockerHub. You can use the following command to install the default Docker image on your local.
docker run hello-world
This command will first check if the image exists within your local machine. Since we have installed Docker for the first time, this image will not be present, so Docker will fetch it from the DockerHub repository.
The concept of images and containers in Docker can be somewhat related to classes and objects in Object Oriented Programming languages. An image is where you define what your application is all about. A container is an instance of the running image. You can get a list of all the images that you currently have installed on your machine locally. Since we have already downloaded the default image from the repository, it will already be available in the list. You can use the following command to get detail of the docker image that we have just installed.
docker images hello-world
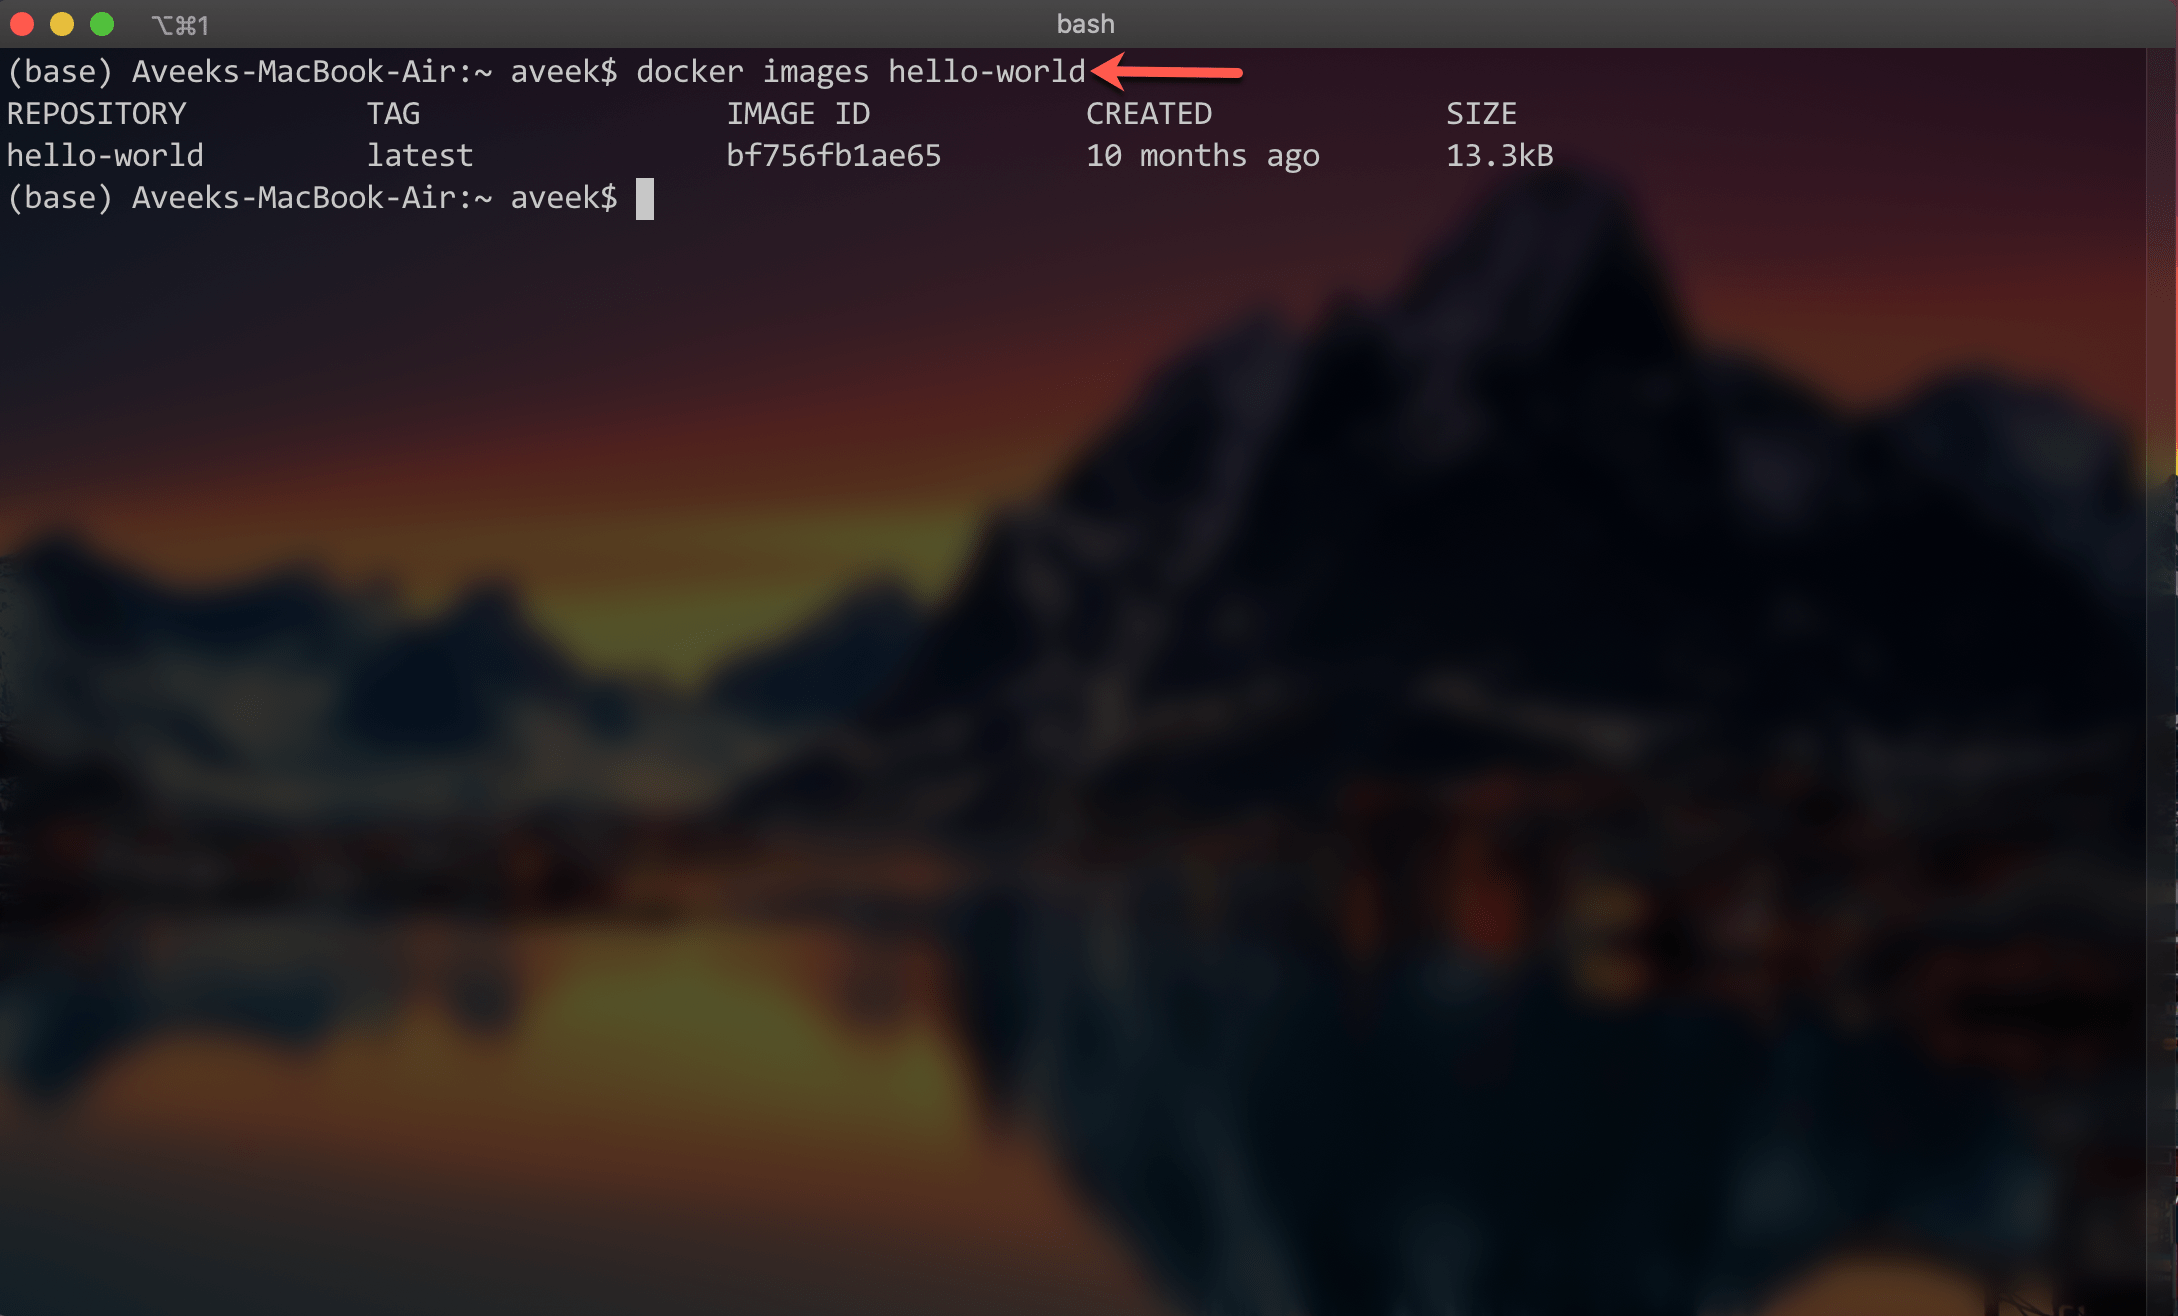
As you can see in the figure above, the terminal displays the details of the docker container that we have just installed.
Conclusion
In this article, we have learned what Docker is and how to get it installed on a macOS. You can read more about Docker from the official documentation.

