In this article, we will review how to migrate the data from on-premises SQL Server to AWS RDS for SQL Server using transactional replication. There are several ways to migrate data from on-premises SQL Server to AWS RDS for SQL Server and transactional replication is one among them.
Configuring transactional replication between the on-premises SQL Server instance and AWS RDS SQL Server is different from configuring transactional replication between two on-premises SQL Servers. The following are the high-level steps involved in configuring transactional SQL replication between on-premises SQL Server and AWS RDS for SQL Server.
- Creating AWS RDS SQL Server instance.
- Creating the DNS entries with the actual name of RDS SQL Server instance.
- Configuring the distributor and the publisher at on-premises SQL Server.
- Adding the AWS RDS SQL Server instance as a subscriber.
Let’s go over these steps one by one.
Creating the AWS RDS SQL Server Instance
Login to the AWS management console and navigate to the RDS console. Click on the Create database button and then create a database, as shown in the below image. This RDS SQL server instance will be used as subscriber in the transactional SQL replication.

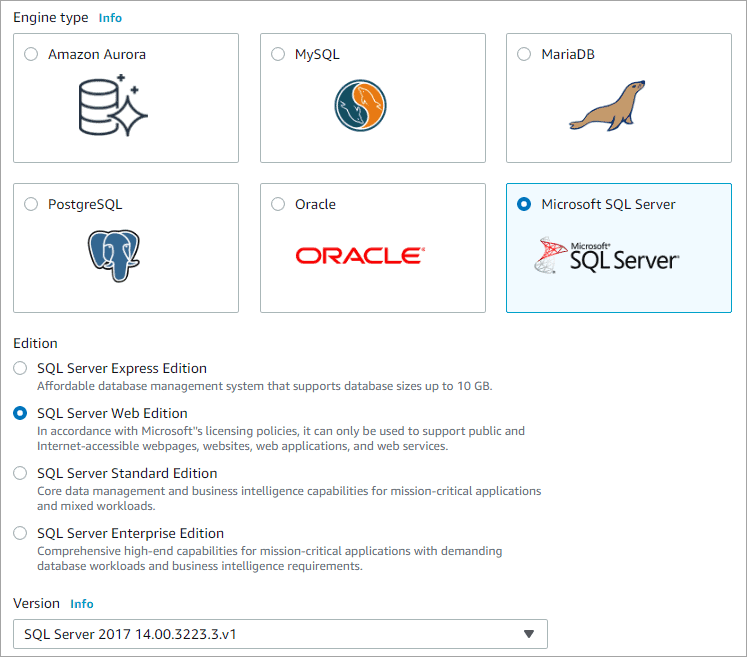
Choose the engine type as SQL Server and the edition, version of your choice.
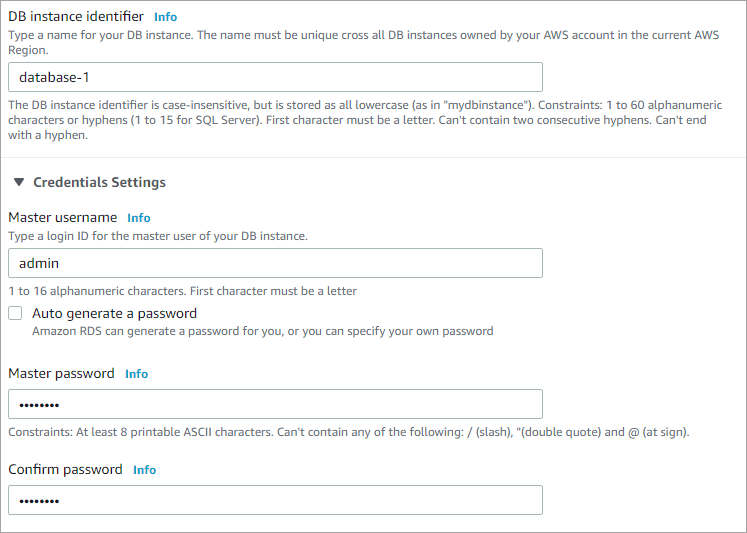
Enter the name of the RDS DB instance and the password for the admin user.
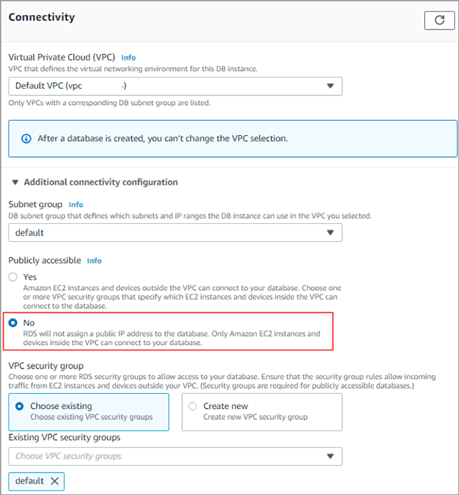
Choose the VPC network in which you want to launch the DB instance. Select the publicly accessible settings. If you want to access the RDS database instance within the VPC network, select No. If you want to connect the RDS database instance from machines that are outside of the VPC network using private IP then establish a VPN connection between your on-premises network and the AWS VPC.
Choose Yes if you want to access the database instance from machines outside your VPC network without establishing a VPN connection between your on-premises network and the AWS VPC.
It is best practice to keep the database instance in the private subnet and access it using the private network by not assigning public endpoint and exposing to the outside world.
Review your settings and click on the Create database button. Once the database status changes to Available from Creating, click on the database instance and note the database endpoint that will be used to connect the AWS RDS SQL Server instance.

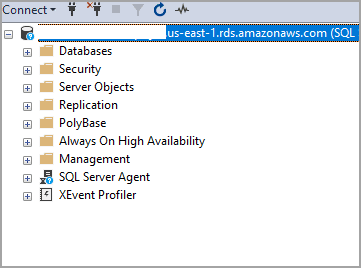
Log in to your on-premises SQL Server instance, Open SQL Server management studio (SSMS), and test the connectivity to the AWS RDS SQL Server using the endpoint and the password you set for admin user while creating the AWS RDS SQL Server database instance.
Creating the DNS Entries
In SQL Server transactional replication, we cannot create a subscriber using the endpoint. The instance throws an error if you try to create the subscriber with the endpoint of the RDS SQL Server instance. So, we have to get the actual SQL Server instance name of the RDS SQL Server instance and create an alias (CNAME entry) in DNS. Log in to the AWS RDS SQL Server instance using SQL Server Management Studio (SSMS) and get the actual server name using the following T-SQL query.
SELECT @@SERVERNAME
You can see my results below.
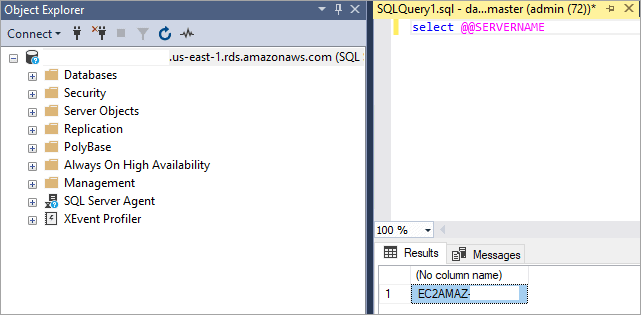
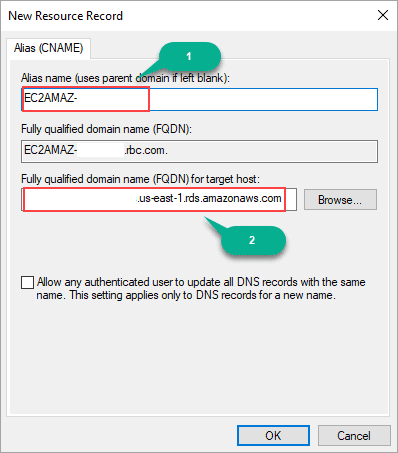
Now log in to your DNS server and create an Alias as a CNAME entry for the AWS RDS SQL Server instance endpoint. Please refer to the below image that shows the CNAME creation in DNS. Enter the actual server name of the RDS SQL Server instance in the Alias name (1) that will be used to create a subscriber in transactional SQL replication and enter the endpoint of RDS SQL Server in the fully qualified domain name for the target host (2).
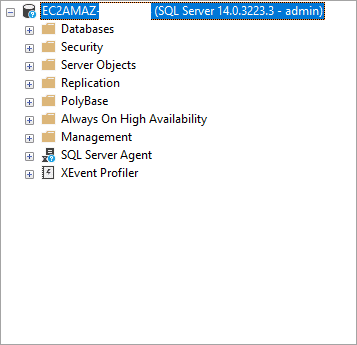
After creating the CNAME, test the connectivity to the RDS SQL Server instance by using the actual RDS SQL Server instance name and the admin password that you set while creating the RDS SQL Server instance. Please refer to the below image that shows connecting RDS SQL Server instance using the actual server name.
Configuring the Distributor and Publisher On-premises
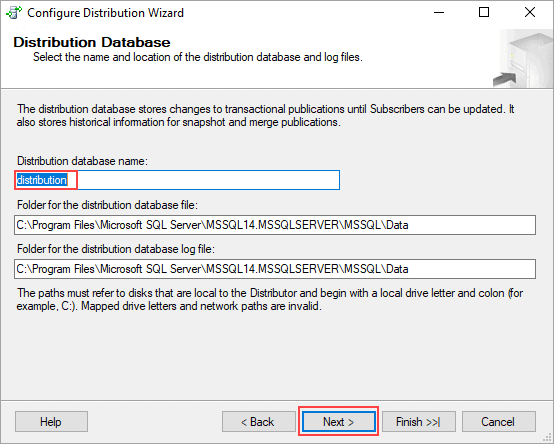
Log in to your on-premises SQL Server instance using SSMS and navigate to the Replication folder. Right-click on Replication and click on Configure distribution. Click Next and select the first option to configure the server as its own distribution server and click Next. Select the snapshot folder location to store the initial snapshot files used in SQL replication and click Next. Enter the name of the distribution database or keep it as the default (distribution) and click Next.
Add the publisher servers that can use the distribution you are configuring and click Next. Click Next again and then Finish.
Now let us configure the publisher. Navigate to the Replication folder in SQL Server Management Studio and then to Local Publications. Right-click on the Local Publications and click on New Publication.
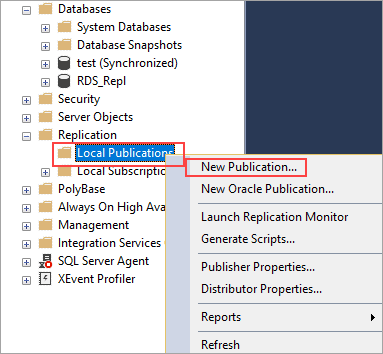
Click Next and select the database you want to replicate and click Next. Select transactional publication and click Next.
Now we need to select the tables we want to replicate. In transactional SQL replication, we can replicate only the tables that have a primary key. Select the tables and click Next. Select the option to create a snapshot immediately after creating the publication, or unselect it if you want to create the snapshot later.
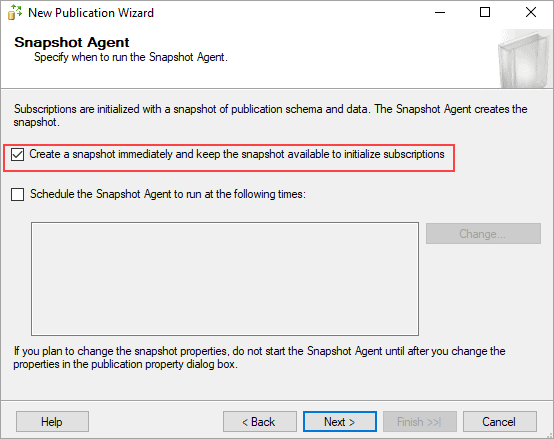
Configure the log reader and snapshot agent security. Click Next and select the option to create a publication and click Next. Enter the publication name and click Finish. Make sure your initial snapshot generation is completed and the log reader agent is running.
Now let us configure AWS RDS SQL Server instance as a subscriber to the publisher you created above.
Adding the AWS RDS Instance as a Subscriber
Navigate to the publisher you crated above and right-click on it. Click on New subscriptions as shown in the below image.

Click Next and select the publication you created above. Click Next and select "run all the agents at the distributor" as AWS RDS SQL Server instance supports only push subscriptions. Add the RDS SQL Server instance as a subscriber using the actual server name instead of the endpoint. Select the subscriber database and click Next. Configure the distributor and subscriber connection settings and click Next. Select the agent schedule to run continuously and click Next. Initialize the subscriber immediately and click Next. Select create the subscriptions and click Next. Click Next and then Finish.
Log in to the AWS RDS SQL Server instance using the endpoint and navigate to the Replication folder and expand the local subscriptions. You will be able to see the transactional SQL replication subscriber you created above.

Perform the DML operations on the replicated tables in the publisher database and verify if they are being replicated to the database in the RDS SQL Server instance (subscriber). You can also open the replication monitor from the publisher and see the replication status.
Conclusion
In this article, we explored how to migrate data by from on-premises to AWS RDS SQL Server instance by configuring the transactional SQL replication. In case you have any questions, please feel free to ask in the comment section below.


