I spent the last few weeks travelling a lot compared to my usual routine and I got quickly fed up with bringing my mobile workstation with me. My Dell precision M4600 is a powerhouse, but it’s definitely too big and too heavy for travelling, so I decided it was time to buy a small laptop just for travelling and presenting at SQL Saturdays and events around Europe.
After lots of research, I pulled the trigger on a new XPS13. It’s a very nice, tiny and light machine, beefy enough to run my virtual machines and slim enough to fit in a small bag.
So, everything fine? Not quite. The XPS13 2015 sports a stunning QHD touch display, with almost no bezel: a small wonder. The only complaint with it is windows and its (in)ability to scale applications when running at High DPI.
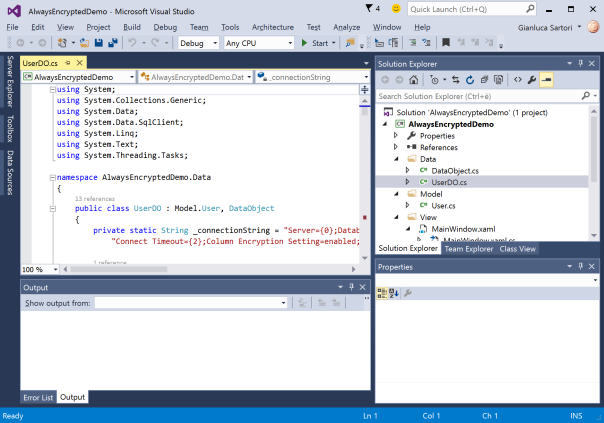
Windows got better at scaling applications on HiDPI displays and Windows 10 is doing a remarkably good job at scaling applications that can actually scale. I am running at maximum resolution (3200 x 1800) with 200% scale factor and, for instance, Visual Studio 2015 renders perfectly:
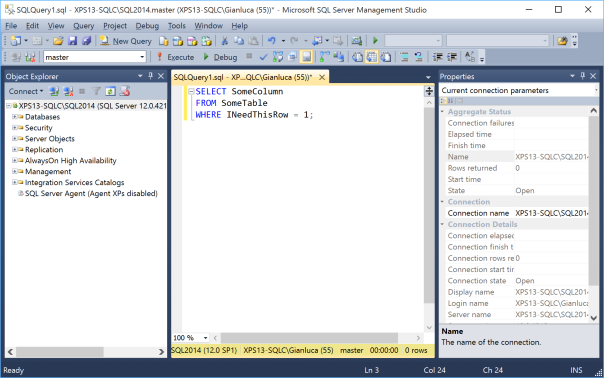
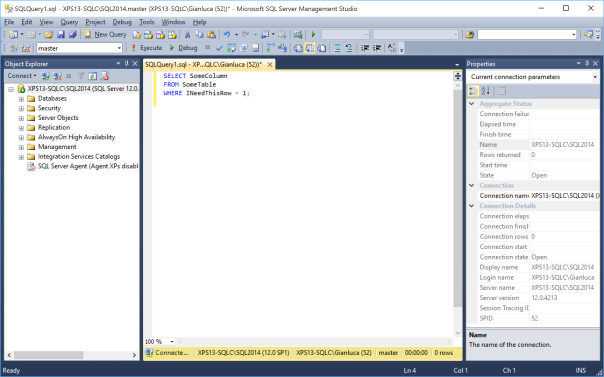
Other applications scale horribly. For instance, SSMS (SQL Server Management Studio) 2014 is a complete disaster:
At a first glance, it looks ok, but look at those icons on the Object Explorer tree: aren’t they a little bit too small compared to the labels next to them?
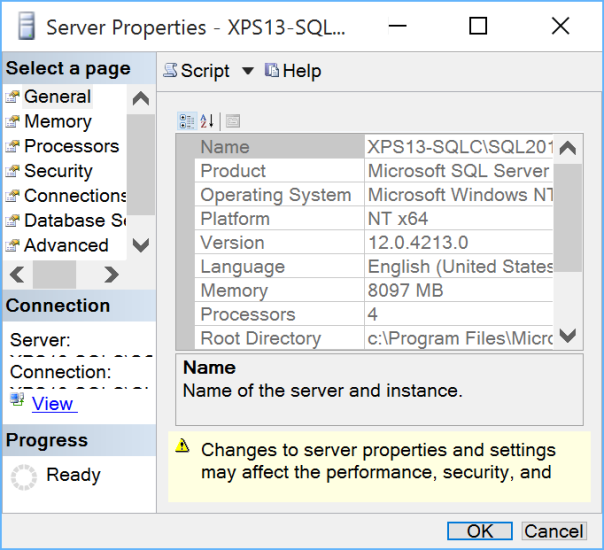
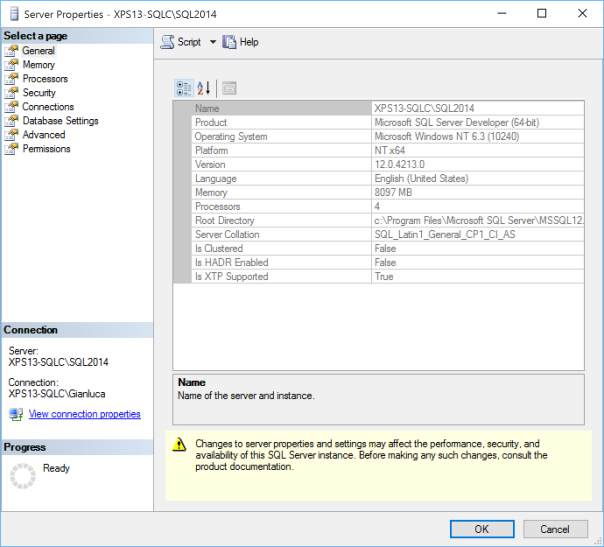
I can live with small icons, but you just need to open some dialog windows to understand how bad things really are:
As you can see, text gets scaled correctly, but the size of the window and some controls are completely wrong.
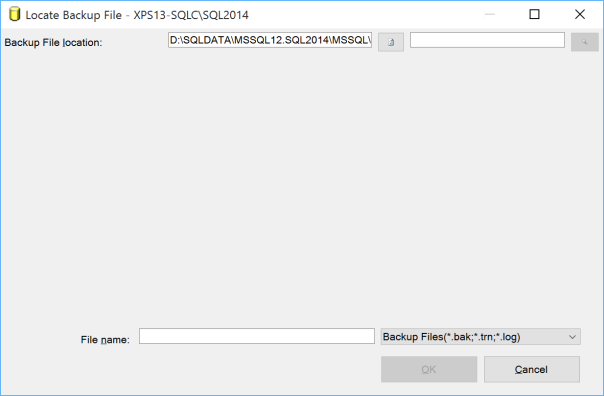
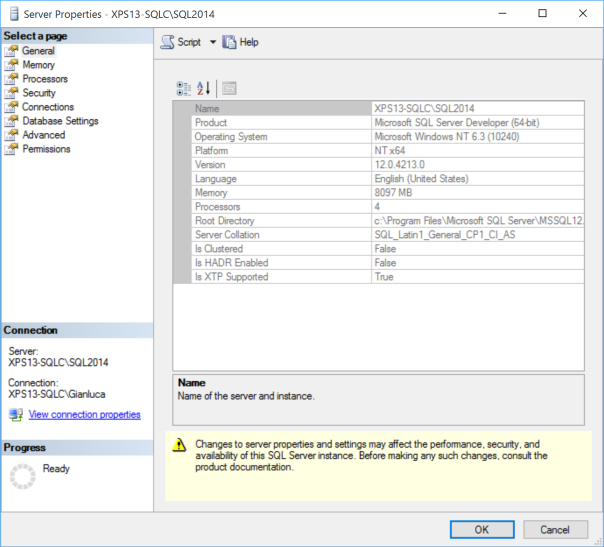
While some dialog windows are easily fixed by resizing them, some other are completely unusable. For instance, the restore database dialog, when locating a backup file, looks like this:
I’m not the first one to discover this kind of issues: Scott Hanselman posted his impressions quite a long time ago, but he offered no solution.
There’s also a Connect item that describes this issue, but… ok, you know what I’m about to say.
A new hope from an old technique
In Windows Vista, you had two possible ways of scaling applications: with the first one (the default) applications were instructed to scale their objects using the scaling factor imposed by the operating system. The results, depending on the quality of the application and the Windows version, could vary a lot. Some scaled correctly, some other look very similar to what we are seeing in SSMS, with some weird-looking GUIs. In Vista, this option was called “XP style DPI scaling”.
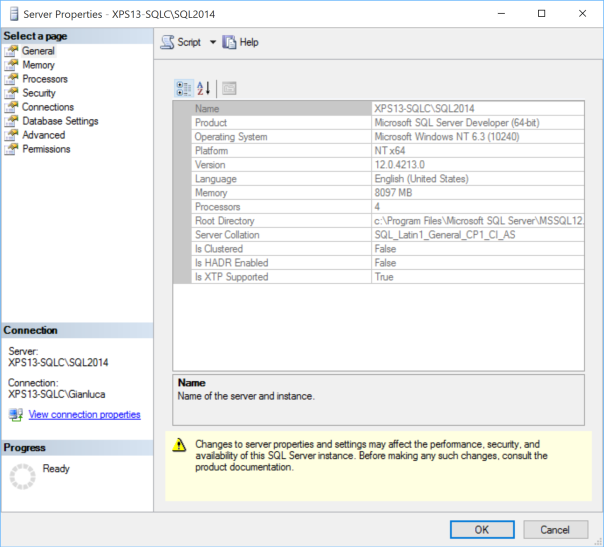
The second option, which you could activate by unchecking the “XP style” checkbox, involved drawing the graphical components of the GUI to an off-screen buffer and then drawing them back to the display, scaling the whole thing up to the screen resolution. This option is called “bitmap scaling” and the result is a perfectly laid out GUI:
In order to enable this option in Windows 10, you need to merge this key to your registry:
Windows Registry Editor Version 5.00

[HKEY_LOCAL_MACHINE\SOFTWARE\Microsoft\Windows\CurrentVersion\SideBySide]
"PreferExternalManifest"=dword:00000001
Then, the application has to be decorated with a manifest file that instructs Windows to disable DPI scaling and enable bitmap scaling, by declaring the application as DPI unaware. The manifest file has to be saved in the same folder as the executable (ssms.exe) and its name must be ssms.exe.manifest. In this case, for SSMS 2014, the file path is “C:\Program Files (x86)\Microsoft SQL Server\120\Tools\Binn\ManagementStudio\Ssms.exe.manifest”.
Paste this text inside the manifest file and save it in UTF8 encoding:
<?xml version="1.0" encoding="UTF-8" standalone="yes"?>

<assembly xmlns="urn:schemas-microsoft-com:asm.v1" manifestVersion="1.0" xmlns:asmv3="urn:schemas-microsoft-com:asm.v3">

<dependency>
  <dependentAssembly>
    <assemblyIdentity type="win32" name="Microsoft.Windows.Common-Controls" version="6.0.0.0" processorArchitecture="*" publicKeyToken="6595b64144ccf1df" language="*">
    </assemblyIdentity>
  </dependentAssembly>
</dependency>

<dependency>
  <dependentAssembly>
    <assemblyIdentity type="win32" name="Microsoft.VC90.CRT" version="9.0.21022.8" processorArchitecture="amd64" publicKeyToken="1fc8b3b9a1e18e3b">
    </assemblyIdentity>
  </dependentAssembly>
</dependency>

<trustInfo xmlns="urn:schemas-microsoft-com:asm.v3">
  <security>
    <requestedPrivileges>
      <requestedExecutionLevel level="asInvoker" uiAccess="false"/>
    </requestedPrivileges>
  </security>
</trustInfo>

<asmv3:application>
  <asmv3:windowsSettings xmlns="http://schemas.microsoft.com/SMI/2005/WindowsSettings">
    <ms_windowsSettings:dpiAware xmlns:ms_windowsSettings="http://schemas.microsoft.com/SMI/2005/WindowsSettings">false</ms_windowsSettings:dpiAware>
  </asmv3:windowsSettings>
</asmv3:application>

</assembly>
This “Vista style” bitmap scaling is very similar to what Apple is doing on his Retina displays, except that Apple uses a different font rendering algorithm that looks better when scaled up. If you use this technique in Windows, ClearType rendering is performed on the off-screen buffer before upscaling, so the final result might look a bit blurry.
The amount of blurriness you will see depends on the scale factor you set in the control panel or in the settings app in Windows 10. Needless to say that exact pixel scaling looks better, so prefer 200% over 225% or 250% scale factors, because there is no such thing as “half pixel”.
Seeing is believing:
That’s it: nice and easy. Enjoy your High DPI lifestyle, until Microsoft comes up with a better solution (or a better SSMS).


