Azure Data Studio (ADS) is a lightweight IDE built on Visual Studio Code. I've written a few articles on how ADS works, shown here:
- Getting Started with Azure Data Studio
- Getting Comfortable Writing Code in Azure Data Studio
- Using Notebooks in Azure Data Studio
- Using Azure Data Studio with TFVC
- Using Azure Data Studio with Git
- Editor Tips and Tricks for Azure Data Studio
If there are other features you're interested in, let me know. This article continues the series, looking at another aspect of ADS.
One of the main features of an IDE ought to be saving code in a Version Control System (VCS). While most VCS's will work with a folder on your machine, having capabilities to commit code from within the IDE is highly desired. ADS includes support for Git when installed, but many Microsoft developers work with TFS and TFVC.
This is an article on using Azure Data Studio (ADS) with a Team Foundation Server Version Control (TFVC) repository. Most of the article is getting this configured. Working with TFS and TFVC is slightly outside the scope of this article.
Finding an Extension
There isn't a TFVC extension available for ADS as of this writing. If you search in the extensions, you won't get any results.
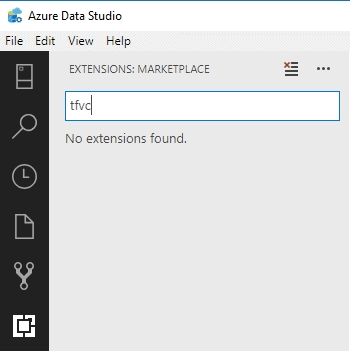
Since TFS supports Git as a protocol for connecting to their VCS, I suspect they haven't put work into this. That is really what I'd recommend, but if you need to use TFVC instead of Git, you have an option.
ADS is based on Visual Studio Code (VSCode) and there are a few extensions for TFS.
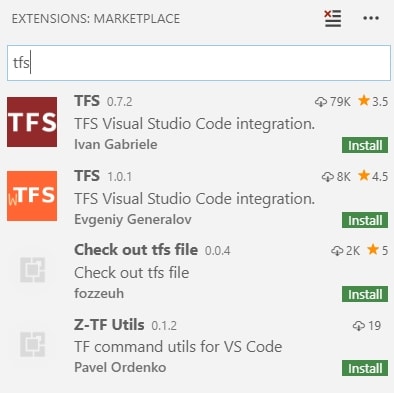
However, we really want TFVC. If we search for that, the official Microsoft extension for Azure Repos appears.
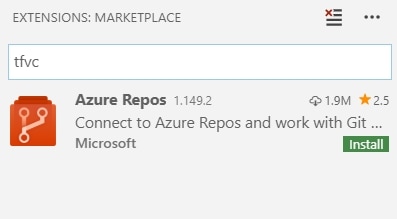
If we click Install in VSCode, this is added. We can't do that in ADS, since there isn't the extension in that marketplace. What we can do, however, is download the .VSIX file. We do that by going to the marketplace and finding this extension on the web. The URL is: https://marketplace.visualstudio.com/items?itemName=ms-vsts.team
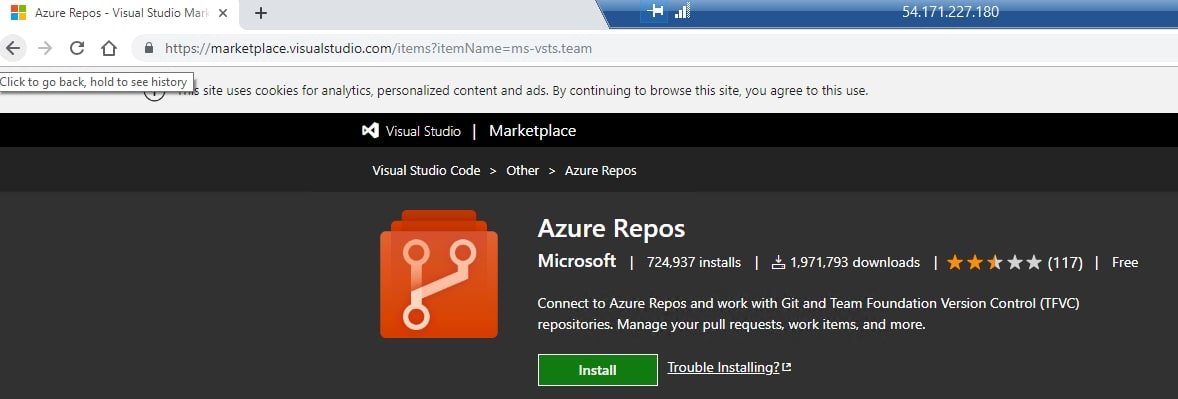
The install isn't what we want. If we scroll down, we see this on the right side: Download Extension.
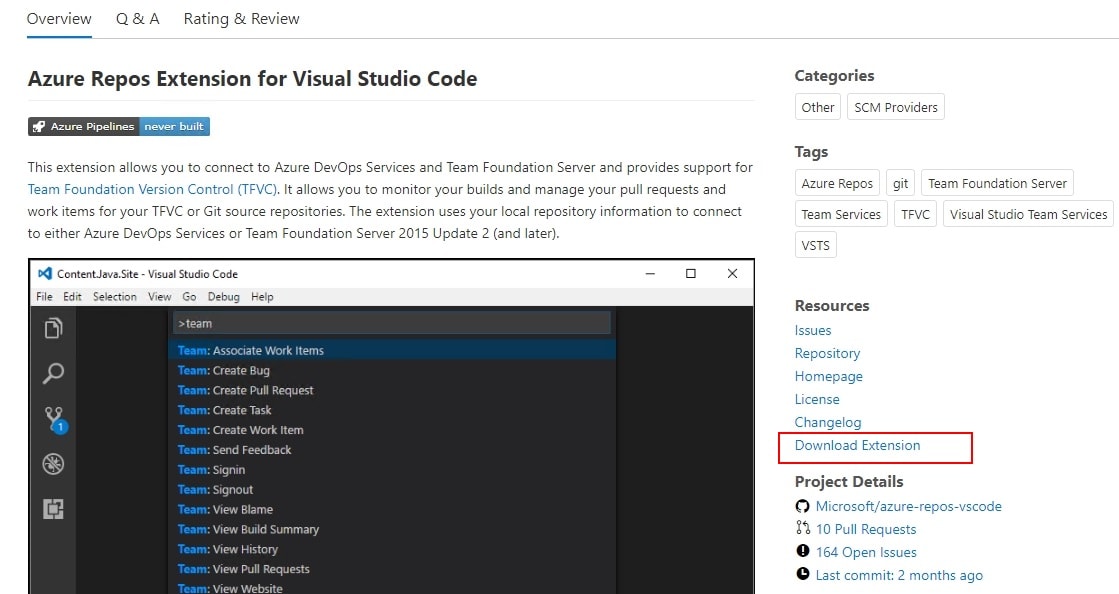
Clicking that will download the ms-vsts.team-1.149.2.vsix file. Your version may vary.

Now we can install this in ADS. We do this by selecting the File menu and then "Install Extension from VSIX".
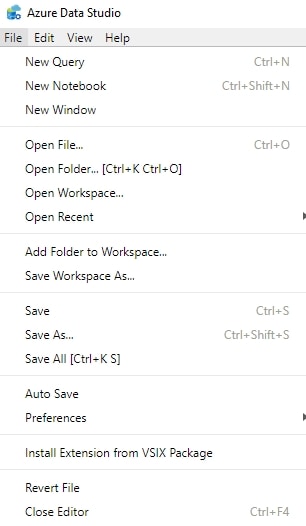
Once you browse to the file and select it, you'll get a popup in the lower right asking you to confirm this:

Click Yes and the install will proceed. Once it is complete, you will see another dialog.

You now need to restart ADS to see the extension. Once you do this, you'll see it in your extension list.
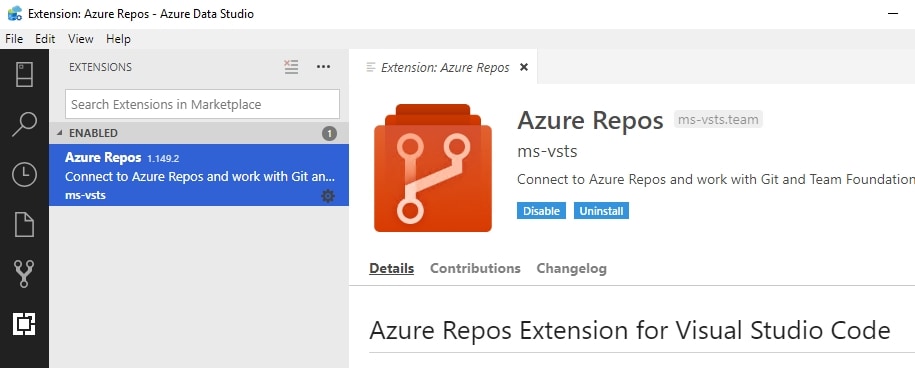
That's the main part of the install. Let's now move on to getting this working.
Getting Setup with TFVC
One of the requirements for getting started with TFVC in ADS is that you need a local workspace and tf.exe installed. There are also a few other items. This works with Team Foundation Server 2015 Update 2 or later. If you are on an earlier version, beg your company to upgrade.
To get your local workspace set up, there is a link to here on the extension page. It's not quite as easy as they make it seem. I didn't have tf.exe in my path, because it's buried. As a result, I had to find it and then run this command:
C:\"Program Files (x86)"\"Microsoft Visual Studio"\2017\Community\Common7\IDE\CommonExtensions\Microsoft\TeamFoundation\"Team Explorer"\tf.exe workspace
You can see this below:
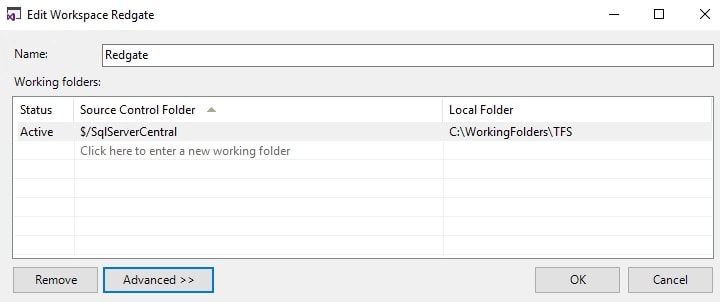
Clicking the advanced tab shows this as a local workspace:
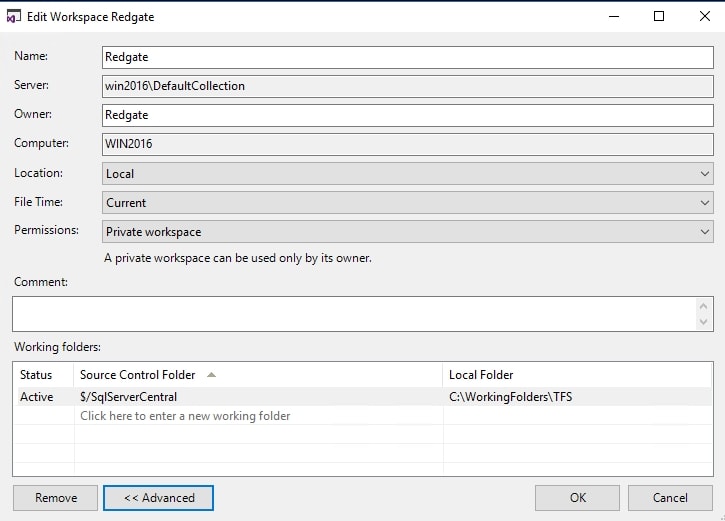
With this in mind, I wanted to open files in this folder. However, before I do that, I need to configure the extension to ensure it knows where my tf.exe application is located.
Configuring the Extension
If you read the extension page carefully, you'll stumble on a link to this page: https://github.com/Microsoft/azure-repos-vscode/blob/master/TFVC_README.md. It's not easy to find, but you need this to get the extension working. The videos and docs focus on setting the tfvc.location property in settings. In ADS, I have a slightly different experience.
If you click File, Preferences, Settings, I can move forward.
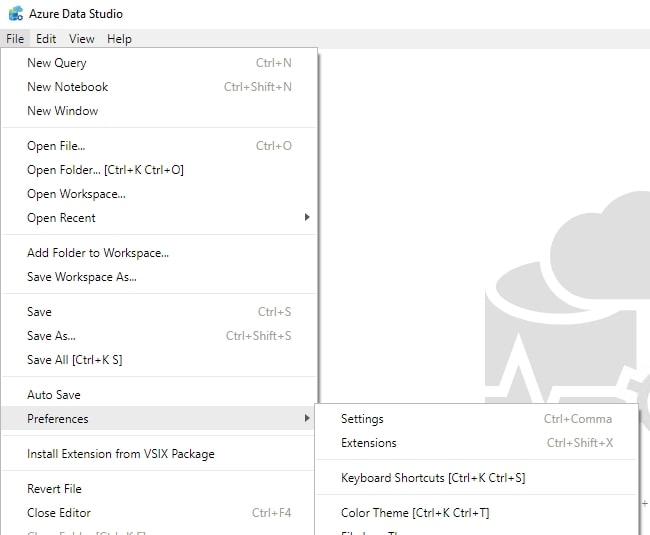
When I do this, I get a Settings window where queries are normally written. Notice there is an Extensions item on the left. Expand that and you will see the setting for the Azure Repos extension. Click that.
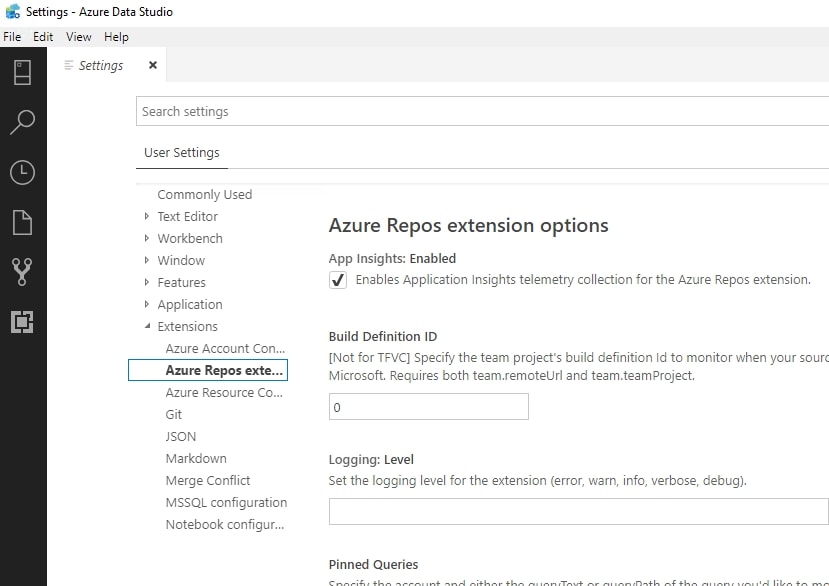
If you scroll down, you will find a number of options, including one called Tfvc:location. This is the only one I see noted as [Required for TFVC]. Many are noted as [Not for TFVC] and a few as [Optional for TFVC]. In this fix, we need to path to the TF executable. You can find this in your Visual Studio installation, usually at this path:
C:\\Program Files (x86)\\Microsoft Visual Studio\\2017\\Community\\Common7\\IDE\\CommonExtensions\\Microsoft\\TeamFoundation\\Team Explorer\\tf.exe
Once you enter this, you can close the Settings pane. This isn't a part of the
Opening a TFVC Workspace
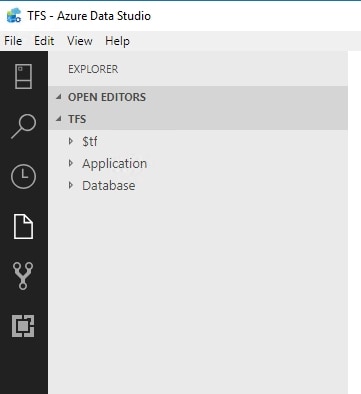
You can just open the folder, in your local workspace. Once I do that, I see the folders inside.
I need to authenticate to the TFVC server, and I can do that with a Signin command. I find this with CTRL+Shift+P to bring up the command palette. Entering "Team" gives me a list of commands.
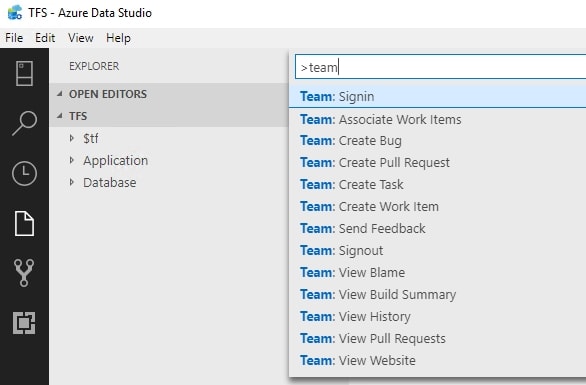
I'll use these to work with TFS. First, let me open a file. I'll pick one with a few insert statements. I'll also change one of the values, but that's not important. Now I, call the Team:Signin command.

This gives me a username, which is pre-populated for me. I'll accept that, because it's correct.


I hit enter and get asked for a password. I'll enter that next.

Once I do that, I see...
Nothing really. The IDE looks the same, but not quite. At the bottom, in the status bar, I now see my workspace.

The SqlServerCentral is my workspace. Next on the right is Builds and then work items. I can click these and see the website for my TFS server. If I click the workspace name, I'll see this:
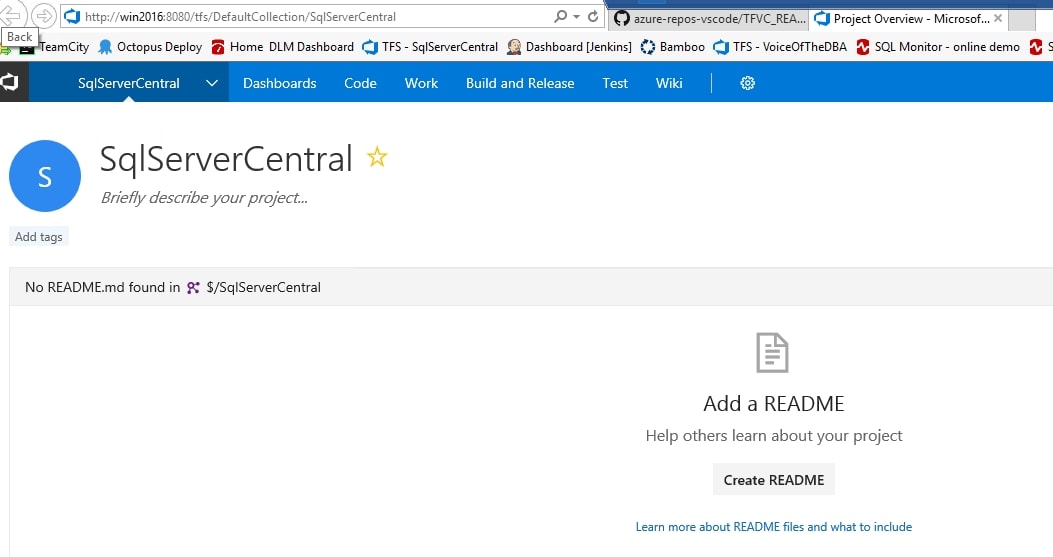
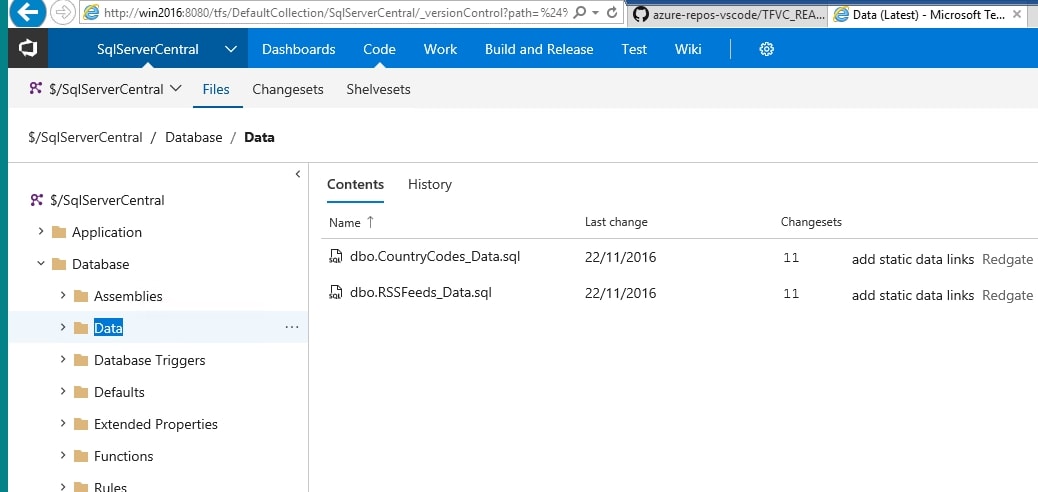
I can browse down through the "Code" link to find my folder that I have open in ADS. When I do so, I see the older version of the file and the commit comment.
Now let's go back to ADS and save our changes. When I look at the VCS menu, I see a "1" letting me know there is one change here. If I click this, the pane expands to show me which file I've changed, which is already in the Included Changes section. Above that, I can enter a Commit message.
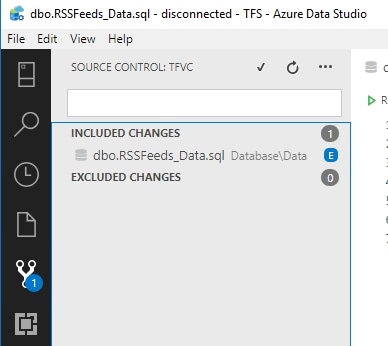
Let's do that. I'll enter a message and click the check mark above to commit the change.
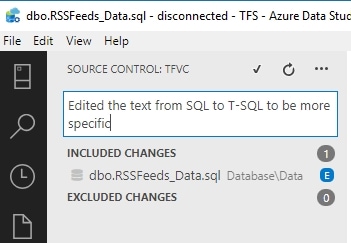
If I go back to TFS and refresh the page, I see the commit message has changed.

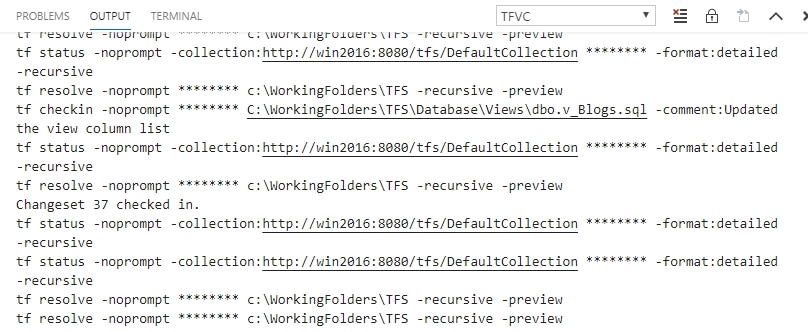
If I look at the output, I can see what commands ADS has been running. These are all tf.exe commands.
From here, I can continue to work on code. As I click Save, the files are staged in the Source Control pane, with a small icon added to the sidebar. If I want to commit changes, I can. If I don't, because I want a commit for only some changes, I can move the file to the Excluded Changes and it won't be committed.
Conclusion
This is a basic look at getting ADS connected to TFVC. It's a bit of an effort to find the extension, install it, and find the configuration. However, the VS Code extension works fine if you know how to get it installed.
I would recommend you use the native ADS with Git if you can. You can enable Git for TFS Server or Azure DevOps, and it's a better way of working, IMHO. If you are stuck with TFVC, you can use this article to ensure that ADS works for you.


