One of the things I like about cloud computing is the ability to access the platform from anywhere in the World. You don't need special VPN access or open ports in a firewall. And of course, you don't have the same set-up and maintenance issues that go with standard database hardware/software.
Microsft SQL Azure (previously know as SQL Data Services) is MS's cloud database platform. You can find out the basics and get a free (for now) account here: http://msdn.microsoft.com/en-us/sqlserver/dataservices/default.aspx
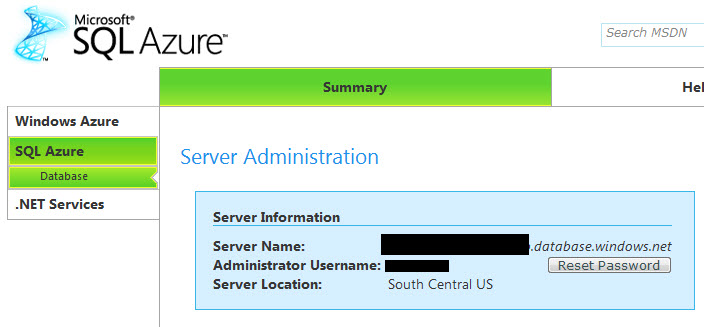
Once you have your "invite" from MS, you log on to sql.azure.com with a Passport or Live.com account and you will see acreen that gives you the name of your cloud server and options to create a database. It looks like this:


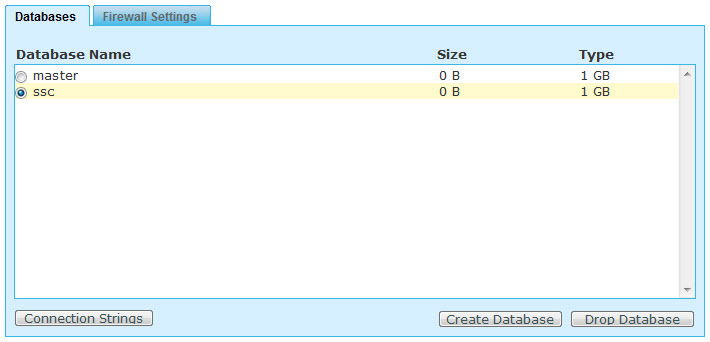
When you click on "Connection Strings," you are given two connection strings - ADO.NET and ODBC. This is another one of those important things to know - You cannot use Windows authentication; you must use SQL authentication. In any case, the connection strings are pretty standard:
ADO.NET
Server=tcp:myserver.database.windows.net;Database=ssc;User ID=myusername;Password=myPassword;Trusted_Connection=False;
ODBC
Driver={SQL Server Native Client 10.0};Server=tcp:myserver.database.windows.net;Database=ssc;Uid=myusername@myserver;Pwd=myPassword;
Before you do anything else, you need to click on the Firewall Settings tab and add your IP address (or range) to allow connections to the database.
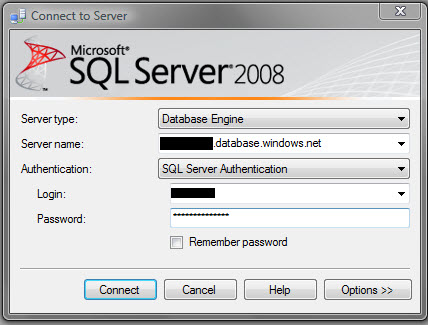
My initial thought was if I have ODBC then I must be able to just open Access and connect. Nope that didn't work. The examples I saw all used a console for anASP.NET application. That is not a big issue, but what I really wanted was to use the database tools that I am used to for managing data in the cloud. I tried what I thought would work in Management Studio....just provide the server name and login info like any other database connection.

I still don't know why, but this just doesn't work, BUT, here is the trick....
CLICK CANCEL, then click on New Query and it will present you with essentially the same logon box. Here you put in the server name, user/password then click Options button to specify the database name you want. Click connect and you are in.
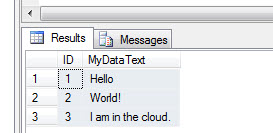
At this point you are looking at a blank query. If run the SQL below, the select statement returns the table values.
CREATE TABLE [dbo].[MyData](
 [ID] [smallint] CONSTRAINT [PK_MyData] PRIMARY KEY CLUSTERED NOT NULL,
 [MyDataText] [nvarchar](2000) NULL)

INSERT INTO [dbo].[MyData] ([ID], [MyDataText])
VALUES (1, N'Hello')
INSERT INTO [dbo].[MyData] ([ID], [MyDataText])
VALUES (2, N'World!')
INSERT INTO [dbo].[MyData] ([ID], [MyDataText])
VALUES (3, N'I am in the cloud.')

SELECT * FROM [MyData]

That is it! You have almost all of T-SQL language available to you (some exceptions, Windows users for example, check MSDN). I have found that using a cloud database or a server database is the same within Visual Studio.NET.
This is meant to be an introductory article. I cannot say that I am a SQL Azure expert by any means, but I'm sure the part about clicking cancel will help someone!


