Introduction
There are several ways to import data to Azure SQL Data Warehouse (ASDW). This time, we will use SQL Server Integration Services (SSIS). This is my favorite way to import data because it is very flexible and you can import from different formats like a txt file, csv file, Oracle Table, DB2, SQL Server, MySQL and many other sources.
Requirements
- An Azure Subscription.
- An Azure SQL Server and an Azure Data Warehouse Database already created (if you do not know how to create a Data Warehouse, go to our article "Azure Machine Learning - Your first experiment" and go to the Creating an Azure SQL Data Warehouse close to the getting started section.
- Visual Studio 2013 or later. In this example, we are using VS2015.
- SQL Server Data Tools with SSIS installed.
Get Started
We will export a local CSV file with countries. The file name is country.csv and you can download from the resources section at the bottom of this article. The format of the file is the following:

We will import the csv file to ASDW using the SQL Server Data Tools:

In the menu, go to File>New project and select Integration Services Project:

Drag and drop the Data Flow Task to the design pane:

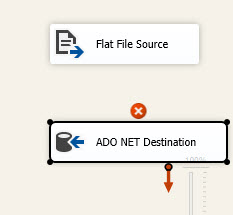
Double click in Data Flow Task and you will go to the Data Flow pane. Drag and drop the Flat File Source and the ADO NET Destination tasks. We will use the Flat File to specify the CSV file path and the ADO NET Destination will be used to connect to ASDW:
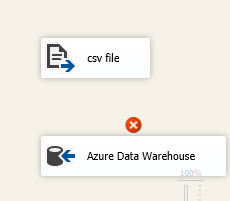
Rename the tasks to a more descriptive names:
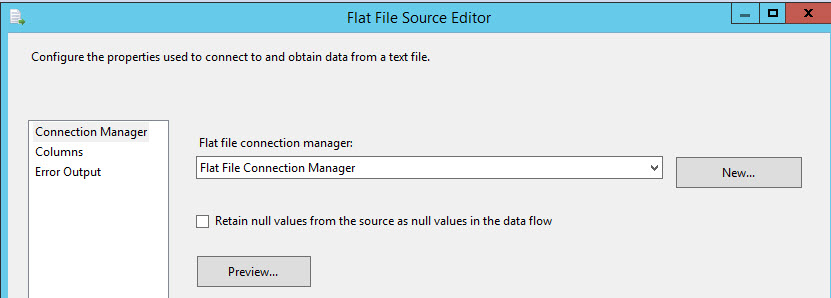
Double click the Flat File Source and press New to create a connection:
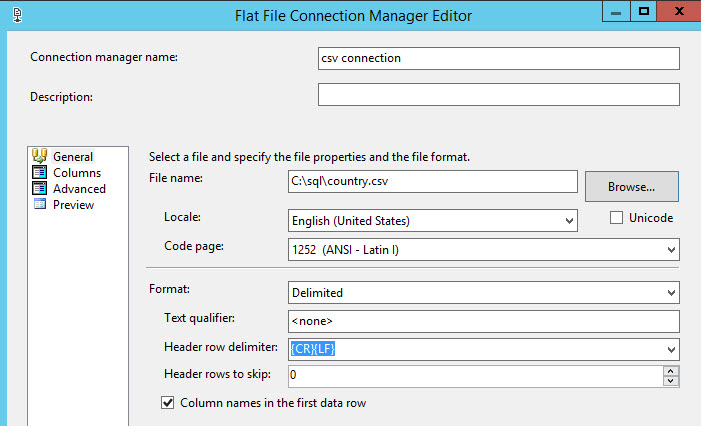
Specify a Connection name and press the Browse button to select the csv file path and name:
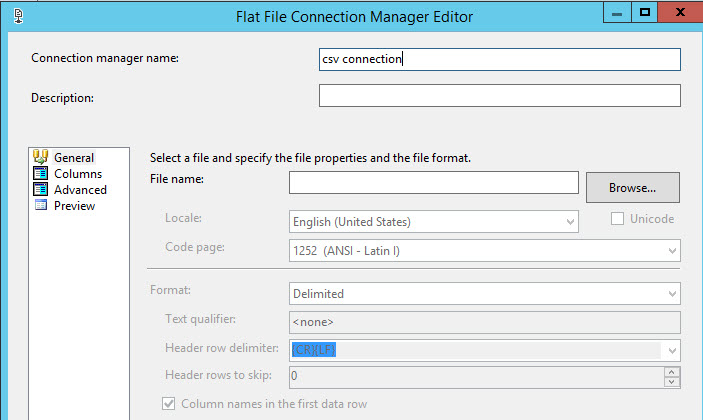
Select the country.csv file mentioned before. The Locale, code page and format options will be selected by default:
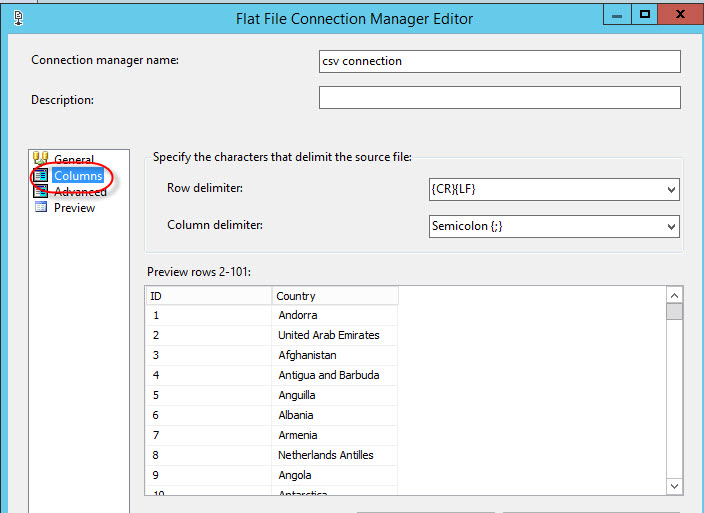
Press the Columns page to verify that the data is correct:
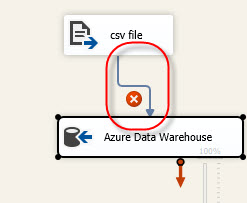
Join the 2 tasks:
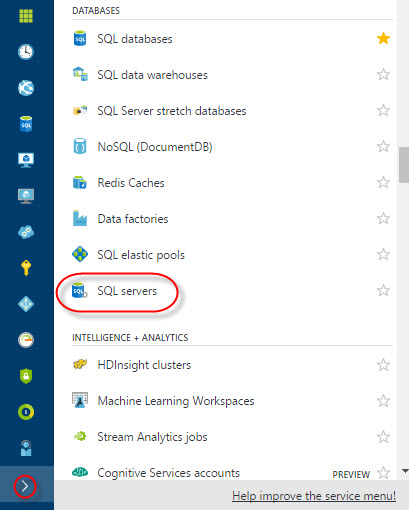
We now need the ASDW connection information. To get the Azure SQL Server Name, go to the Azure Portal and select the > icon and then select SQL server. I am assuming the you already have an Azure SQL Server and an ASDW database (check the requirements, step 2 for more instructions if you do not have one):
Click sqlcentralserver1 and go to Properties. Copy the SERVER NAME:
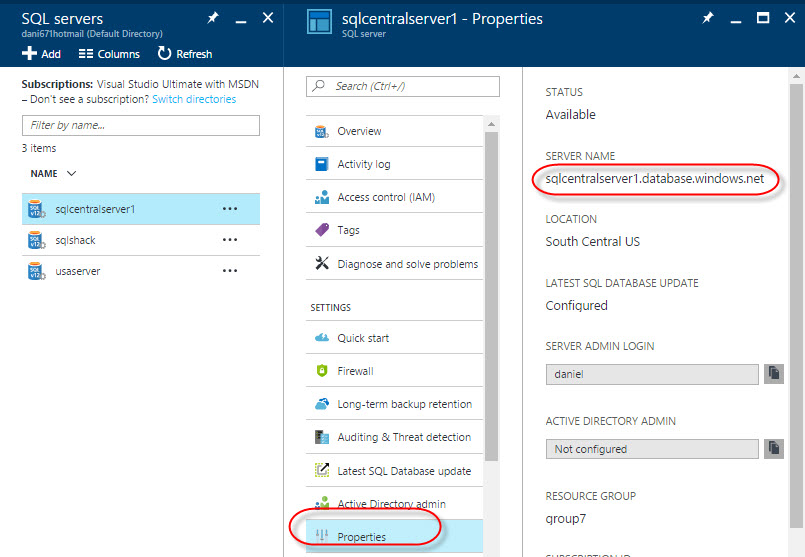
If you press the Database icon, you will find the ASDW database. In this example, the name is sqlcentralwarehouse:

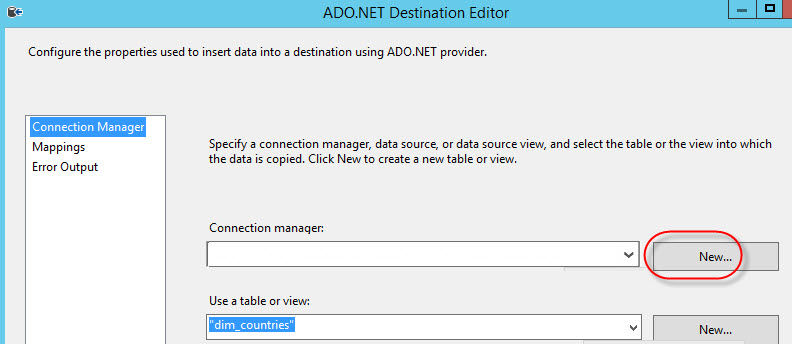
In ADO.NET Destination, click new to create a new Connection:
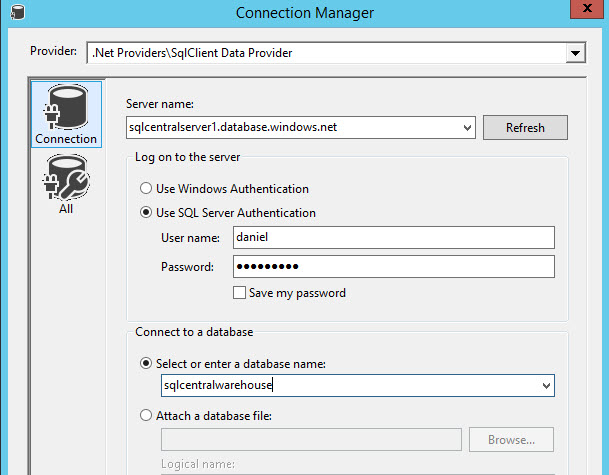
In the Connection Manager, select the .Net Providers\SqlClient Data Provider. In the Log on to the server, select Use SQL Server Authentication. Specify a User Name and a password. These credentials were specified when the Azure SQL Server was created (check the requirements, step 2 if you are lost here) and the database name can be found in the Azure Portal in the databases section explained before:
Press the new button to create a new Table to import the csv information in ASDW:
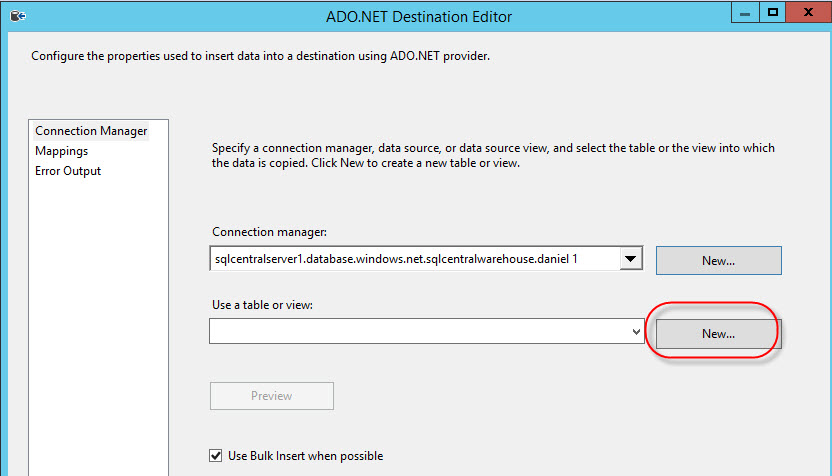
Modify the text. We will create a table named dim_countries an ID of type int (integer) and a country of type varchar(50):

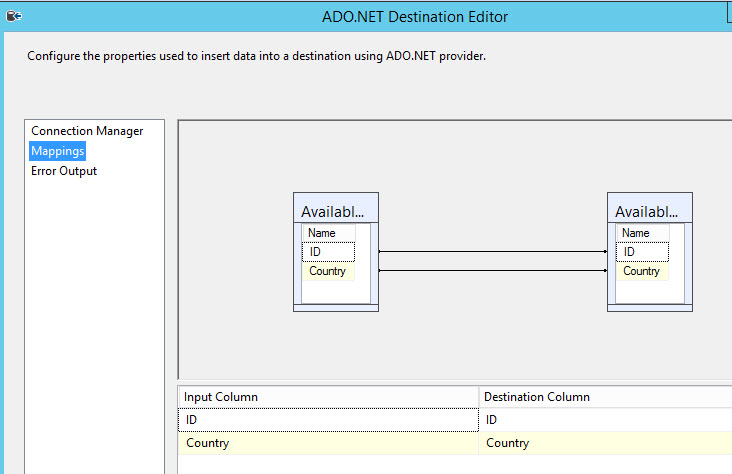
Go to mappings page to map the columns from the CSV file to the ASDW table:
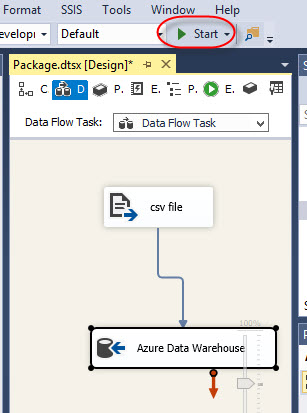
Start the package to import the data:
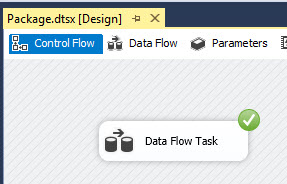
If everything is OK, a green check icon will be displayed (it failed with a connection problem the first time I tried, but the second time that I run it worked fine):
You can verify in Visual Studio or in SSDT. For more information about connection to ASDW, refer to our Get started with ASDW article:

After connecting to ASDW, right click the Database and select New Query:

Write a select query in the dim_countries table and run the query:
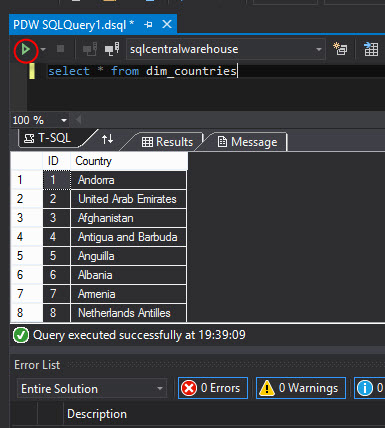
As you can see, the data was imported successfully in ASDW from the CSV file.
Conclusion
SSIS is a good alternative to import data from different data sources. However, if your internet connection is not good, you may have problems with big amounts of data. The tools is very simple when you do not need to process the information too much. There are other ways to import the data that we will explain in later chapters.


