

Introduction
SQL Server Data Tools, commonly referred to as SSDT, replaced Business Intelligence Development Studio (BIDS) with the release of SQL Server 2012. SSDT can be used to create Analysis Services, Integration Services and Reporting Services projects just as its predecessor BIDS. Additionally, SSDT can be used to create SQL Server Database Projects where DDL for the various objects related to a solution can be created, managed, compared along with the ability to create point-in-time project-level snapshots.
SSDT is a standalone application in that since SQL Server 2012, is not included in the SQL Server installation media as was the case with BIDS in SQL Server 2005 through SQL Server 2008 R2. The SSDT installer must be downloaded from Microsoft.
This article will detail the steps for obtaining the SSDT installer, demonstrate the installation process using both an online and offline method through the install wizard and command-line as well as launching SSDT for the first time. We’ll also review adding or removing tools from an existing SSDT installation followed by a brief look at some of the other components installed to support SSDT. Finally, we’ll review how to uninstall SSDT.
Install SSDT – online method
The starting point for installing SSDT is this Microsoft Docs site: https://docs.microsoft.com/en-us/sql/ssdt/download-sql-server-data-tools-ssdt. The page is shown in the image below.
As of the date this article was written, the current release number for SSDT is 17.2 with a corresponding build number of 14.0.61707.300. For the purposes of this article, we will focus on SSDT for Visual Studio 2015. SSDT for Visual Studio 2017 is currently available as a preview.

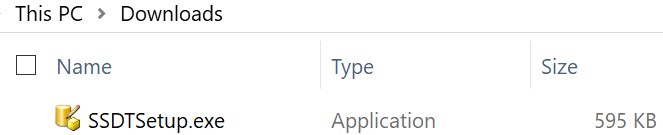
Clicking the link will begin the download process for a small file called SSDTSetup.exe. Save this file to the local filesystem.

To begin the SSDT installation process, browse to the SSDTSetup.exe file and double-click it. This will present you with the SSDT installation splash screen. Note that the SSDT installation process requires local administrator privileges on the machine on which you are attempting to install.

As noted in the introduction, SSDT can be used to create various data projects. You can choose to install the tools for all the features now or install them on an as-needed basis. The process for adding tools later is straightforward and is described below in this article.
For the purposes of this article, we will select only the SQL Server Integration Services tools.

The familiar Microsoft Software License Terms screen will appear. If you agree to the license terms and conditions, click the checkbox and choose Install.

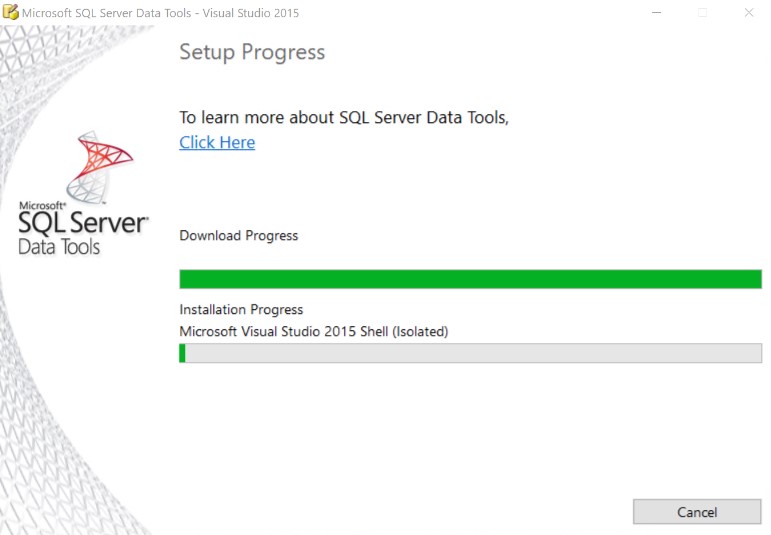
This will start the SSDT installer download process. Depending upon your download speed, this should only take a few minutes.

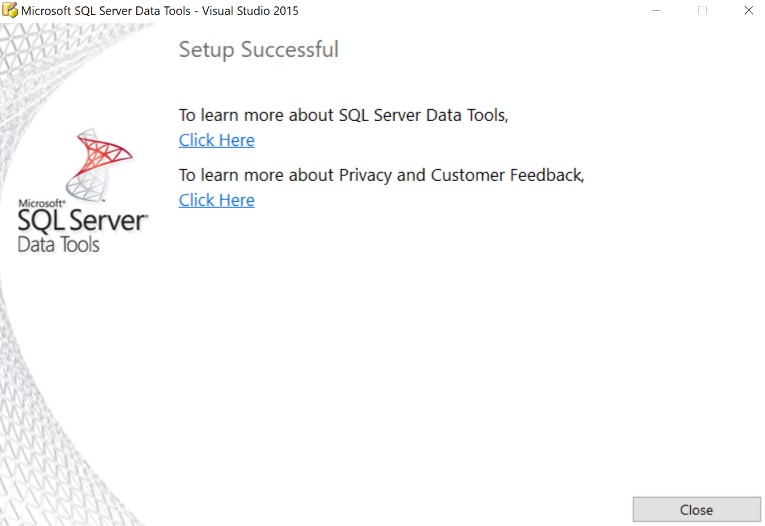
Once the download process is complete, installation will begin automatically. The speed of the installation process will vary based on the available machine resources but typically takes between two and seven minutes.
Install SSDT – offline method
For environments with restricted internet access or to package SSDT for installation across many machines, an ISO file is available in several languages. Links to the ISO files are found on the same Docs page as noted above.

Clicking a language in the ISO images section will download an ISO file for the corresponding language. The ISO file size is approximately 1GB. The file naming format is:
SSDT_<Current Version Number>_<Two-letter language identifier>.iso
For example the English language ISO full file name is SSDT_14.0.61707.300_EN.iso.

The remainder of the installation using the ISO file is the same as using the online installation method.
Install SSDT – command-line method
Installing SSDT from the command-line or via an unattended install process makes distribution of the SSDT tool on a larger scale (tens, hundreds or thousands of machines) viable.
Like the offline install process, we’ll start with the downloaded SSDT ISO file. There are many ways to unpack the ISO file contents and package them into an unattended installer. Those methods are out of the scope of this article. For this article, we’ll approach it from the perspective of a single developer who perhaps uses a virtual workstation that he or she rebuilds often enough to make command-line installations of applications and tools a necessity.
First, copy the SSDT ISO file to local filesystem of the machine targeted for installation. For this example, we’ll specify C:\temp.

Mount the ISO file using the Mount-DiskImage cmdlet in PowerShell. The drive will mount as the next available drive letter. For example, if your only drive is C:\, the ISO will be mounted as drive D:\.
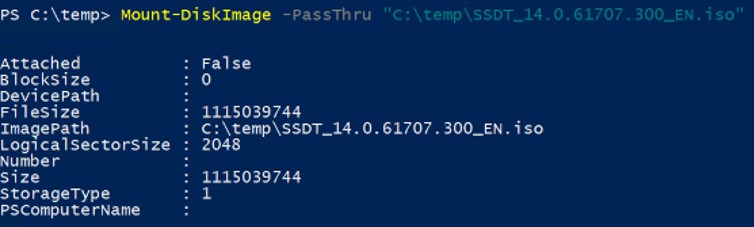
This can be verified using the Get-Volume cmdlet.

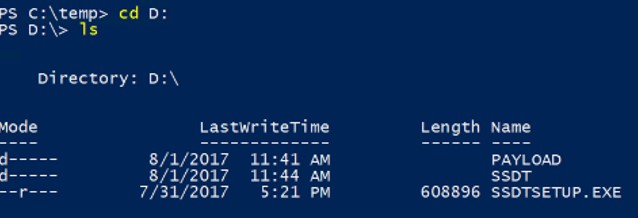
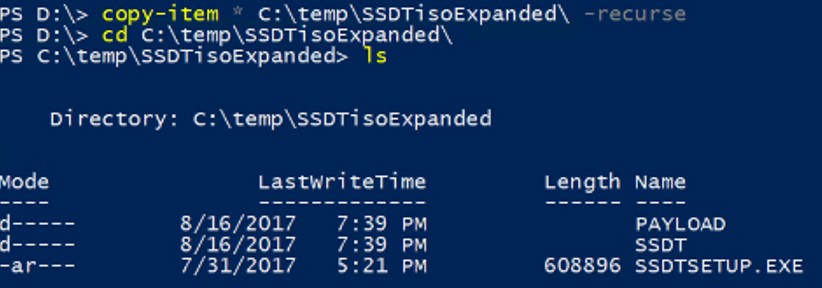
Change to the D:\ drive and view the contents of the ISO file.
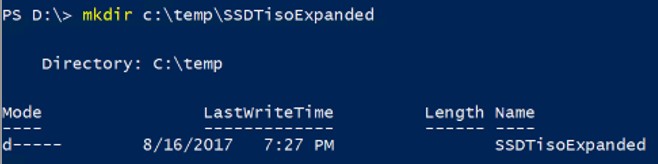
OPTIONAL: Make a directory in C:\temp to hold the extracted contents of the ISO file.
Copy the contents of the mounted ISO file to a location on the local machine filesystem. For this example, we’ll use the optional directory created in Step #4. Use the Copy-Item cmdlet with the -recurse option to ensure the directory contents are copied.
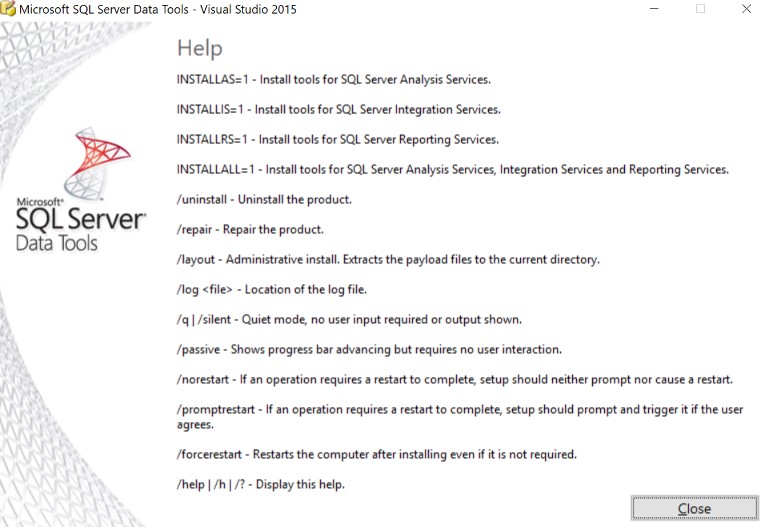
To view the available command-line installation switches for SSDT, run SSDTSETUP.EXE /?.

A window will display with the available switches.
Choose the install options that meet your requirements and use those parameters at the command line.

Components installed with SSDT
The SSDT installation will add several new components to the machine on which it is installed. Visual Studio 2015 and SQL Server Express LocalDB are probably the most noteworthy.
Visual Studio 2015 Integrated Shell
If neither Visual Studio 2015 or Visual Studio 2017 are installed on the target machine, installing SSDT will also install Visual Studio 2015 Integrated Shell. This is a free version of Visual Studio that provides the various SQL Server project types (such as Integration Services) as well as the SQL Server Object Explorer for Database Projects.
SQL Server Express LocalDB
Also installed with SSDT and Visual Studio 2015 Integrated Shell are two instances of SQL Server 2016 Express LocalDB. Generally speaking, LocalDB does not receive much attention in the SQL Server community and this article will not serve as a deep dive into the subject other than to describe the purpose of the two instances.
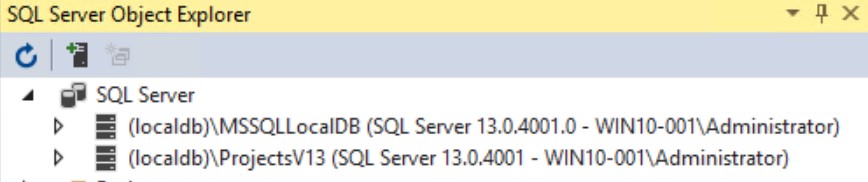
The (localdb)\MSSQLLocalDB instance is considered the automatic instance in LocalDB terminology and exists because SSDT requires LocalDB for some of its functionality.
The (localdb)\ProjectsV13 instance is considered a named instance and is specifically used by SSDT for database project deployment capabilities. Note that for each SQL Server Database Project in SSDT, a new database is created in this instance.
There are many other less notable components installed along with SSDT. In fact, a quick look in Add/Remove Programs reveals that pre-SSDT installation, my machine was showing 20 installed applications. Post-SSDT installation there are 99 total applications.
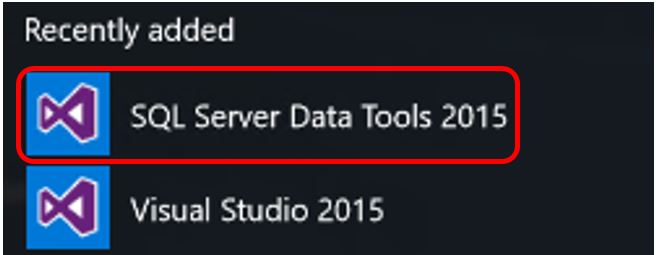
Launching SSDT for the first time
Once the install has completed, you will see the SQL Server Data Tools 2015 and Visual Studio 2015 applications installed. Click SQL Server Data Tools 2015 to launch SSDT.
The first time SSDT runs on a machine, there are two environment customization options. The first is the Development Settings, which provide the following choices:
- Business Intelligence Settings
- General
- Visual Basic
- Visual C#
This setting primarily controls the templates that are readily displayed within SSDT. It does not fundamentally alter the way SSDT functions and all the templates are still available (albeit through the Options menu) despite the development setting choice. For the purposes of this article, we will use the “General” Development setting.

The color scheme for SSDT is completely subjective. You can change this at any time if you are unhappy with your initial selection.
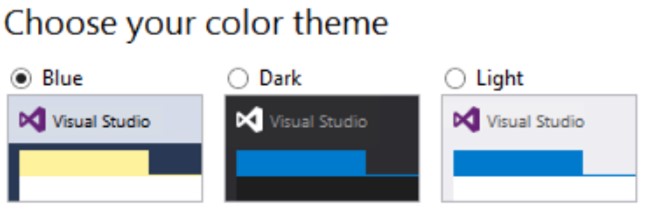
SSDT will launch and look something like what is pictured below, depending upon the chosen color scheme.

Add/Remove Tools to an SSDT installation
Adding or removing tools to an existing installation of SSDT is straightforward and like the install process, can be achieved using the online method or the offline ISO method. Double-click SSDTSetup.exe to launch the installer.
Choose Modify.

Choose the additional tool(s) for installation. Select Update to begin the download (if you are using the online method) and installation process. The reverse of this process, unchecking a specific tool, can be used to remove just that specific component from the SSDT installation.
In the example below we are adding the SQL Server Reporting Services tools to the existing SSDT installation.

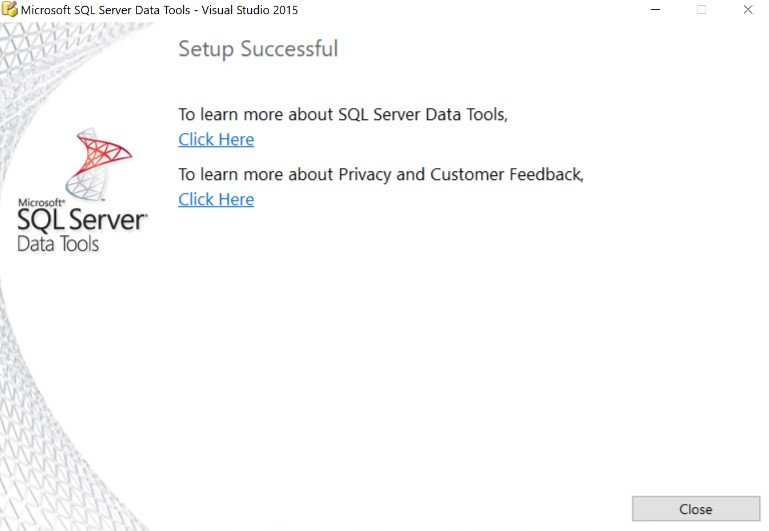
Click update and the changes will be made. You will get this screen at the end.
Uninstalling SSDT
To uninstall SSDT, we’ll follow the same basic procedures we have been using for both the online and offline installation methods. Launch the SSDT setup using SSDTSetup.exe and choose Uninstall.

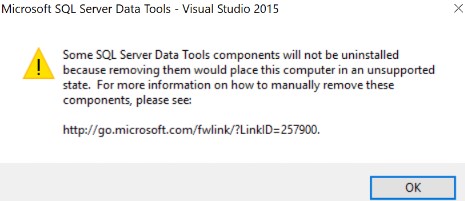
Note the warning regarding some components of SSDT not being automatically uninstalled. The link in the message points to this page (https://msdn.microsoft.com/library/jj542427(v=vs.103)) that details the components that are not removed through the SSDT uninstall process.
Conclusion
In this first article in the series, we have learned how to download and install SQL Server Data Tools (SSDT) using three different methods: online, offline and command-line. We also learned about the other components that are installed during the SSDT install. Finally, we learned how to uninstall SSDT and made note of those components that are not automatically uninstalled.
The next article in the series will explore creating two Integration Services packages where we’ll demonstrate how to import and manipulate data using SSIS.


